How to Add Your Logo & Brand Kit to Every Video
Consistent branding is what turns scattered posts into a recognizable channel. Save your logo, colours, and handles as a brand profile once, and every export carries them without you re-adding anything.
Quick answer
In ExpoCut, open Settings ▸ Brand & Influencer ▸ New Profile. The Profile tab holds your logo, name, slogan, and social handles; Theme stores your brand colours (pick a preset family or type hex values); Watermark pins a persistent logo or text bug to a corner with opacity and rotation; Bumpers adds an intro opener and an outro credits card. Tap Save — the default profile is applied automatically on export. To put a logo on one specific clip instead, tap + ▸ Logo in the editor and pick any image.
- Brand profiles live in Settings ▸ Brand & Influencer — one profile = Profile, Theme, Watermark, and Bumpers tabs.
- The Theme tab’s colours power the one-tap My Brand recolour on templates.
- Watermark = your own logo or styled text, pinned to a corner with opacity, rotation, and fade in/out.
- Bumpers add a text, logo, or lower-third card before and/or after the video (1–5 s).
- For a single video, + ▸ Logo drops any photo onto the canvas as a logo layer — no profile needed.
- Free exports end with a 3-second ExpoCut outro; the picture itself is never watermarked.
The accounts that grow look consistent — same logo spot, same colours, same handle. That recognizability is a system, not luck. A brand profile lets you save it once and have every export carry it.
What goes in a brand profile
Everything lives under Settings ▸ Brand & Influencer. One profile has four tabs:
- Profile — logo, profile image, name, slogan, address, phone, email, and social handles.
- Theme — your brand colours (primary, secondary, accent, background, text).
- Watermark — a persistent logo or text bug shown across the whole video.
- Bumpers — an opener before your content and a credits card after it.
Profiles are stored locally on your phone, and the one marked Default is auto-selected when you export.
Step 1 — Fill in the Profile tab
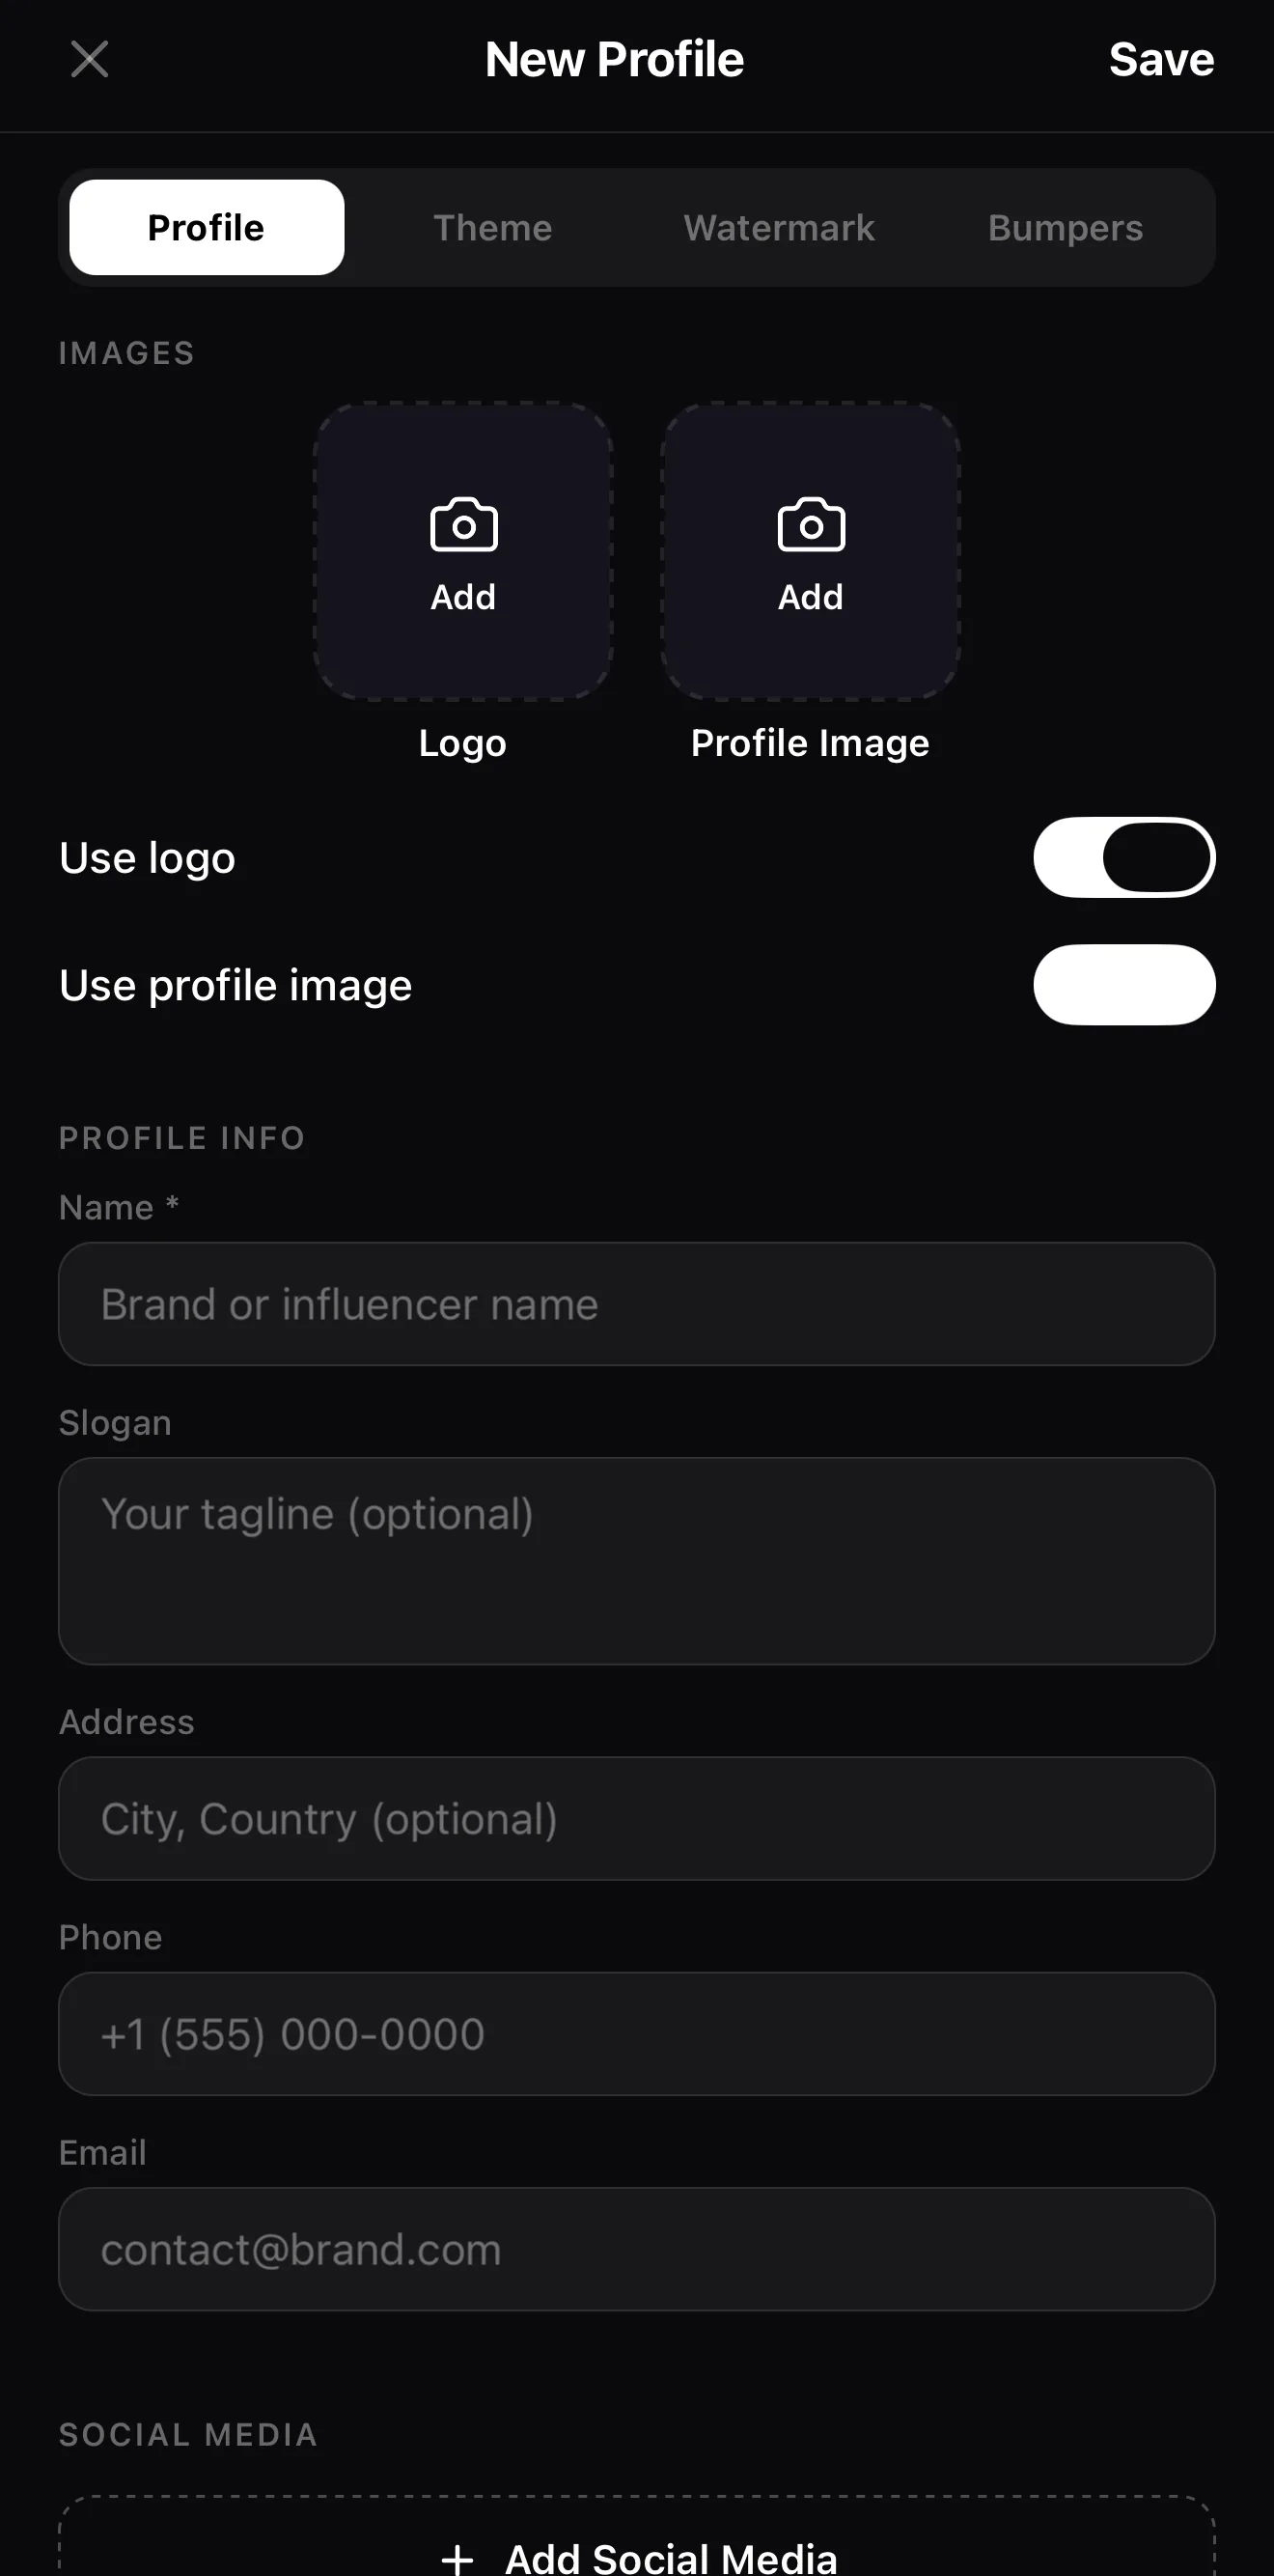 Profile · Theme · Watermark · Bumpers
Logo + profile image
Name, slogan, contact + handles
Profile · Theme · Watermark · Bumpers
Logo + profile image
Name, slogan, contact + handles
Open Settings ▸ Brand & Influencer
Tap the gear on the home screen, then Brand & Influencer, then + New Profile.
Add your logo and details
Tap Add under Logo to pick your mark (a PNG with a transparent background looks best). Fill in the name — the only required field — plus slogan and handles.
Pick your brand colours on the Theme tab
Choose a palette family (Dark, Light, Vibrant, Pastel, Earthy…) and tap a preset, or type exact hex values.
Switch on the Watermark and Bumpers you want
Both are optional — see the next steps.
Save
Tap Save. Your first profile becomes the Default and is auto-selected on export; you can keep more than one (a personal brand and a client brand, say).
Step 2 — Set your brand colours
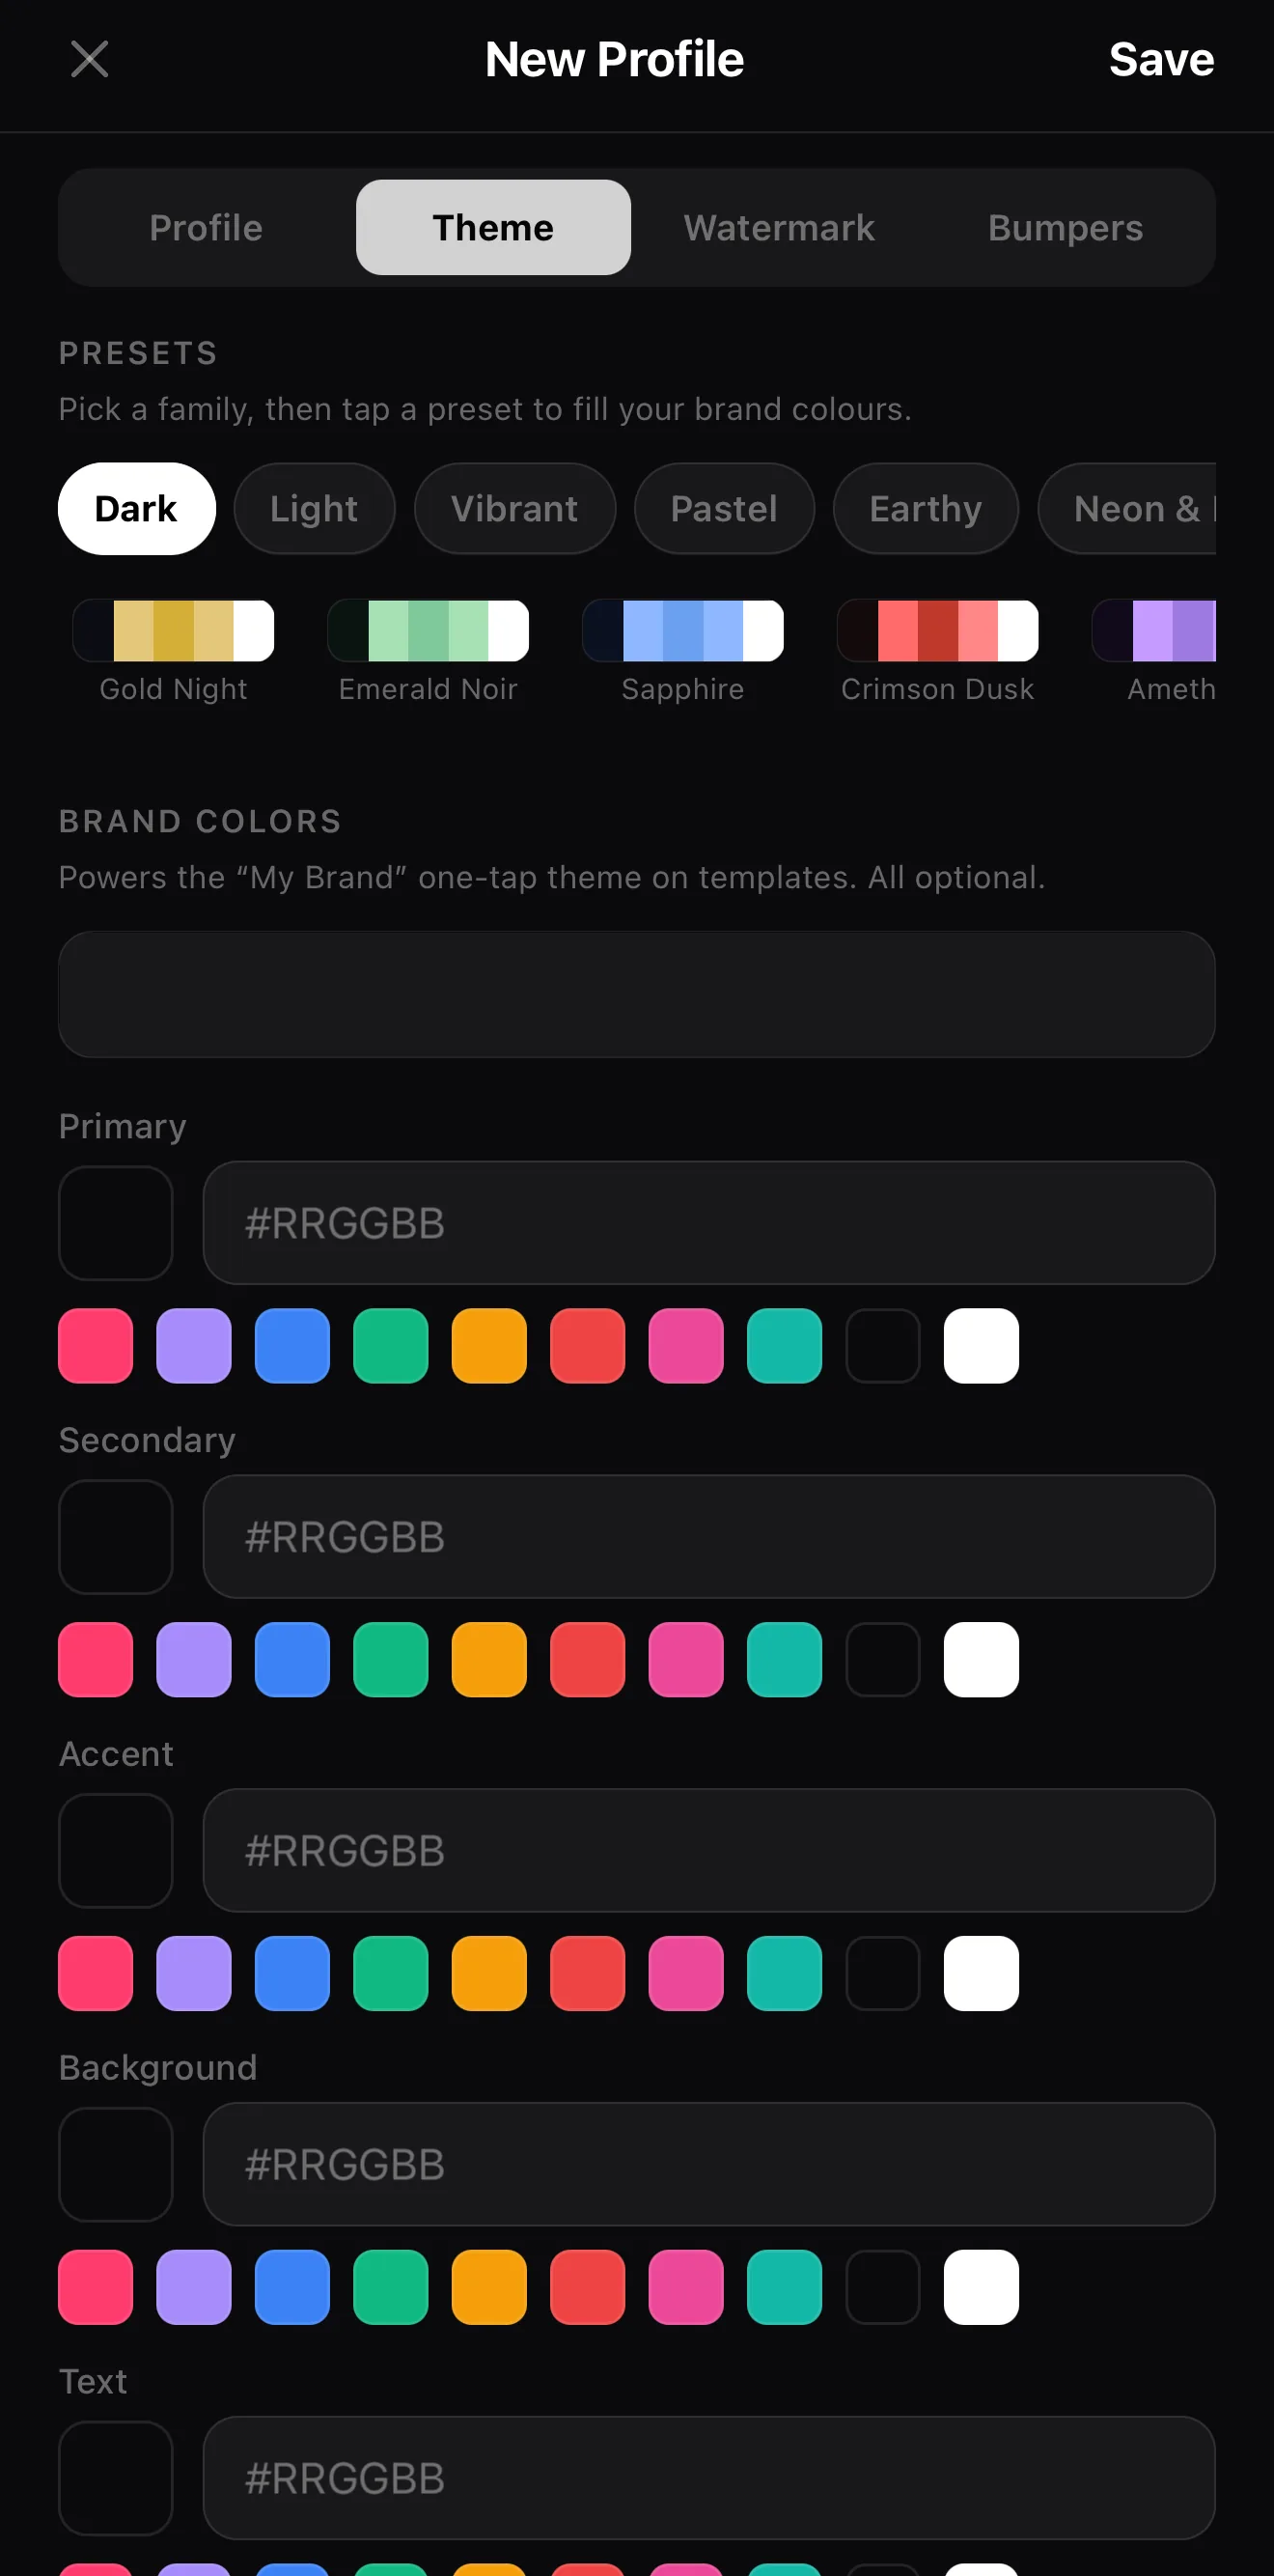 Pick a family, tap a preset
Primary / Secondary / Accent / Background
Pick a family, tap a preset
Primary / Secondary / Accent / Background
Every field takes a hex value or one of the quick swatches, so you can match an existing style guide exactly. When you use a template, the My Brand colour theme pulls from here.
Your brand data stays on the device. Brand profiles are stored locally, so your logo and details aren’t uploaded anywhere.
Step 3 — Pin a watermark
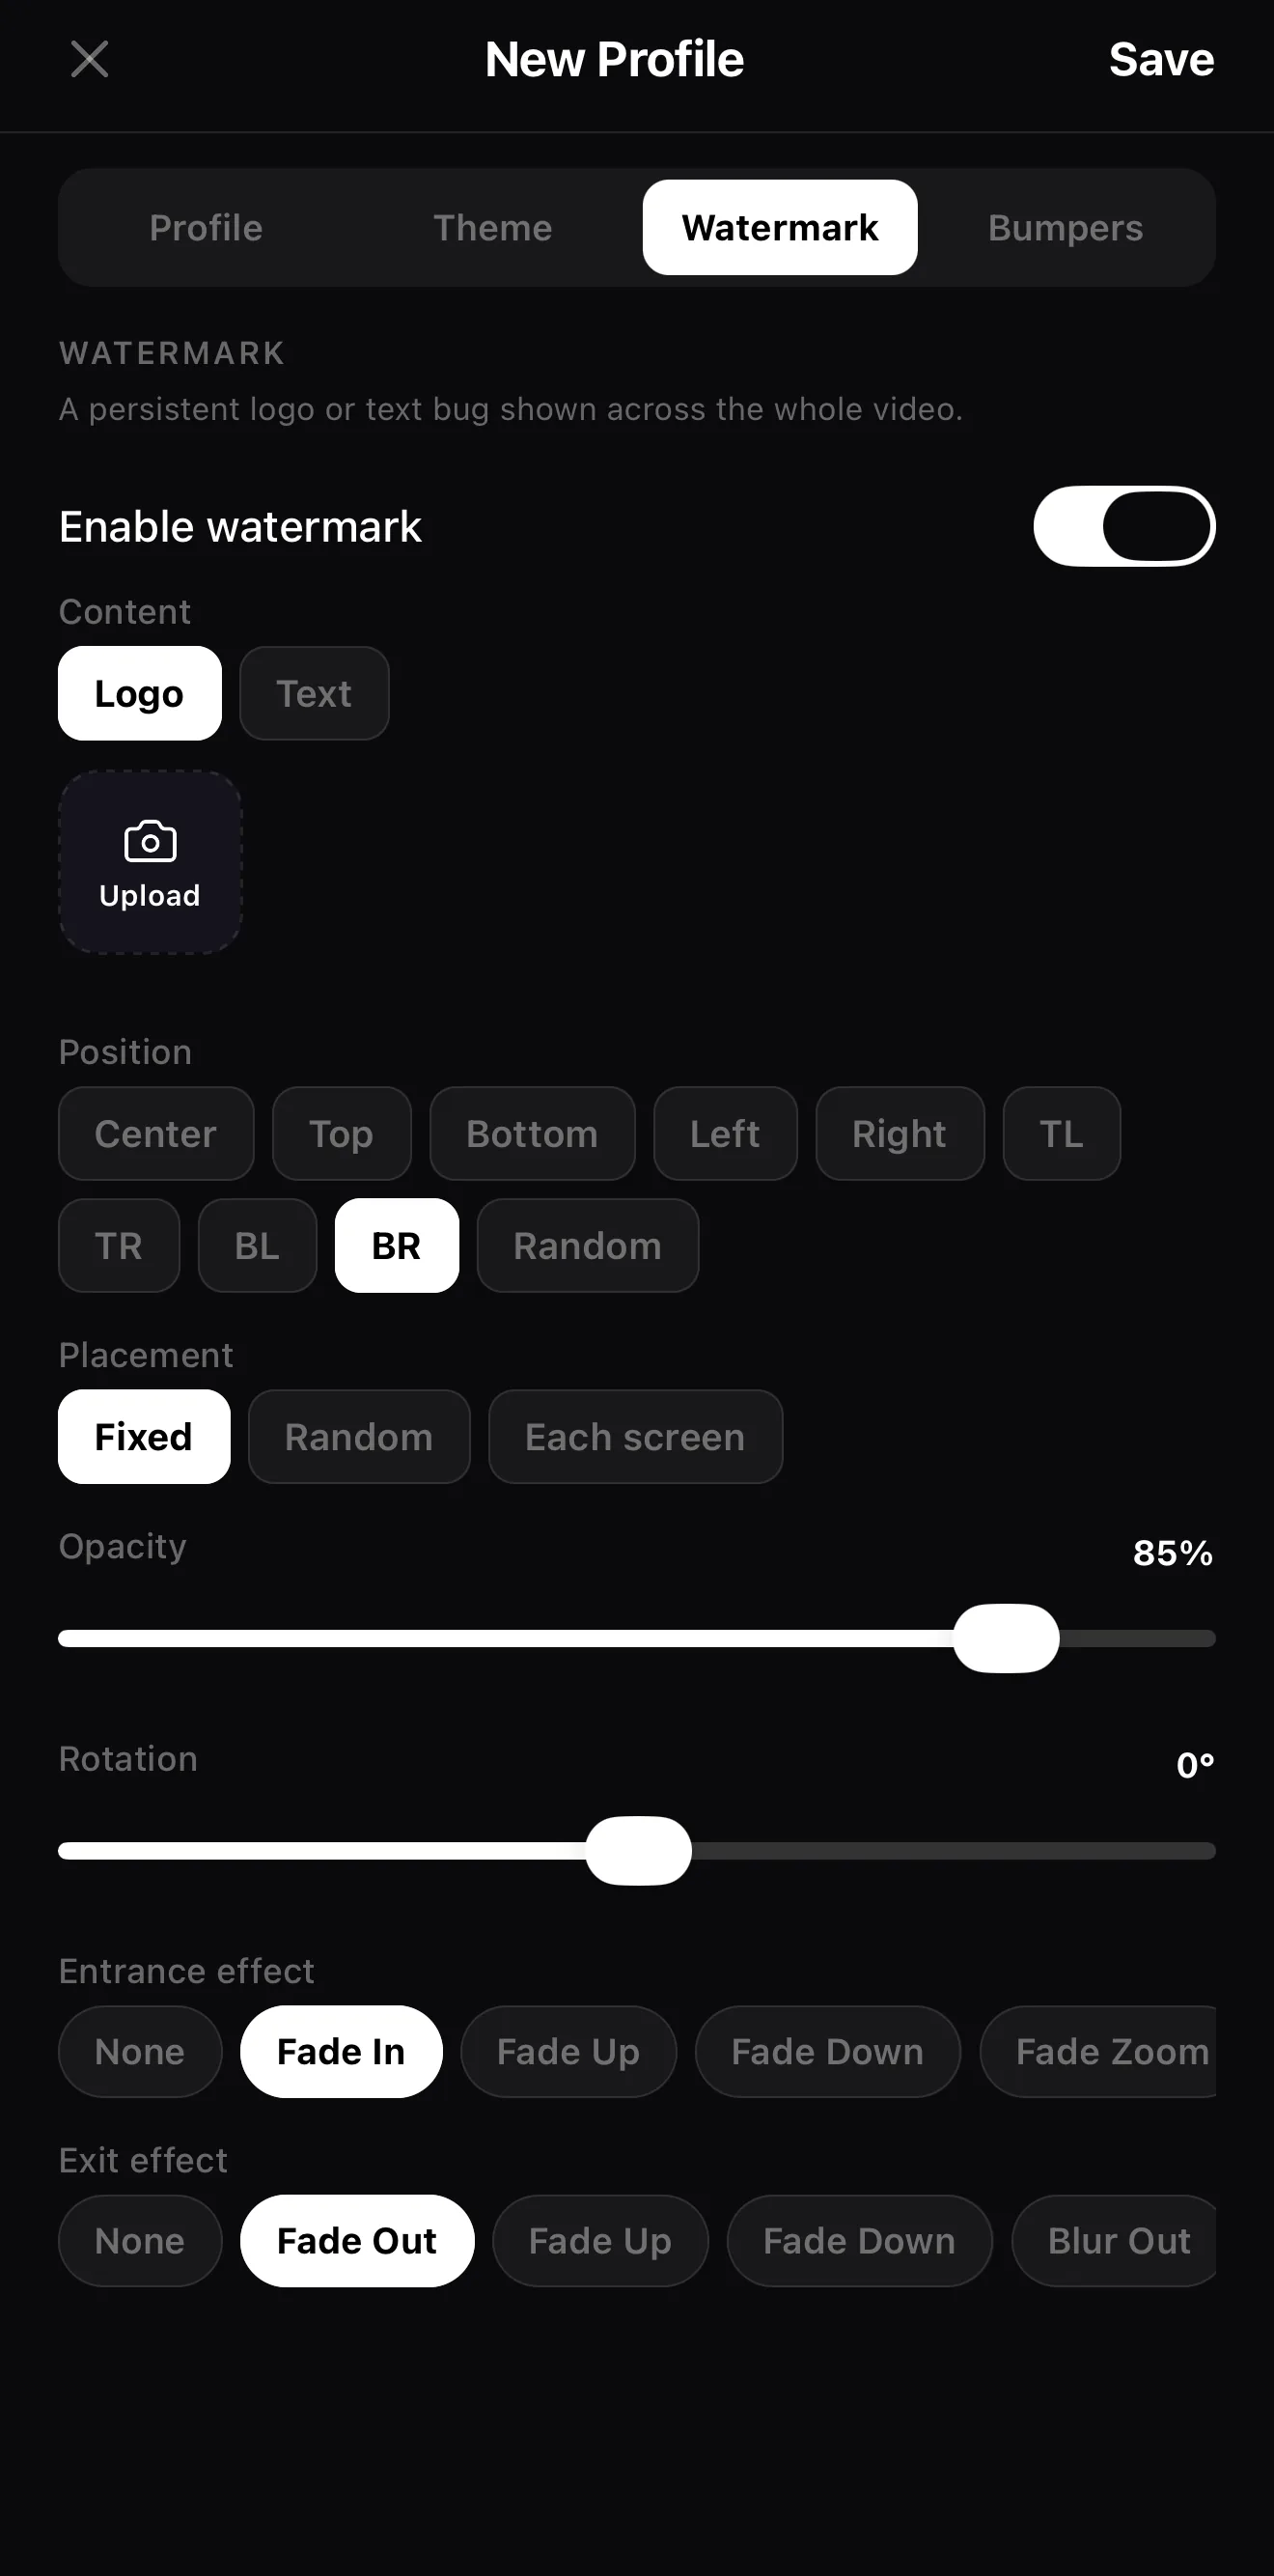 Enable watermark
Position — BR stays clear of the action
Enable watermark
Position — BR stays clear of the action
- Logo or Text. Upload a logo, or tap the text card to open the full text panel — colour, font, shade, outline, shadow — and type a handle like
@auroracoffee. - Corner, consistent. Pick one corner (TL/TR/BL/BR) and keep it there across all videos. Placement can also be Random or Each screen if you want it to move.
- Visible, not loud. Drop the opacity to 70–85 % so it reads at a glance without fighting the content.
- Clear of the UI. Bottom-right is usually safe; avoid the bottom band where platform buttons sit.
Step 4 — Add intro/outro bumpers
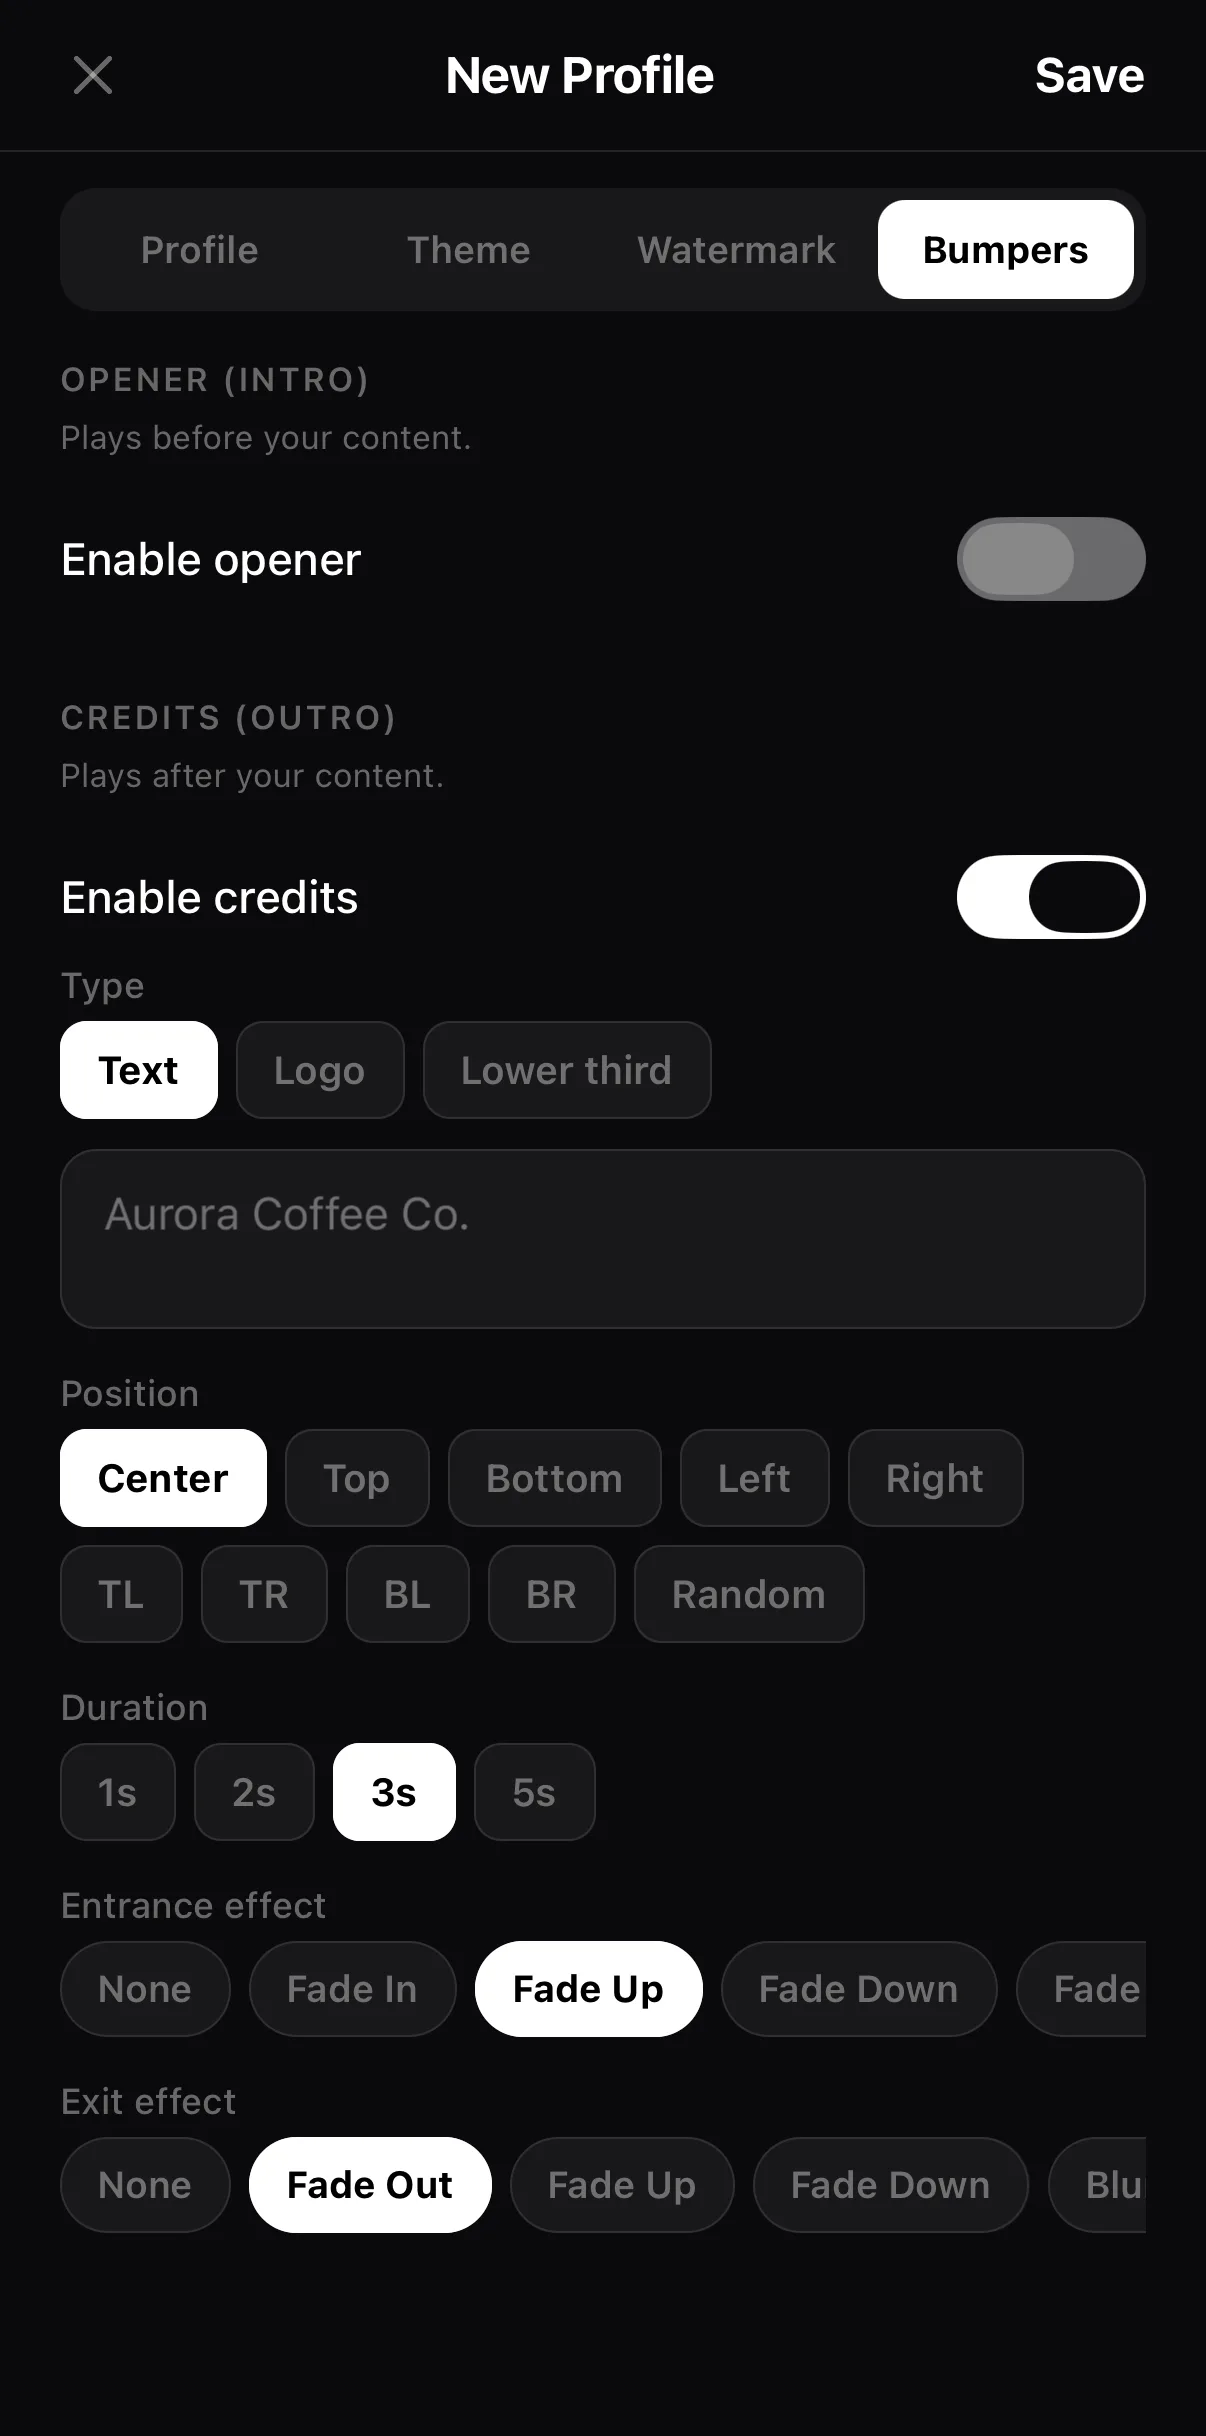 Enable credits
Text · Logo · Lower third
1–5 s
Enable credits
Text · Logo · Lower third
1–5 s
An opener is a great place for a logo sting; credits are where your handle and slogan go. Both default to your profile’s name, so most of the time it’s just a toggle.
Add a logo to a single video instead
Don’t need a whole profile? In the editor, tap the big + and choose Logo.
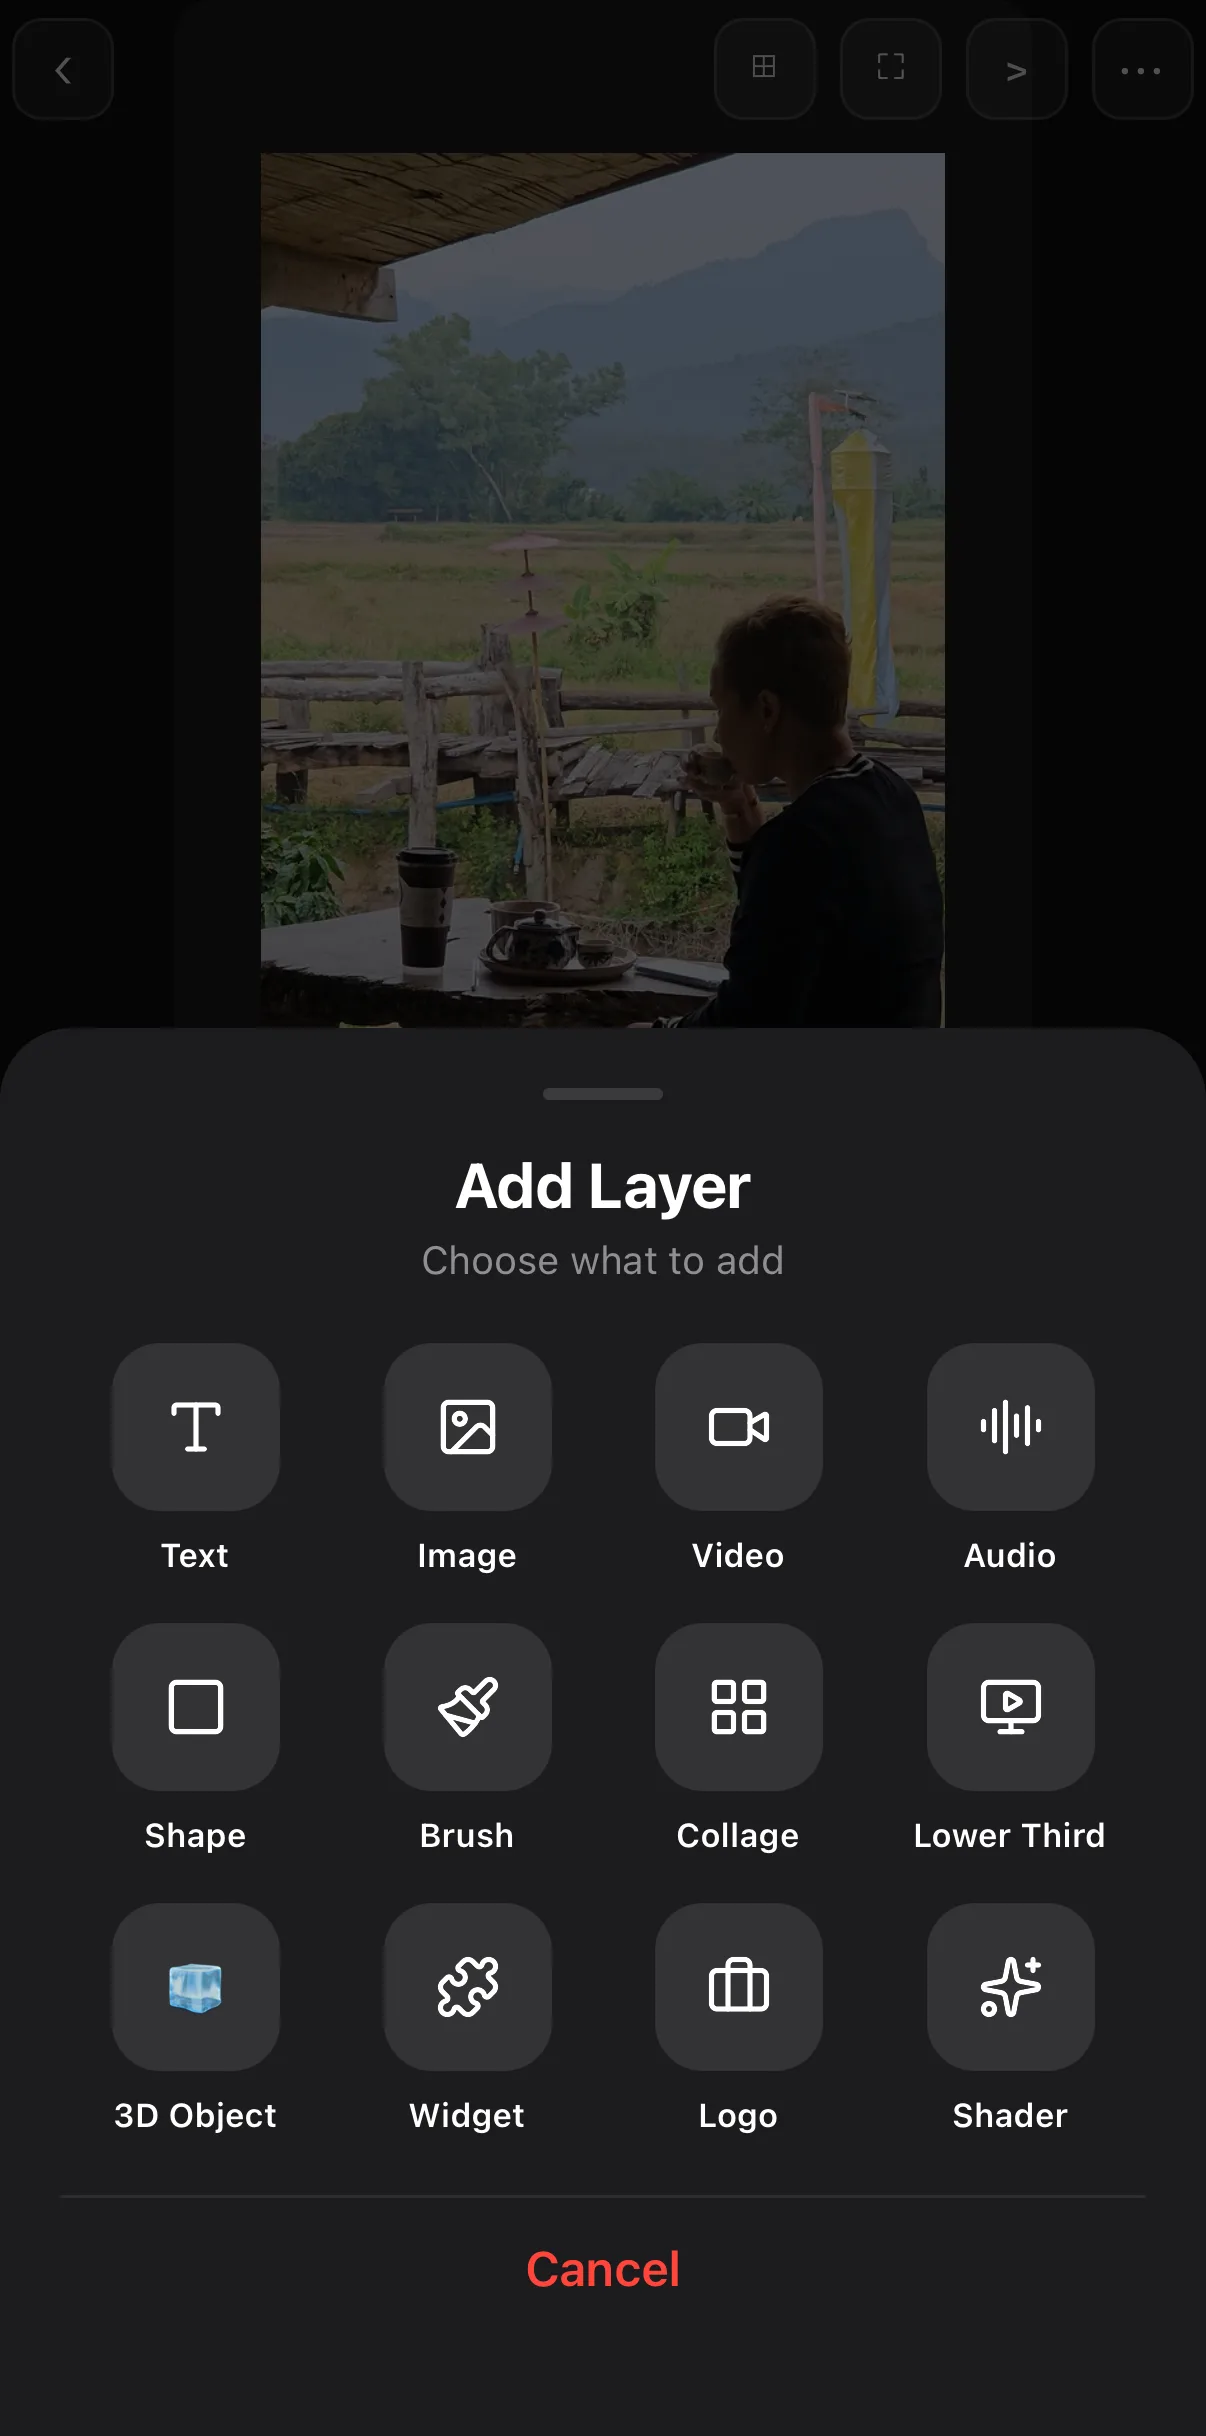 Logo
Logo
Tap + ▸ Logo
The Select Logo sheet lists your saved brand logos; Choose Image picks any photo from your library. There’s a Crop button if the mark needs tidying up.
Resize it
With the logo selected, tap the pencil (Edit) and type a small W and H — around 80–100 on a 9:16 canvas — or pinch on the canvas.
Drag it into a corner
Drop it top-right or bottom-right, then tap ✕ to leave Edit mode.
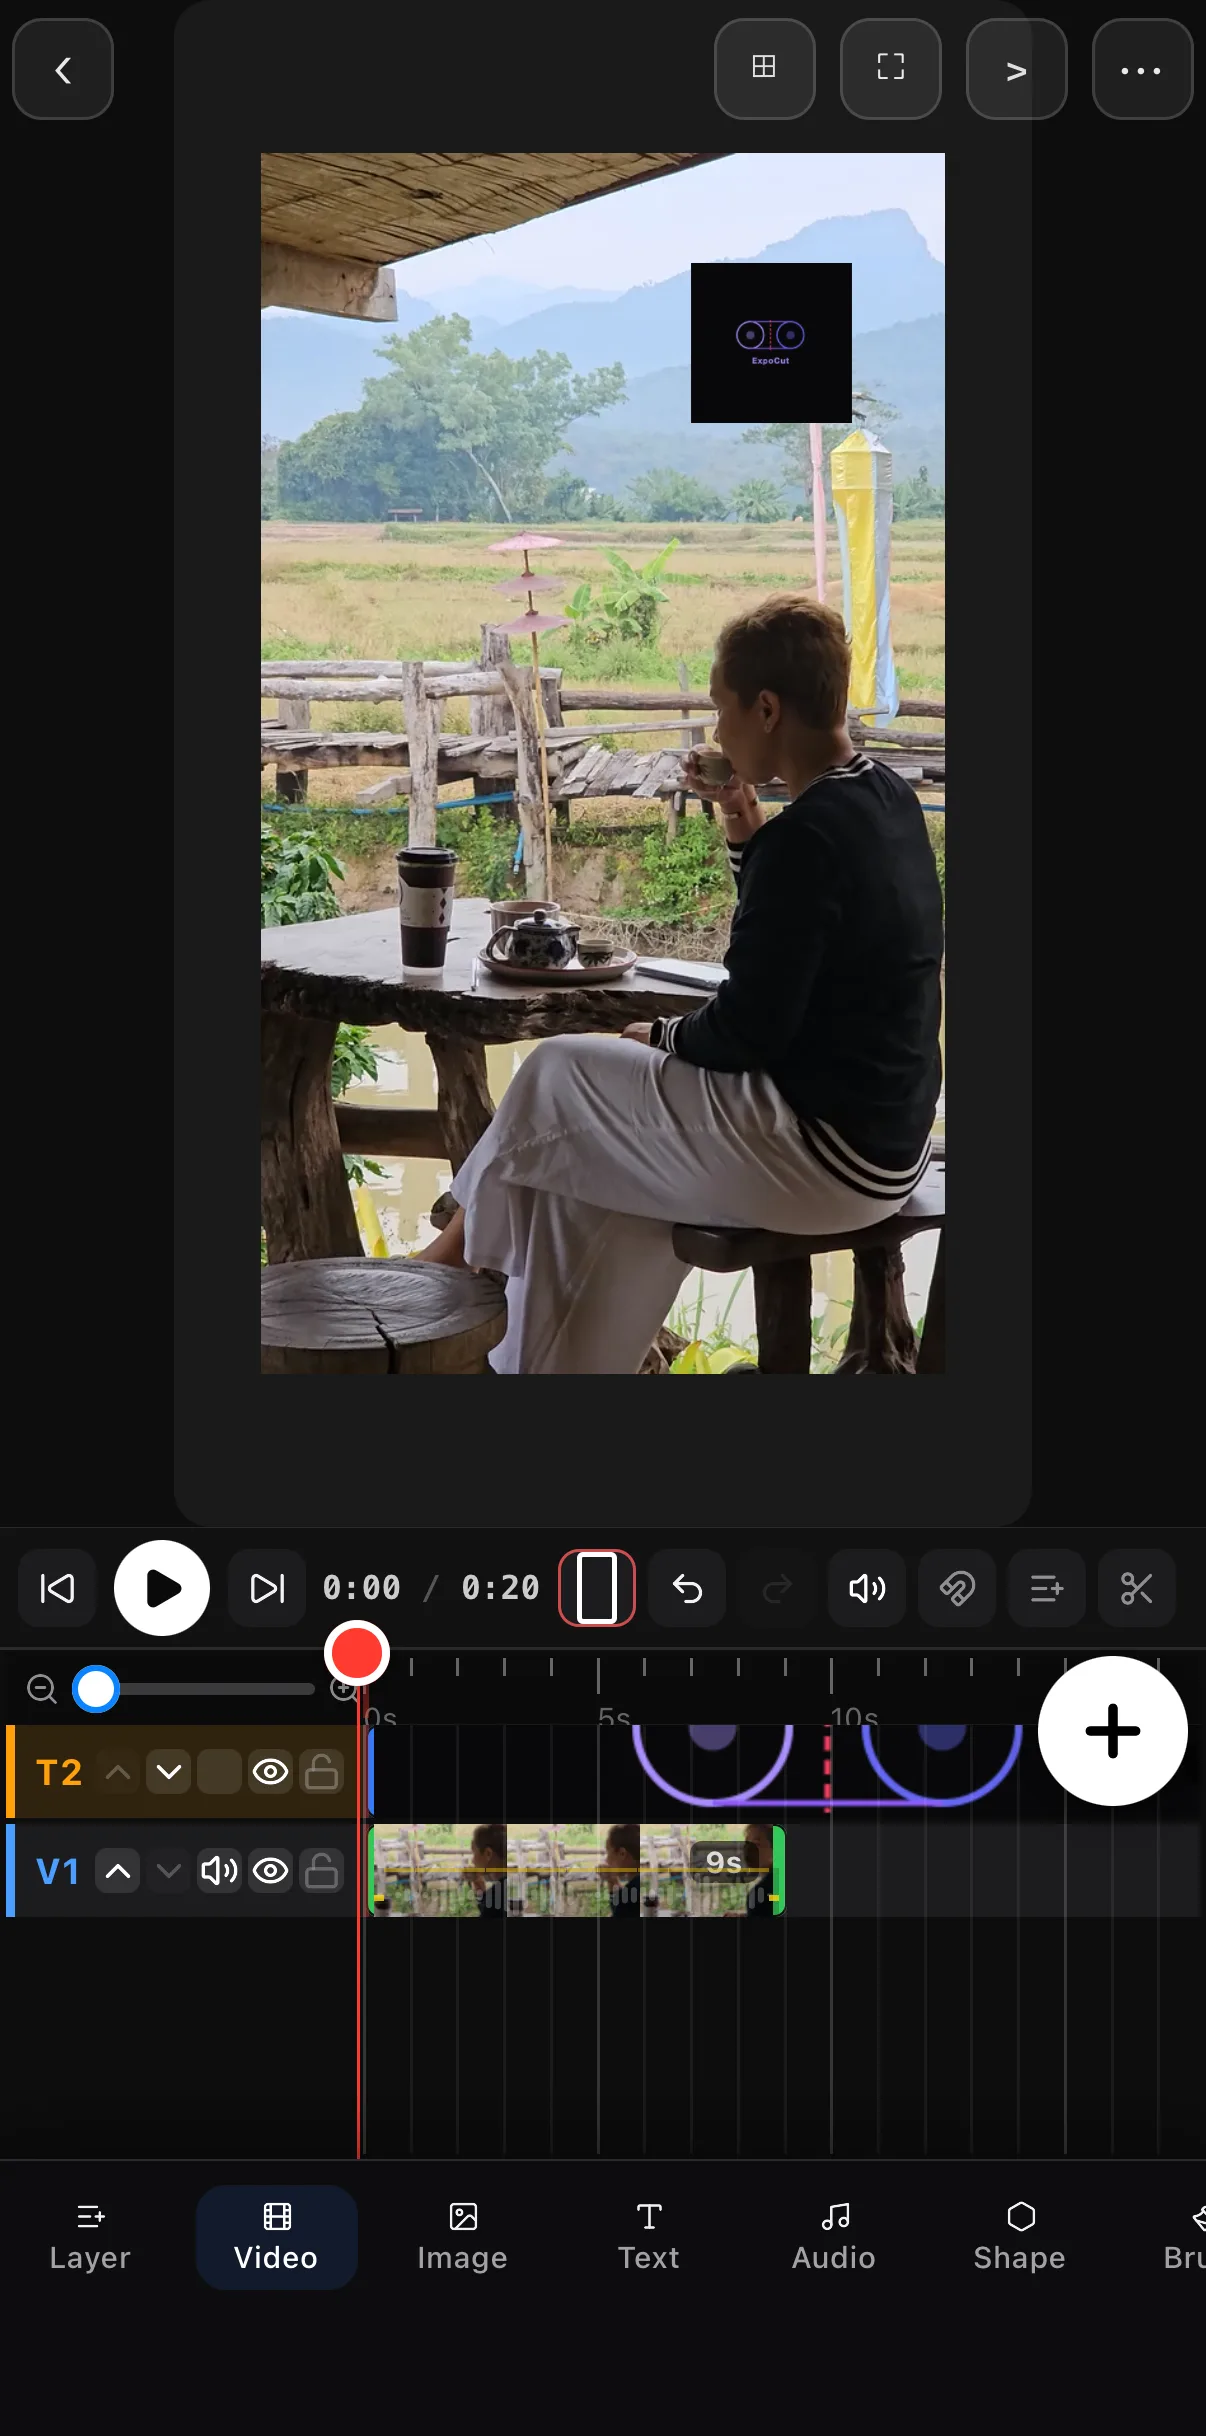 Logo bug, top-right
A logo layer gets the image toolbar — Trim, Crop, Replace, Fade, Chroma Key — so a logo on a flat colour background can be keyed to transparent in a tap.
Step 5 — Know what the export adds
On export the picture is never watermarked — your own bug is the only mark on it. On the Free plan the finished video ends with a short 3-second ExpoCut outro; Pro and Elite exports are completely clean, so what you see on the canvas is the whole file.
Where to go next
- Reuse a whole branded layout: templates & Reels.
- Style your branded titles: text & titles.
- Animated name tags: lower thirds.
- Final output options: best export settings.
Save it once, apply it everywhere — a brand profile is the difference between “some videos” and “a channel people recognize.”
Frequently asked questions
How do I add my logo to a video?
Two ways. For every video: open Settings ▸ Brand & Influencer, create a profile with your logo, and enable the Watermark tab — the default profile is applied automatically on export. For one video: in the editor tap + ▸ Logo, pick any image, then resize and drag it into a corner.
How do I add or remove a watermark?
Your own watermark lives in the brand profile's Watermark tab — switch it on or off there. The picture is never stamped by ExpoCut: Free exports end with a short 3-second ExpoCut outro, and Pro and Elite exports are completely clean.
What should a brand kit include?
Your logo, a slogan, your social handles and contact info, your brand colours, a corner watermark, and optional intro/outro bumpers. Saved once, the profile applies across projects so every video matches without rebuilding the branding each time.
Can I keep more than one brand profile?
Yes. Brand Profiles lists every profile you save; the one marked Default is auto-selected on export, and you can edit or delete the rest at any time.
Related guides
Brand every post in one tap
Save your logo, colours and handles once — every export carries them. Consistent branding that builds a recognizable channel.
Get ExpoCut Browse all guides