How to Add Animated Text & Titles to a Video
A title in the first second decides whether someone keeps watching. Here’s how to add text to a video on your phone, style it so it’s readable, and animate it in so it arrives with intention instead of just popping onto the screen.
Quick answer
Tap Text in the bottom bar, choose Text, and type into the text tray that slides up under the canvas. Pick a preset on the Style tab, a typeface on Fonts, colour and size on Text, then open Animate ▸ Starting and tap an entrance such as Fade In or Classic Typewriter. Drag the title into the upper third, tap ✓, and stretch its row on the timeline to set how long it stays.
- The text tray opens on Style; its five tabs are Text · Style · Fonts · Axes · Animate.
- Every Starting / Loop / Ending tile previews on your own text, and the pick plays once on the canvas.
- ‹ › discs set the wrap width; the corner grip scales and rotates; pinch works too.
- Text rows always stack at the top of the timeline.
The first second of a video is the most valuable real estate you have. A title that tells viewers what they’re watching — and animates in with a little motion — is the difference between a scroll-past and a watch. Here’s how to add animated text and titles to a video on your phone.
Text is its own layer
The key idea: a title isn’t “on” your video, it’s a separate layer stacked above it on the timeline. That means you control exactly when it appears, how long it stays, and how it animates — independently of your footage. (New to layers and the timeline? Start with the mobile video editor guide.)
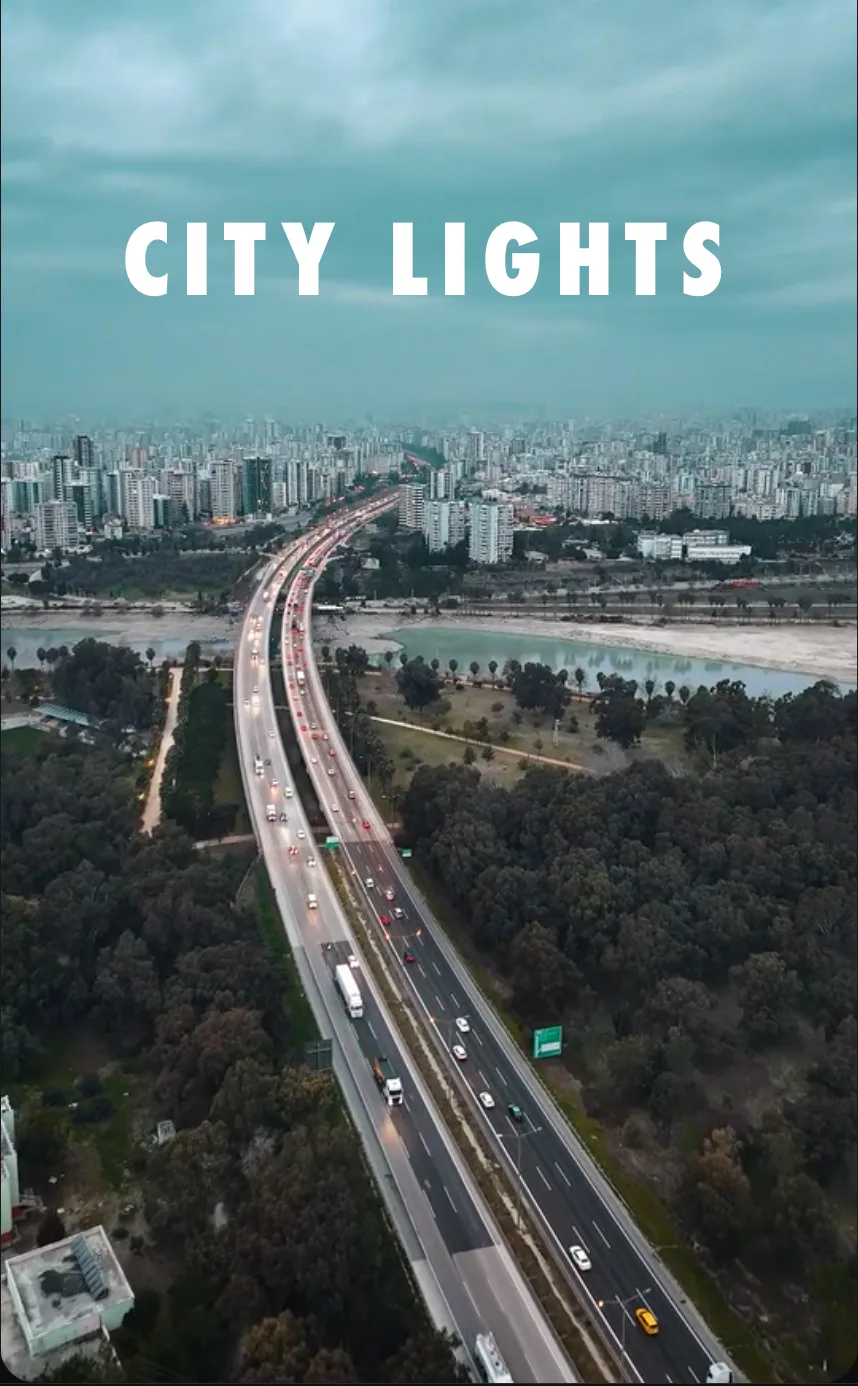
Step 1 — Add and place the text
Add a text layer
With nothing selected, tap Text in the bottom bar and choose Text from the fan-out. A text box lands on the canvas and the text tray slides up underneath it — the canvas stays visible, because the canvas is the preview.
Type your headline
Type into the field at the top of the tray (the ⤢ button expands it for longer copy). Watch the words update live on your footage.
Style it in one tap
The tray opens on Style. Tap a preset — the Text Styles grid ranges from Clean White and Bold White to spaced-out HERO TITLE, boxed News Title and heavy IMPACT TITLE. Effects and Shades sit beside it for outlines, shadows and gradient backdrops.
Place it
Drag the title where you want it — the upper or middle third is safest, since the bottom is often covered by platform UI. Pinch to resize, drag the ‹ › handles to set how wide the box wraps, and use the corner grip to scale or rotate. Tap ✓ when you’re done.
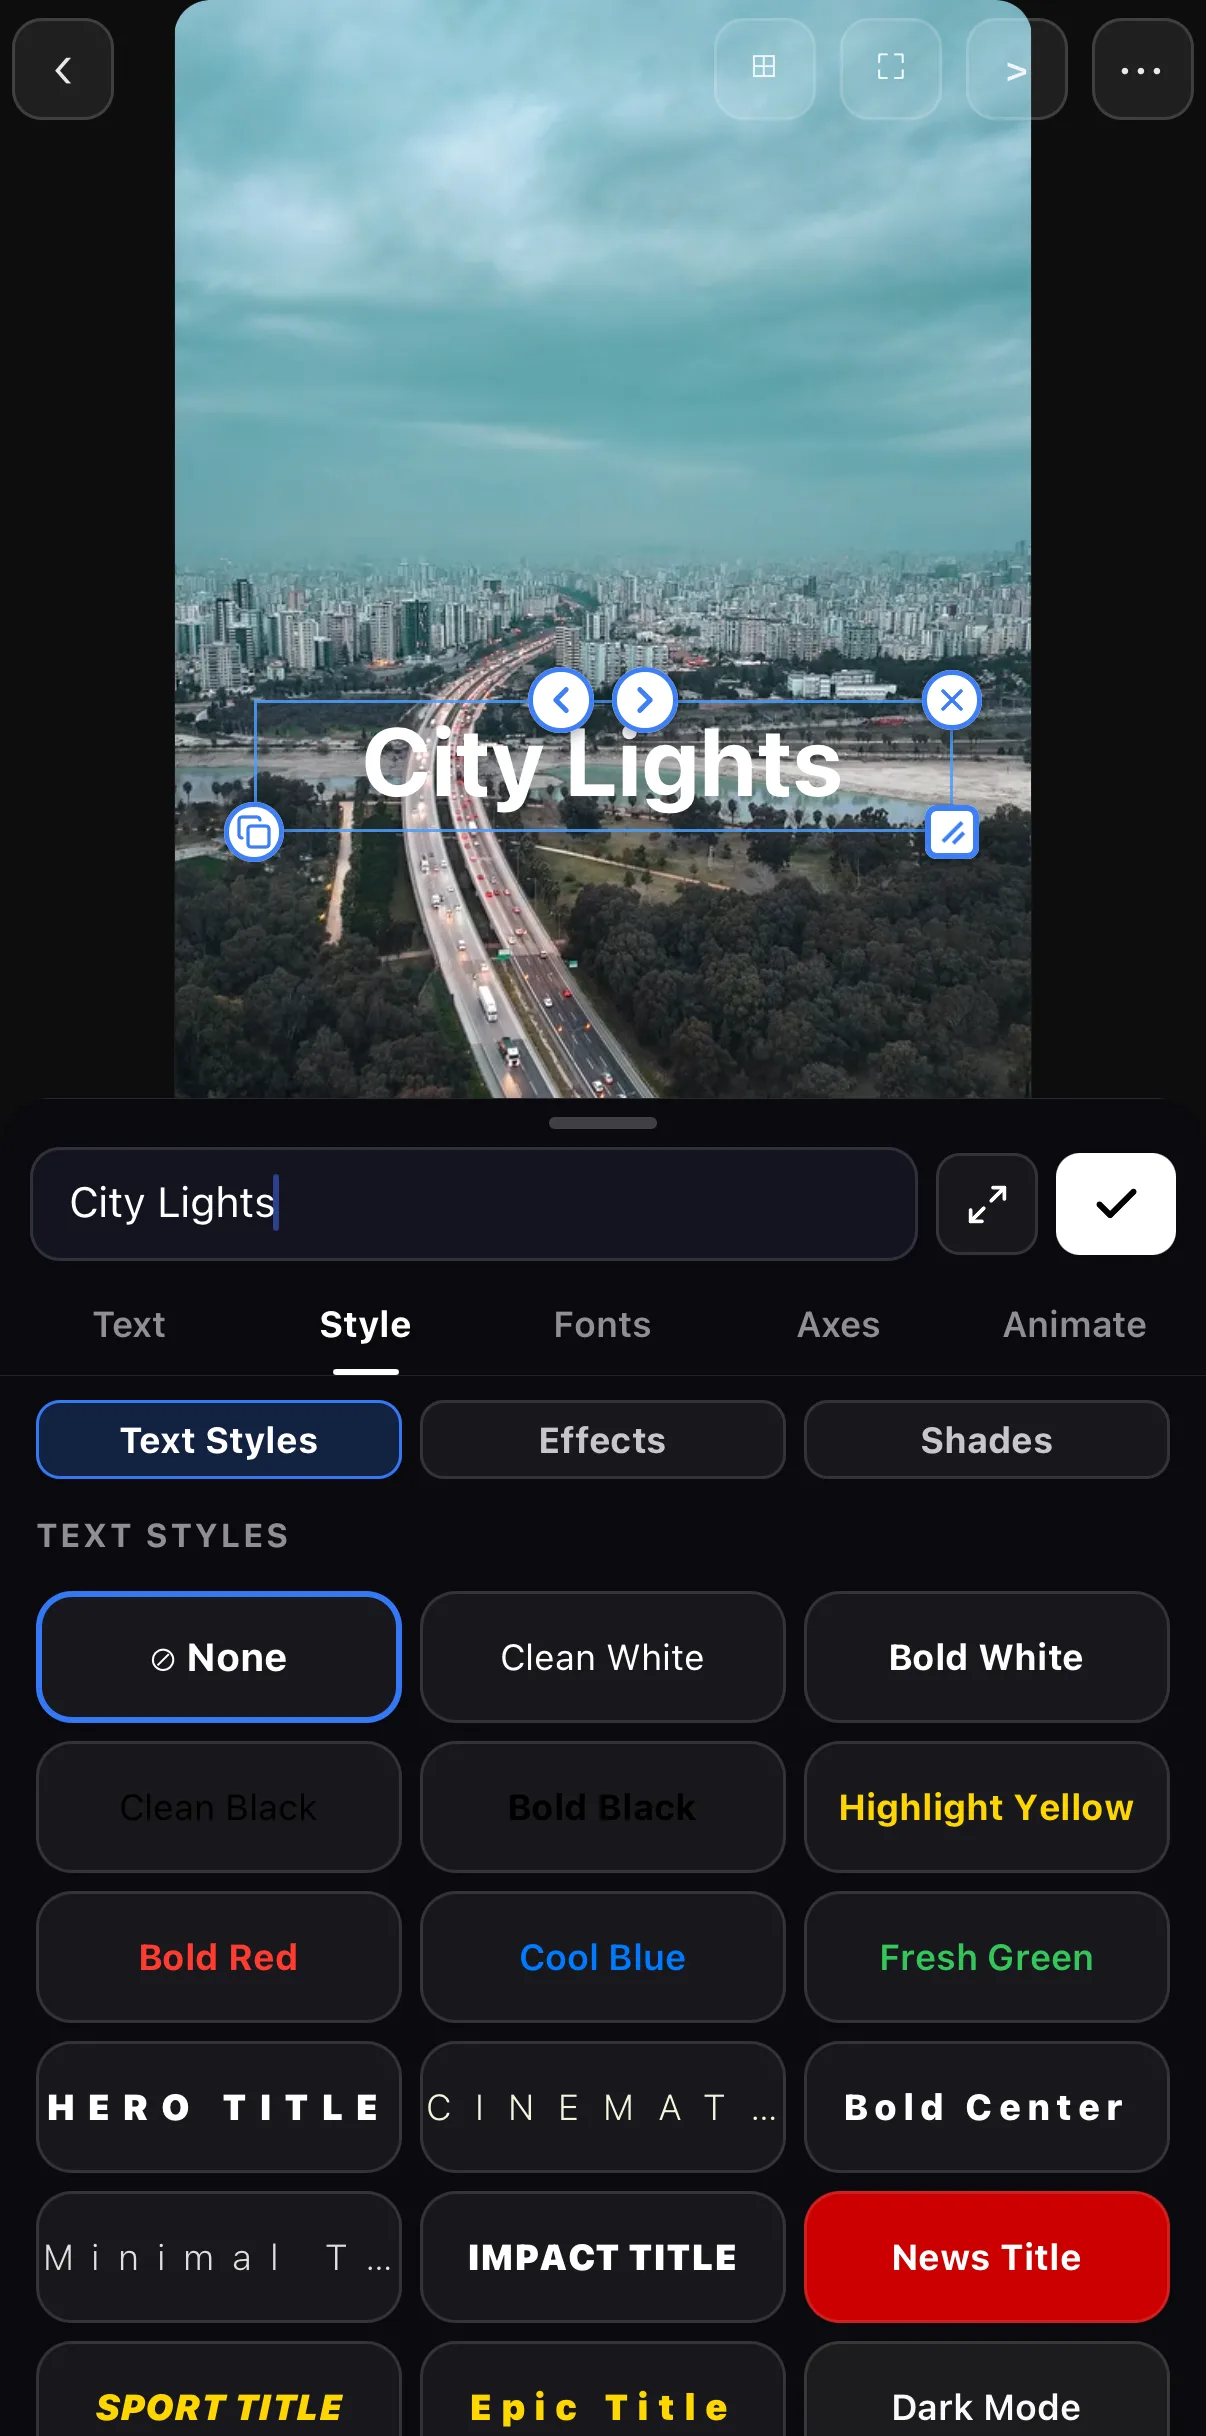 Type here
Text · Style · Fonts · Axes · Animate
One-tap styles
Type here
Text · Style · Fonts · Axes · Animate
One-tap styles
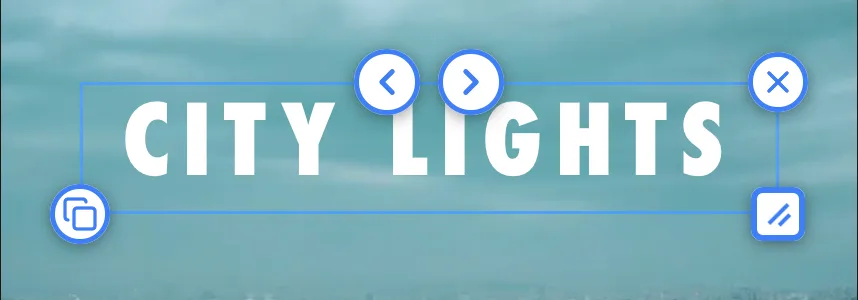 ‹ › wrap width
Grip — scale & rotate
Duplicate
‹ › wrap width
Grip — scale & rotate
Duplicate
Make it readable
Open the Text tab for the fundamentals: colour swatches (tap … for the full picker), a Shade drop-down for gradient and mesh backdrops, alignment, size and line height scrubbers, and B / I / case chips. Pick a colour that contrasts the footage, and if the clip is bright or busy add an outline or shadow from Style ▸ Effects.
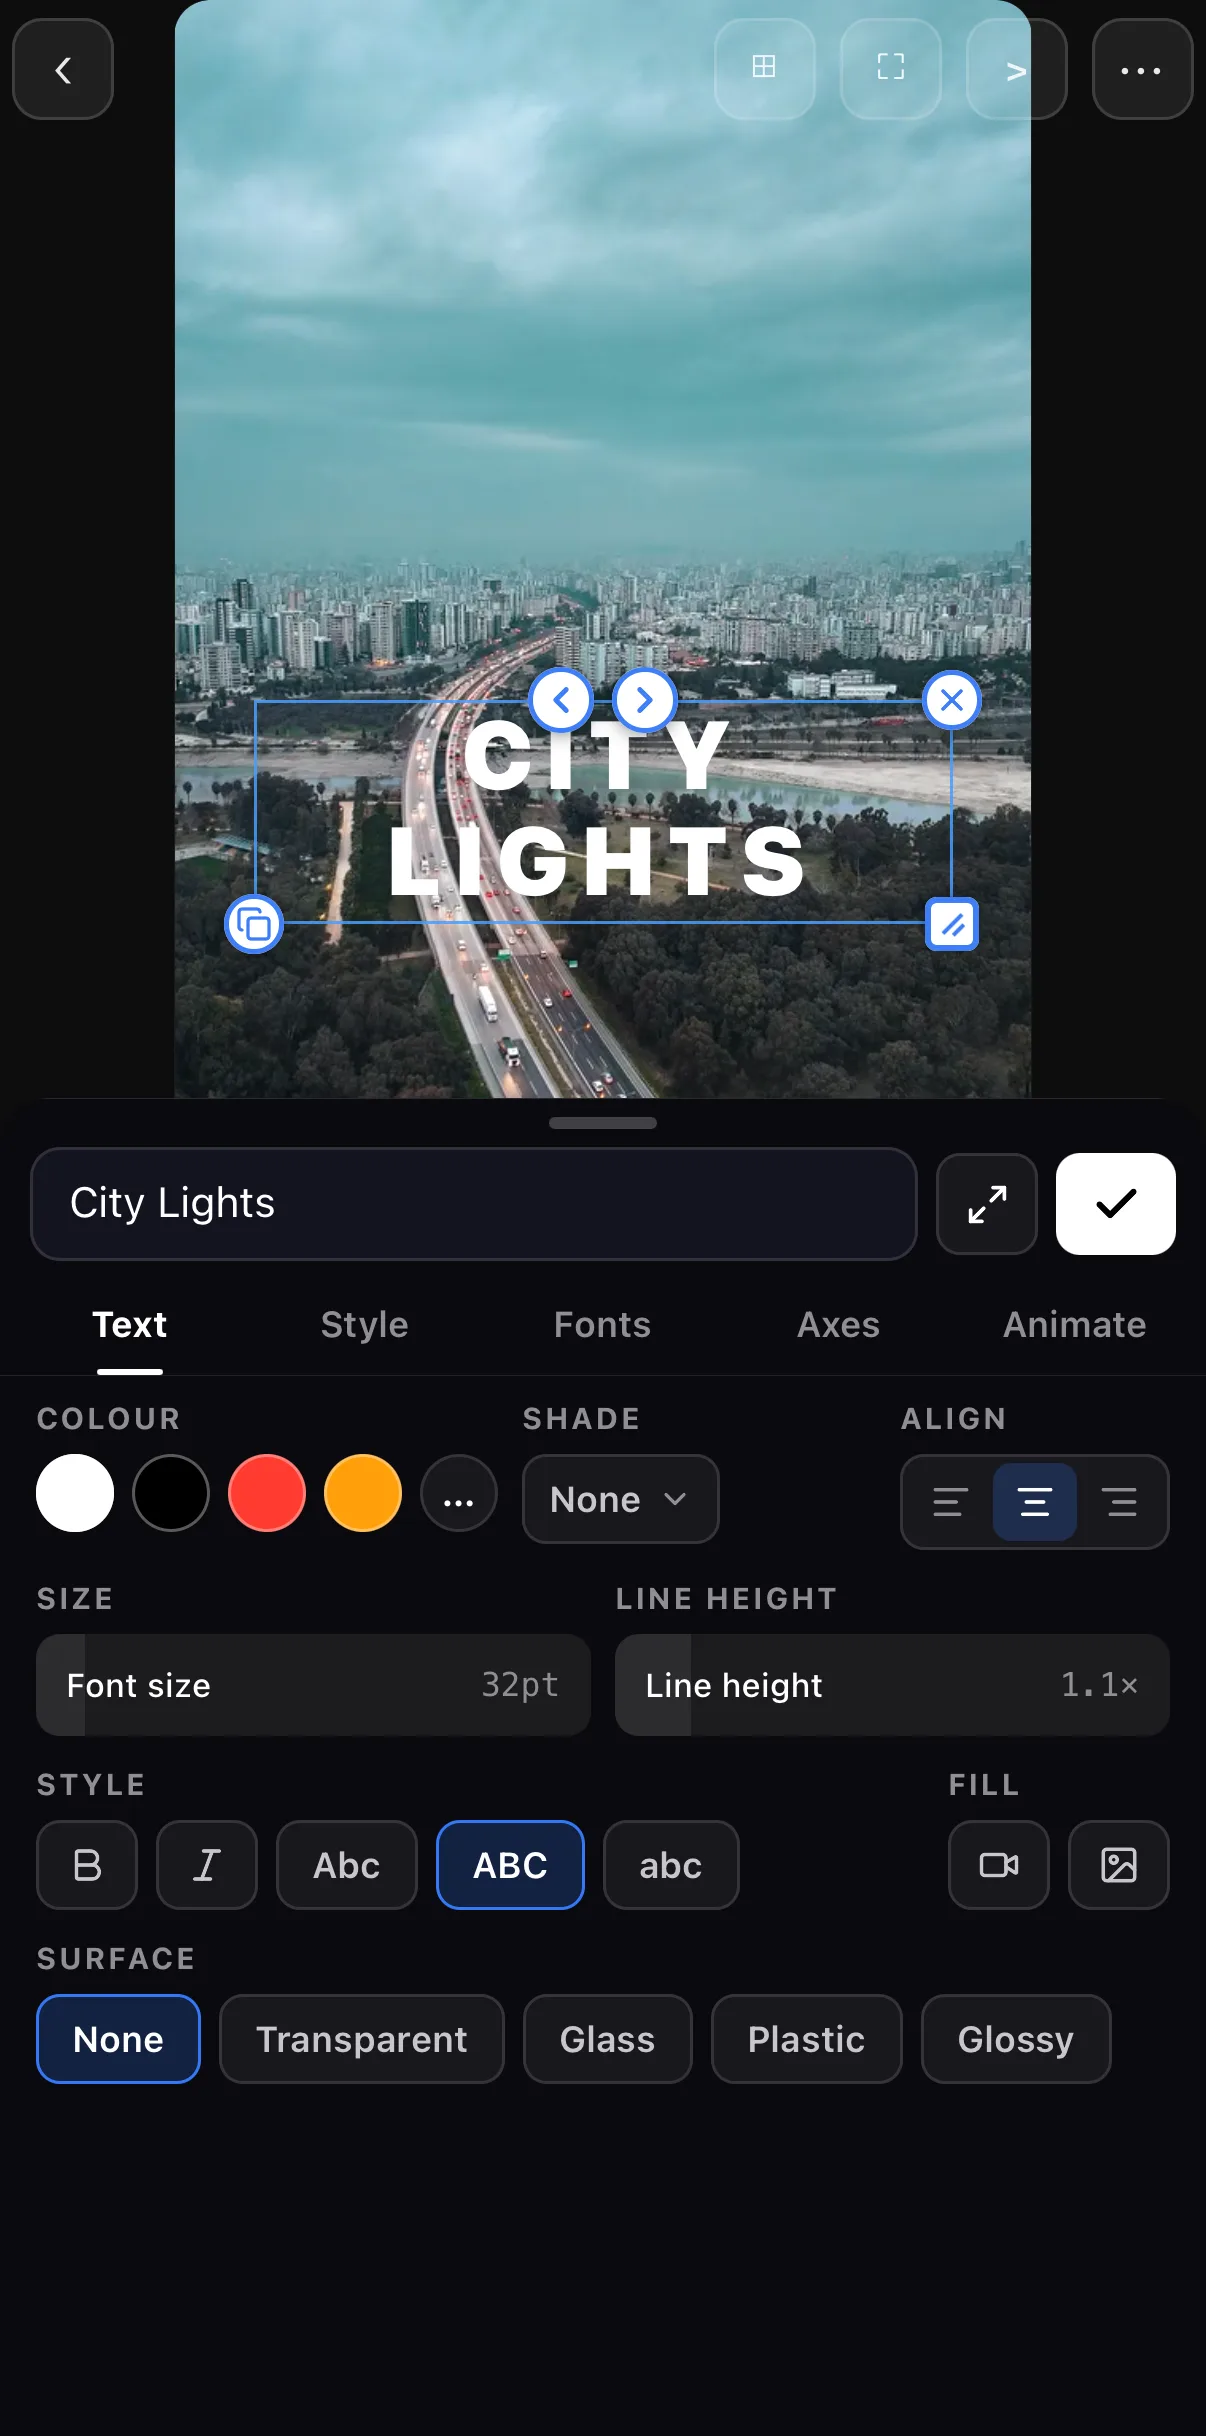 Fill
Surface
Fill
Surface
Pick a font
The Fonts tab renders every face as a real sample — System fonts, the whole Google Fonts catalogue, and dedicated Urdu and Arabic collections — four tiles to a row, with a search field on top. For titles, a bold, high-contrast sans-serif (Futura, DIN, Impact) stays readable at small sizes and over busy footage. One or two fonts per video, maximum.
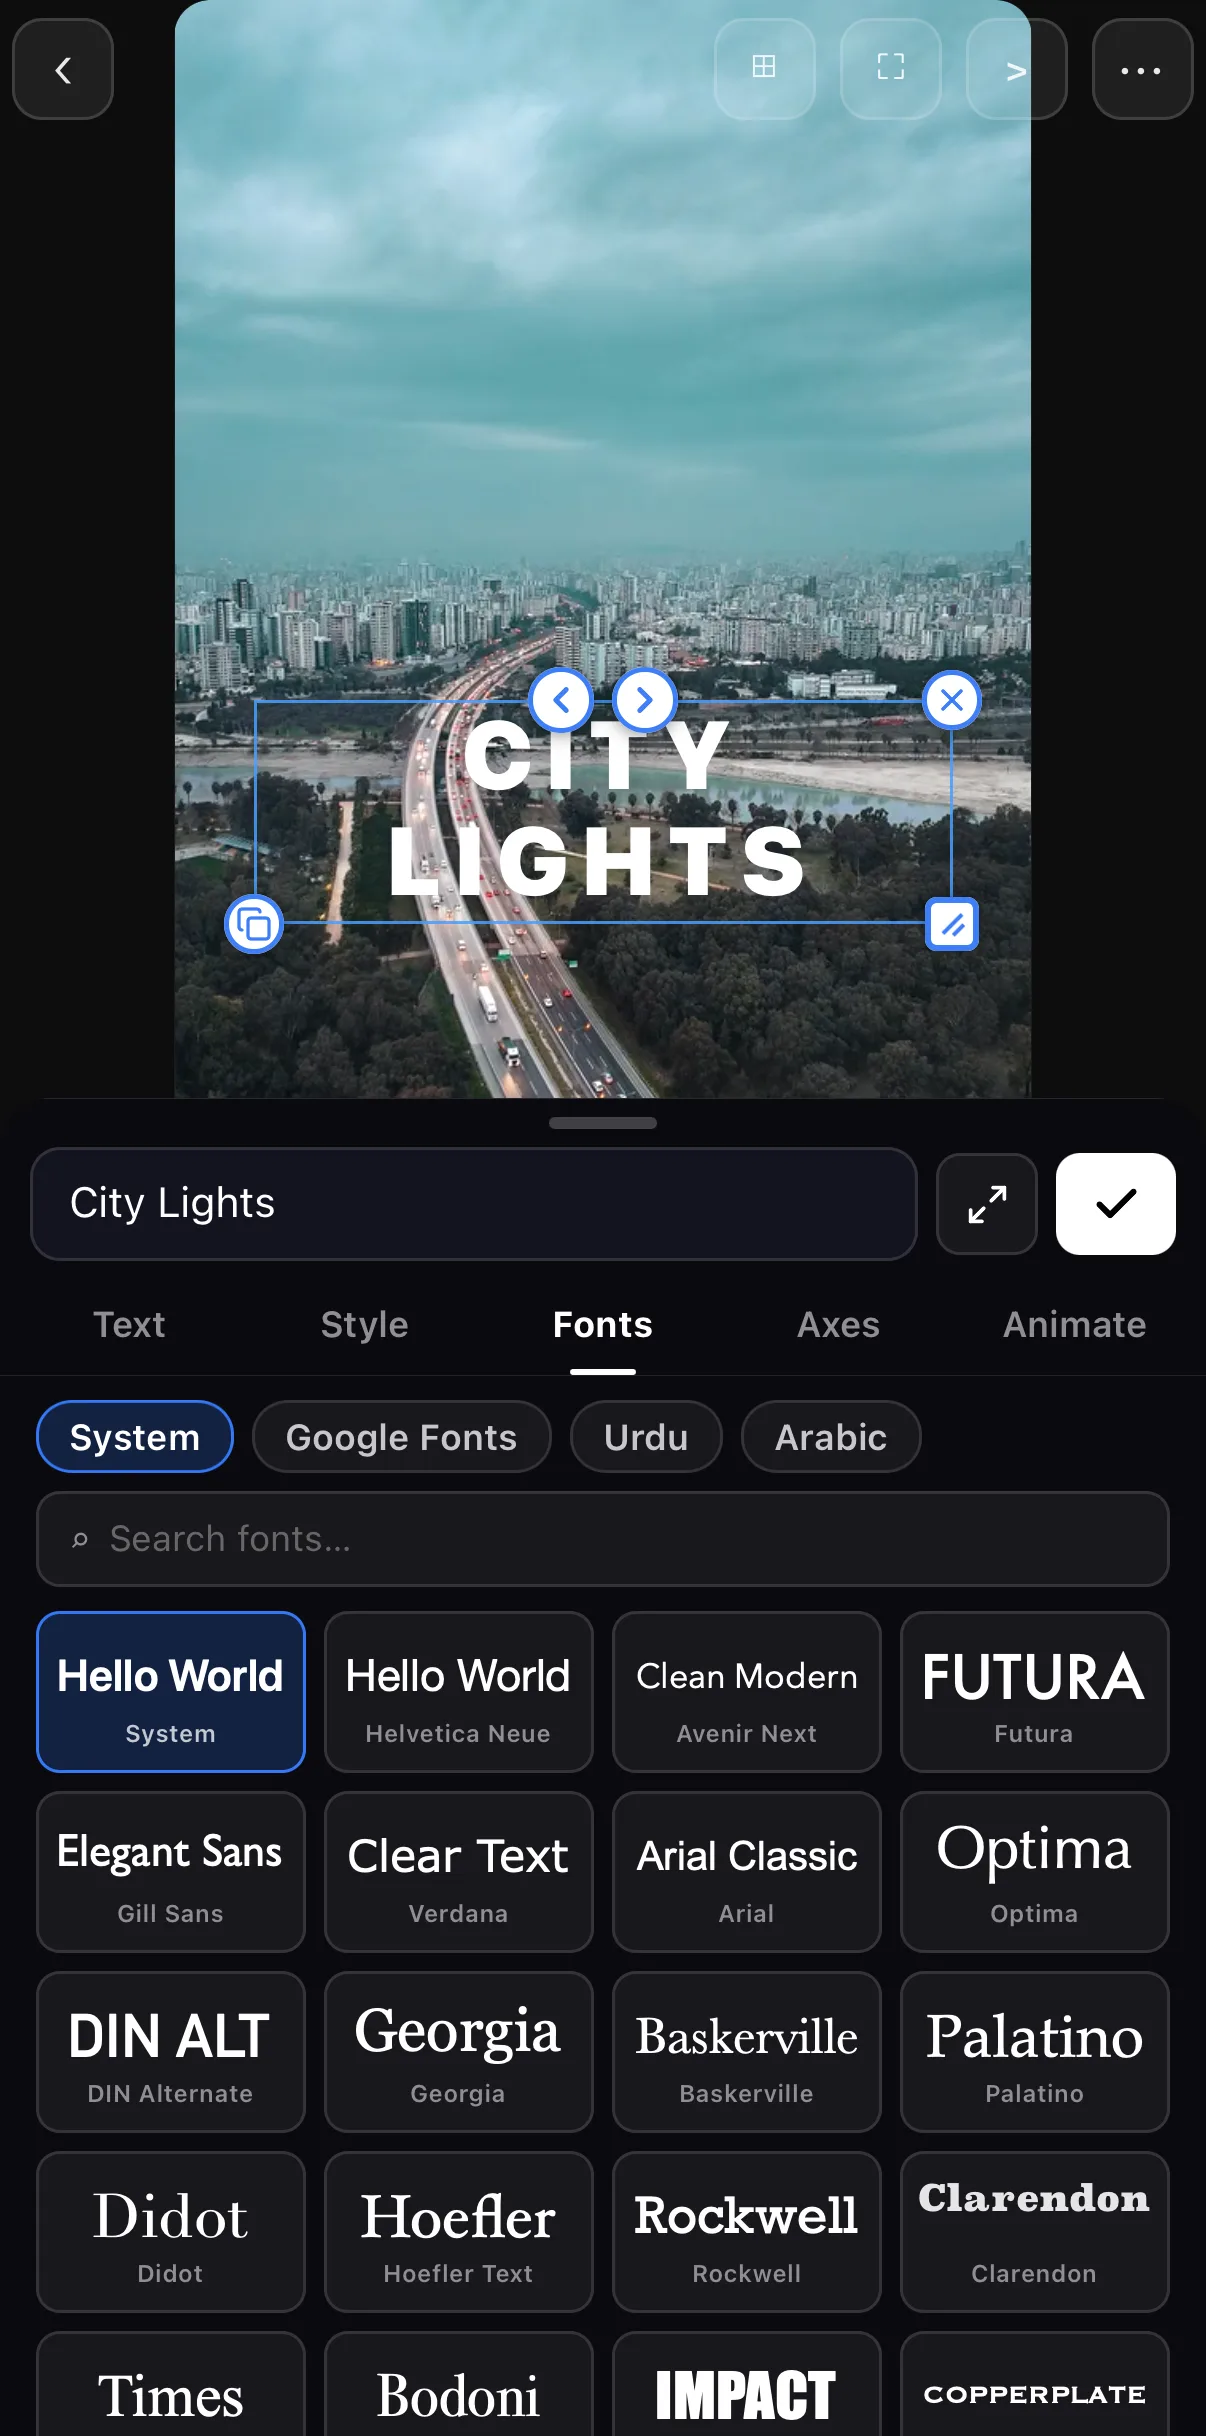 System · Google Fonts · Urdu · Arabic
Every font drawn in its own face
System · Google Fonts · Urdu · Arabic
Every font drawn in its own face
Step 2 — Animate it in
Static text pops in; animated text arrives. Open the Animate tab. Three rows — Loop, Starting and Ending — each take one behaviour. Tap + next to Starting to pick an entrance:
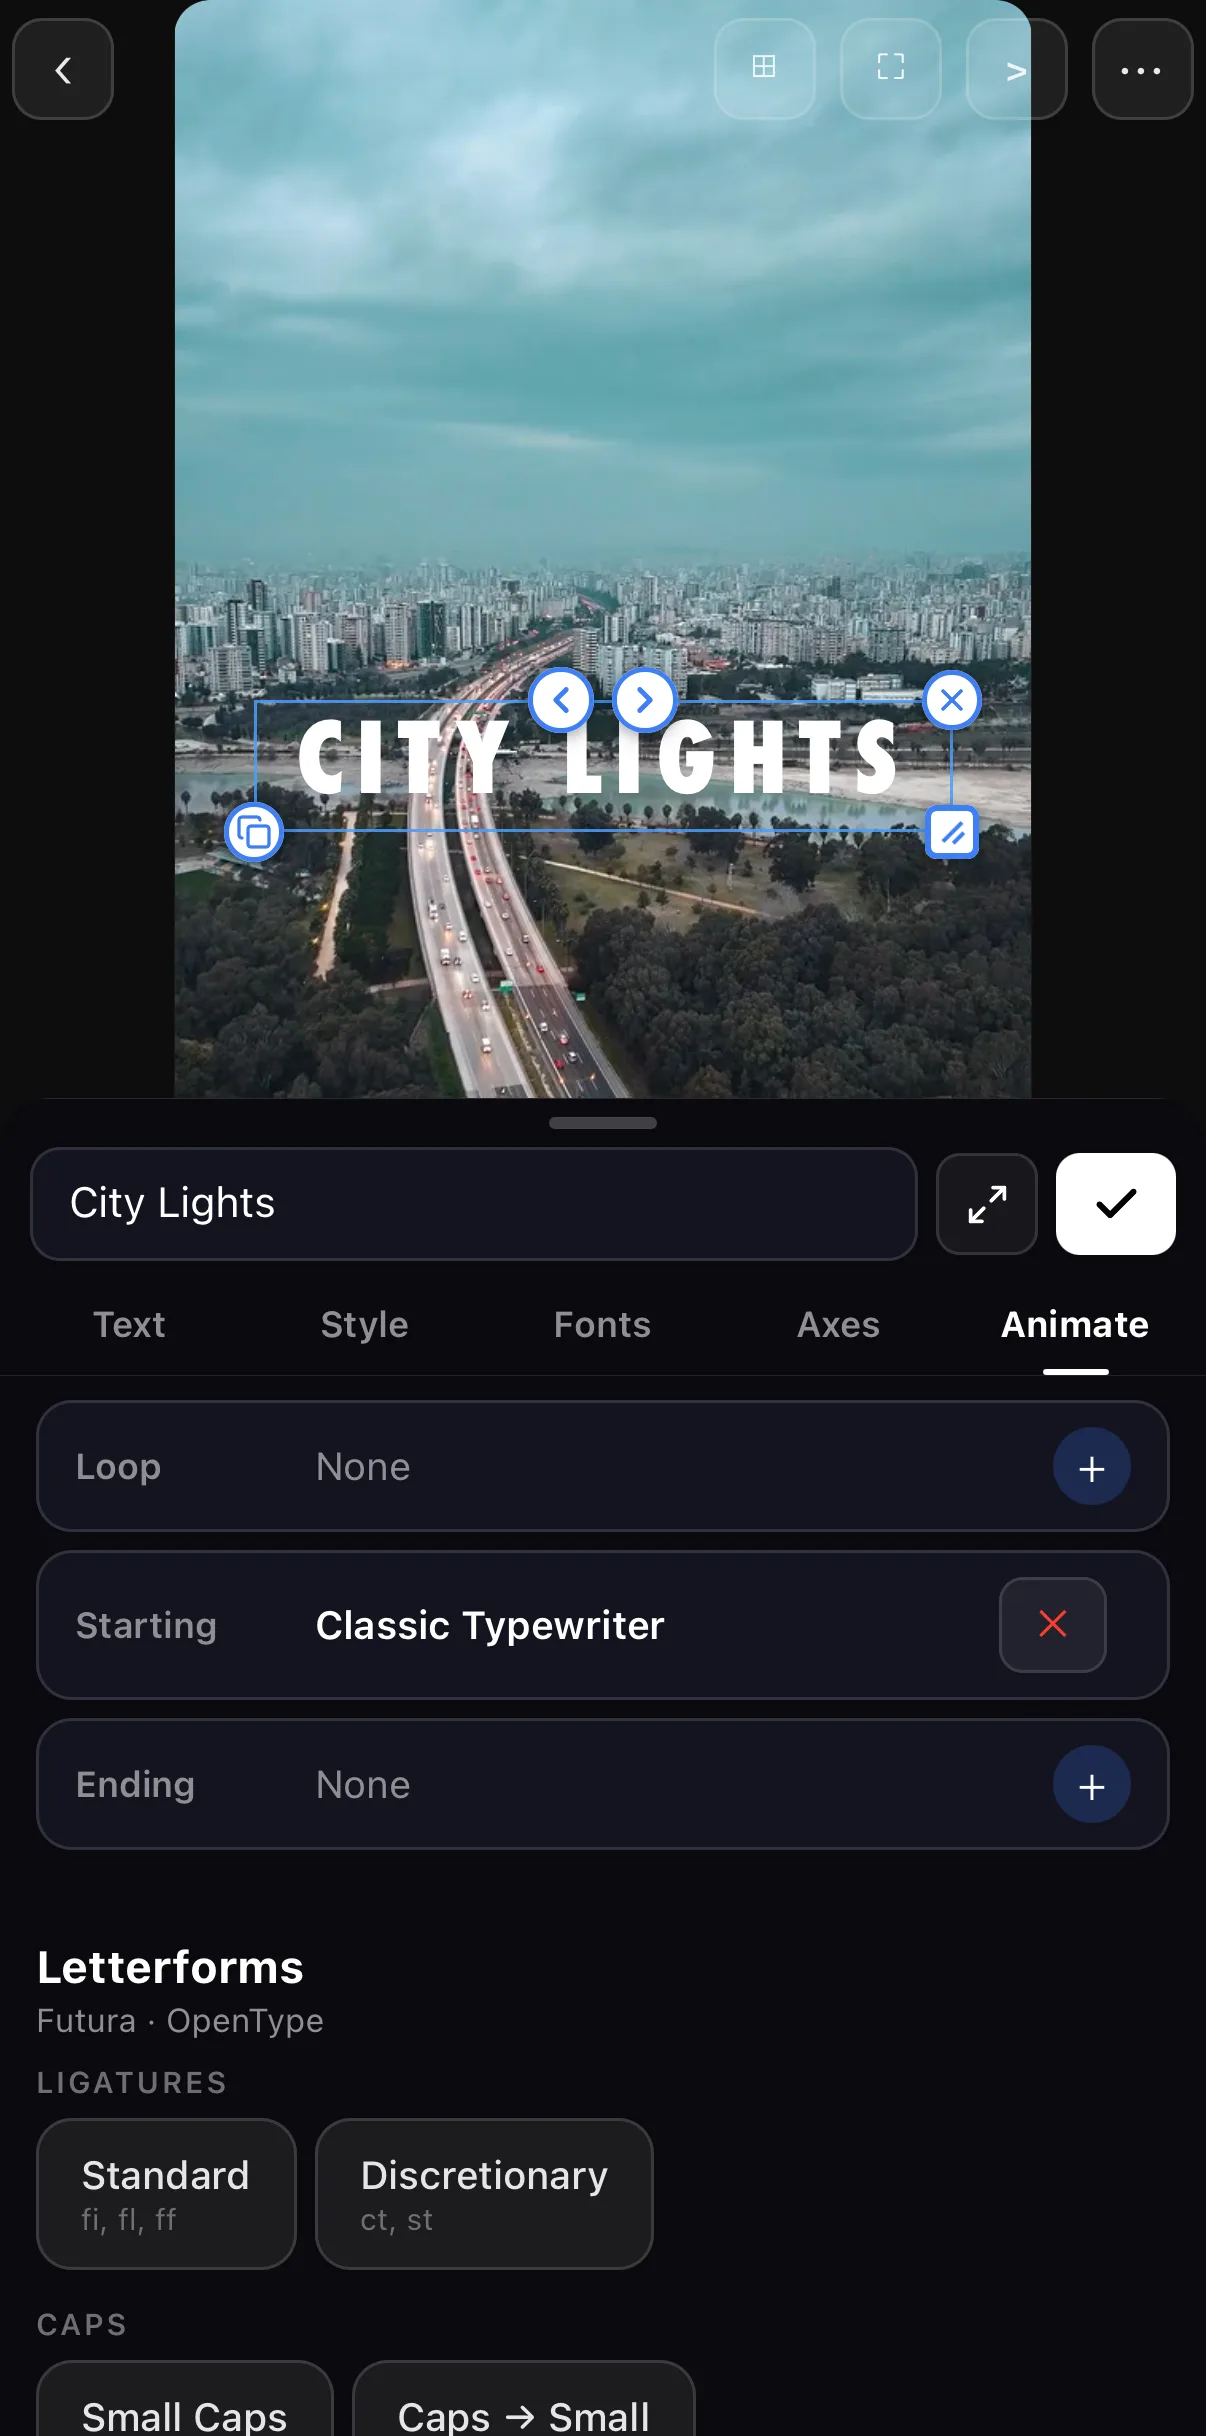 Loop — repeats while the title is on screen
Starting — the entrance
Loop — repeats while the title is on screen
Starting — the entrance
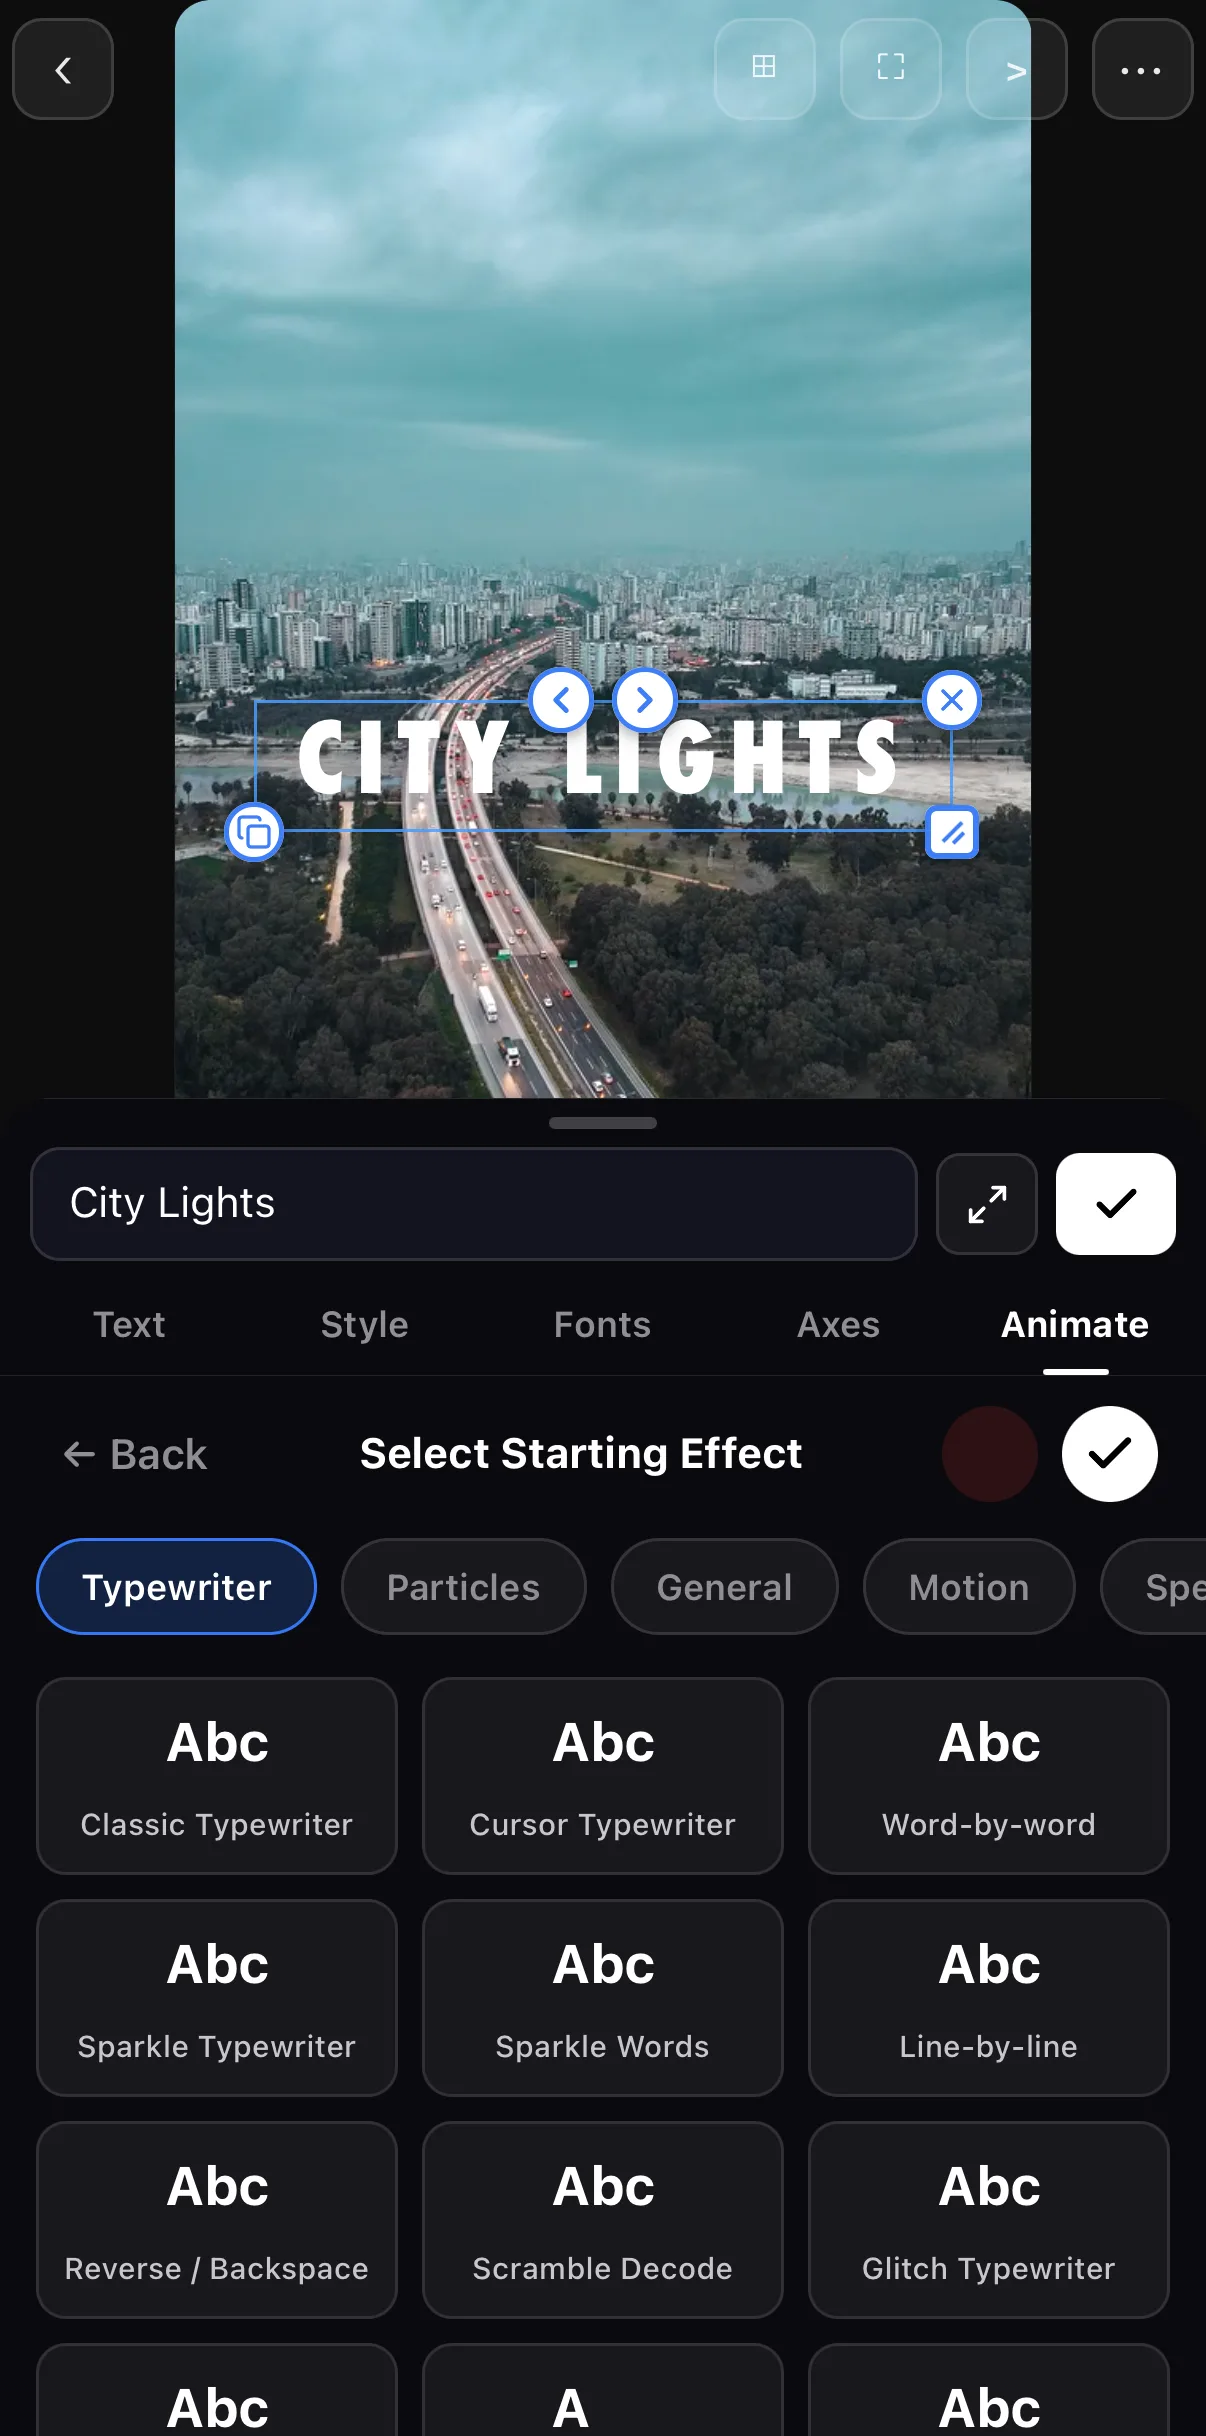 Typewriter · Particles · General · Motion · Special
Classic Typewriter
Sparkle Typewriter
Typewriter · Particles · General · Motion · Special
Classic Typewriter
Sparkle Typewriter
| Animation | Feel | Best for |
|---|---|---|
| Fade In (General) | Soft, neutral | Almost anything |
| Classic Typewriter | Deliberate, retro | Quotes, storytelling |
| Word-by-word | Punchy, modern | Captions, hype |
| Sparkle Typewriter / Particles | Playful, premium | Reveals, celebrations |
| Motion (Slide, Bounce, Zoom) | Energetic, directional | Hooks, lower-thirds |
Match the animation to the mood. A calm vlog wants a fade; a fast promo wants word-by-word or a motion pop. Set the Duration so the animation finishes before the viewer needs to read the line — the picked behaviour plays once on the canvas the moment you tap it, so you can judge it in context.
Captions matter more than titles. Most of social watches with the sound off. On-device auto-captions (Text ▸ Transcript) make your video understandable silent — and they keep viewers watching longer. Treat captions as a default, not an extra.
Step 3 — Time it on the timeline
Your title sits on its own T row at the top of the timeline. Drag it left or right to set when it appears; tap it and drag the trim handles — or pinch it with two fingers — to control how long it stays. A title usually lands in the first 1–2 seconds and holds for 2–4. Captions track the speech.
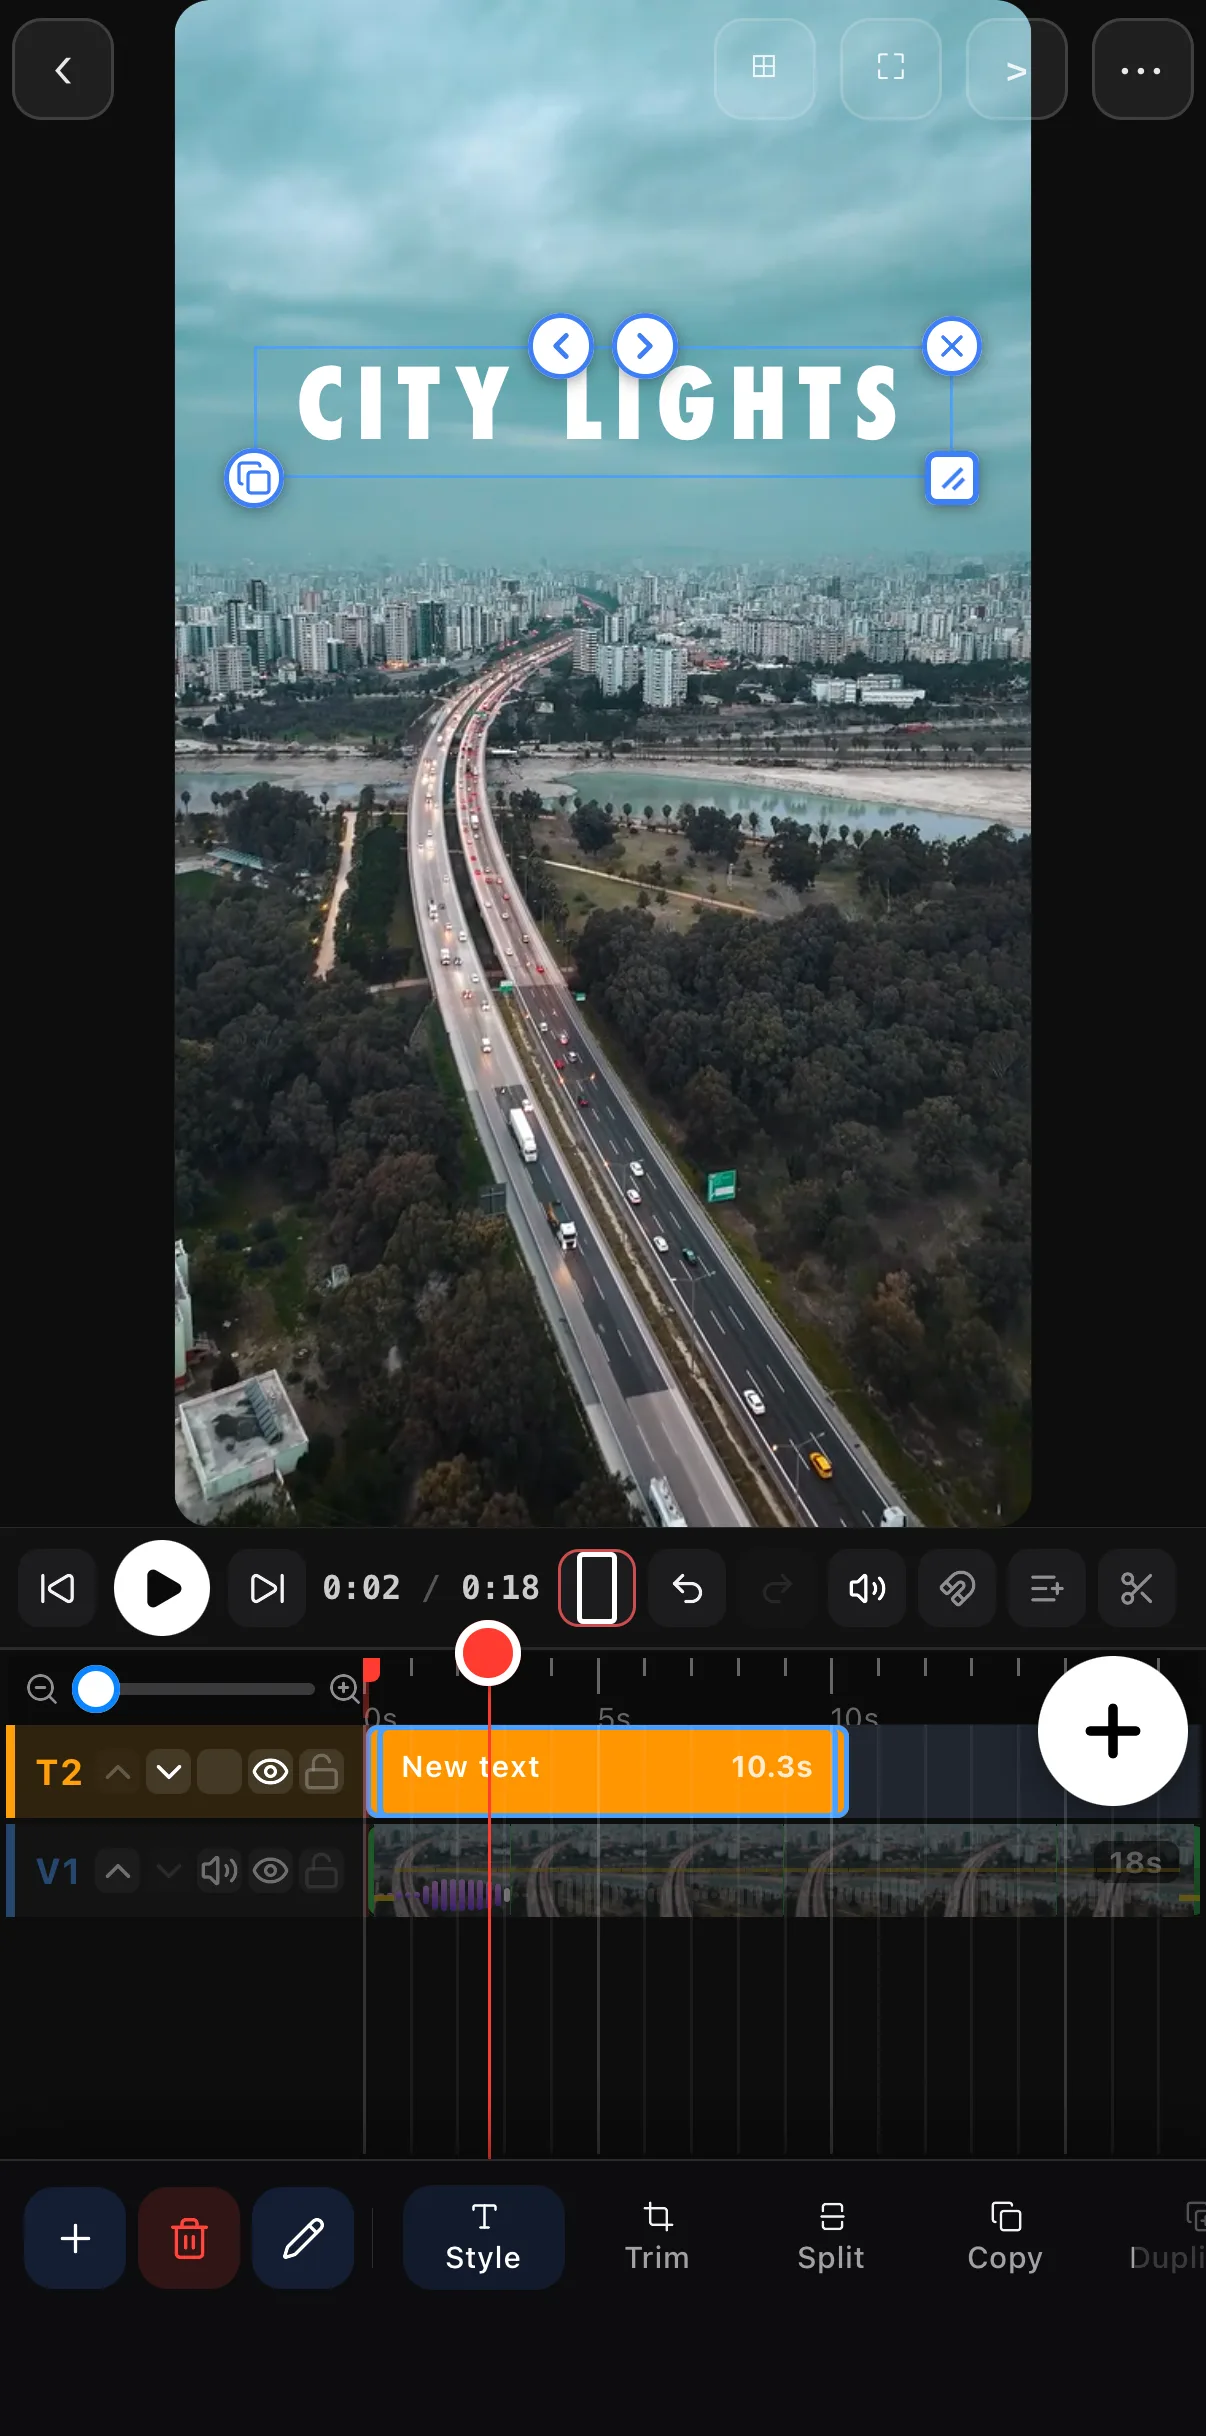 Drag to move · pinch or drag the ends to set how long it stays
Take it further
- Surfaces — the Text tab’s Surface row gives titles a transparent, glass, plastic or glossy finish.
- Particles & sparkles — the Particles family in the Starting picker adds companions that travel word to word.
- Kinetic typography — fully animated, moving text sequences for music and hype videos.
- Video-in-text — the Fill chips pour your footage into the letters for a striking title effect.
- Text on a path — the Axes tab bends a title along a wave, arch or circle, or lets it crawl along a motion path.
These richer text effects are part of the broader video effects toolkit — text animation is one of the six effect families.
Where to go next
- See text in a full edit: Make Your First Video.
- Typewriter and word-by-word in depth: kinetic typography.
- Footage inside the letters: video-in-text.
- Pair titles with color: Filters & LUTs.
A good title is small craft with big payoff. Add it, style it for readability, animate it with intention — and win the first second every time.
Frequently asked questions
How do I add text to a video on my phone?
Tap Text in the bottom bar, type your headline into the text tray that slides up under the canvas, then drag the title where you want it. It becomes its own row above your video, so you can position it in time and style it independently. Pick a style, a font and a Starting animation, and you're done.
How do I make text appear word by word?
In the text tray open Animate, tap + next to Starting and pick one of the Typewriter family — Classic, Word-by-word, Sparkle Typewriter and more. The text reveals one word (or letter) at a time, which draws the eye and is perfect for captions synced to speech. Set the Duration so it finishes before the line needs to be read.
What font should I use for video titles?
Use a bold, high-contrast sans-serif for titles — it stays readable at small sizes and on busy footage. Add a subtle shadow or a solid backdrop behind the text if your footage is bright. One or two fonts per video, maximum.
Related guides
Add a title to your next clip
Hundreds of fonts, one-tap styles, glass and particle surfaces and 300 text behaviours — all previewing live on your footage. Open a clip and drop on a title.
Get ExpoCut Browse all guides