Import a DaVinci .cdl Color Grade on Your Phone
On a real production the grade is decided on a desktop colorist’s suite — as an ASC CDL. ExpoCut speaks that format: import the .cdl and your phone edit carries the exact same primary grade. Here’s how to bring a desktop grade in.
Quick answer
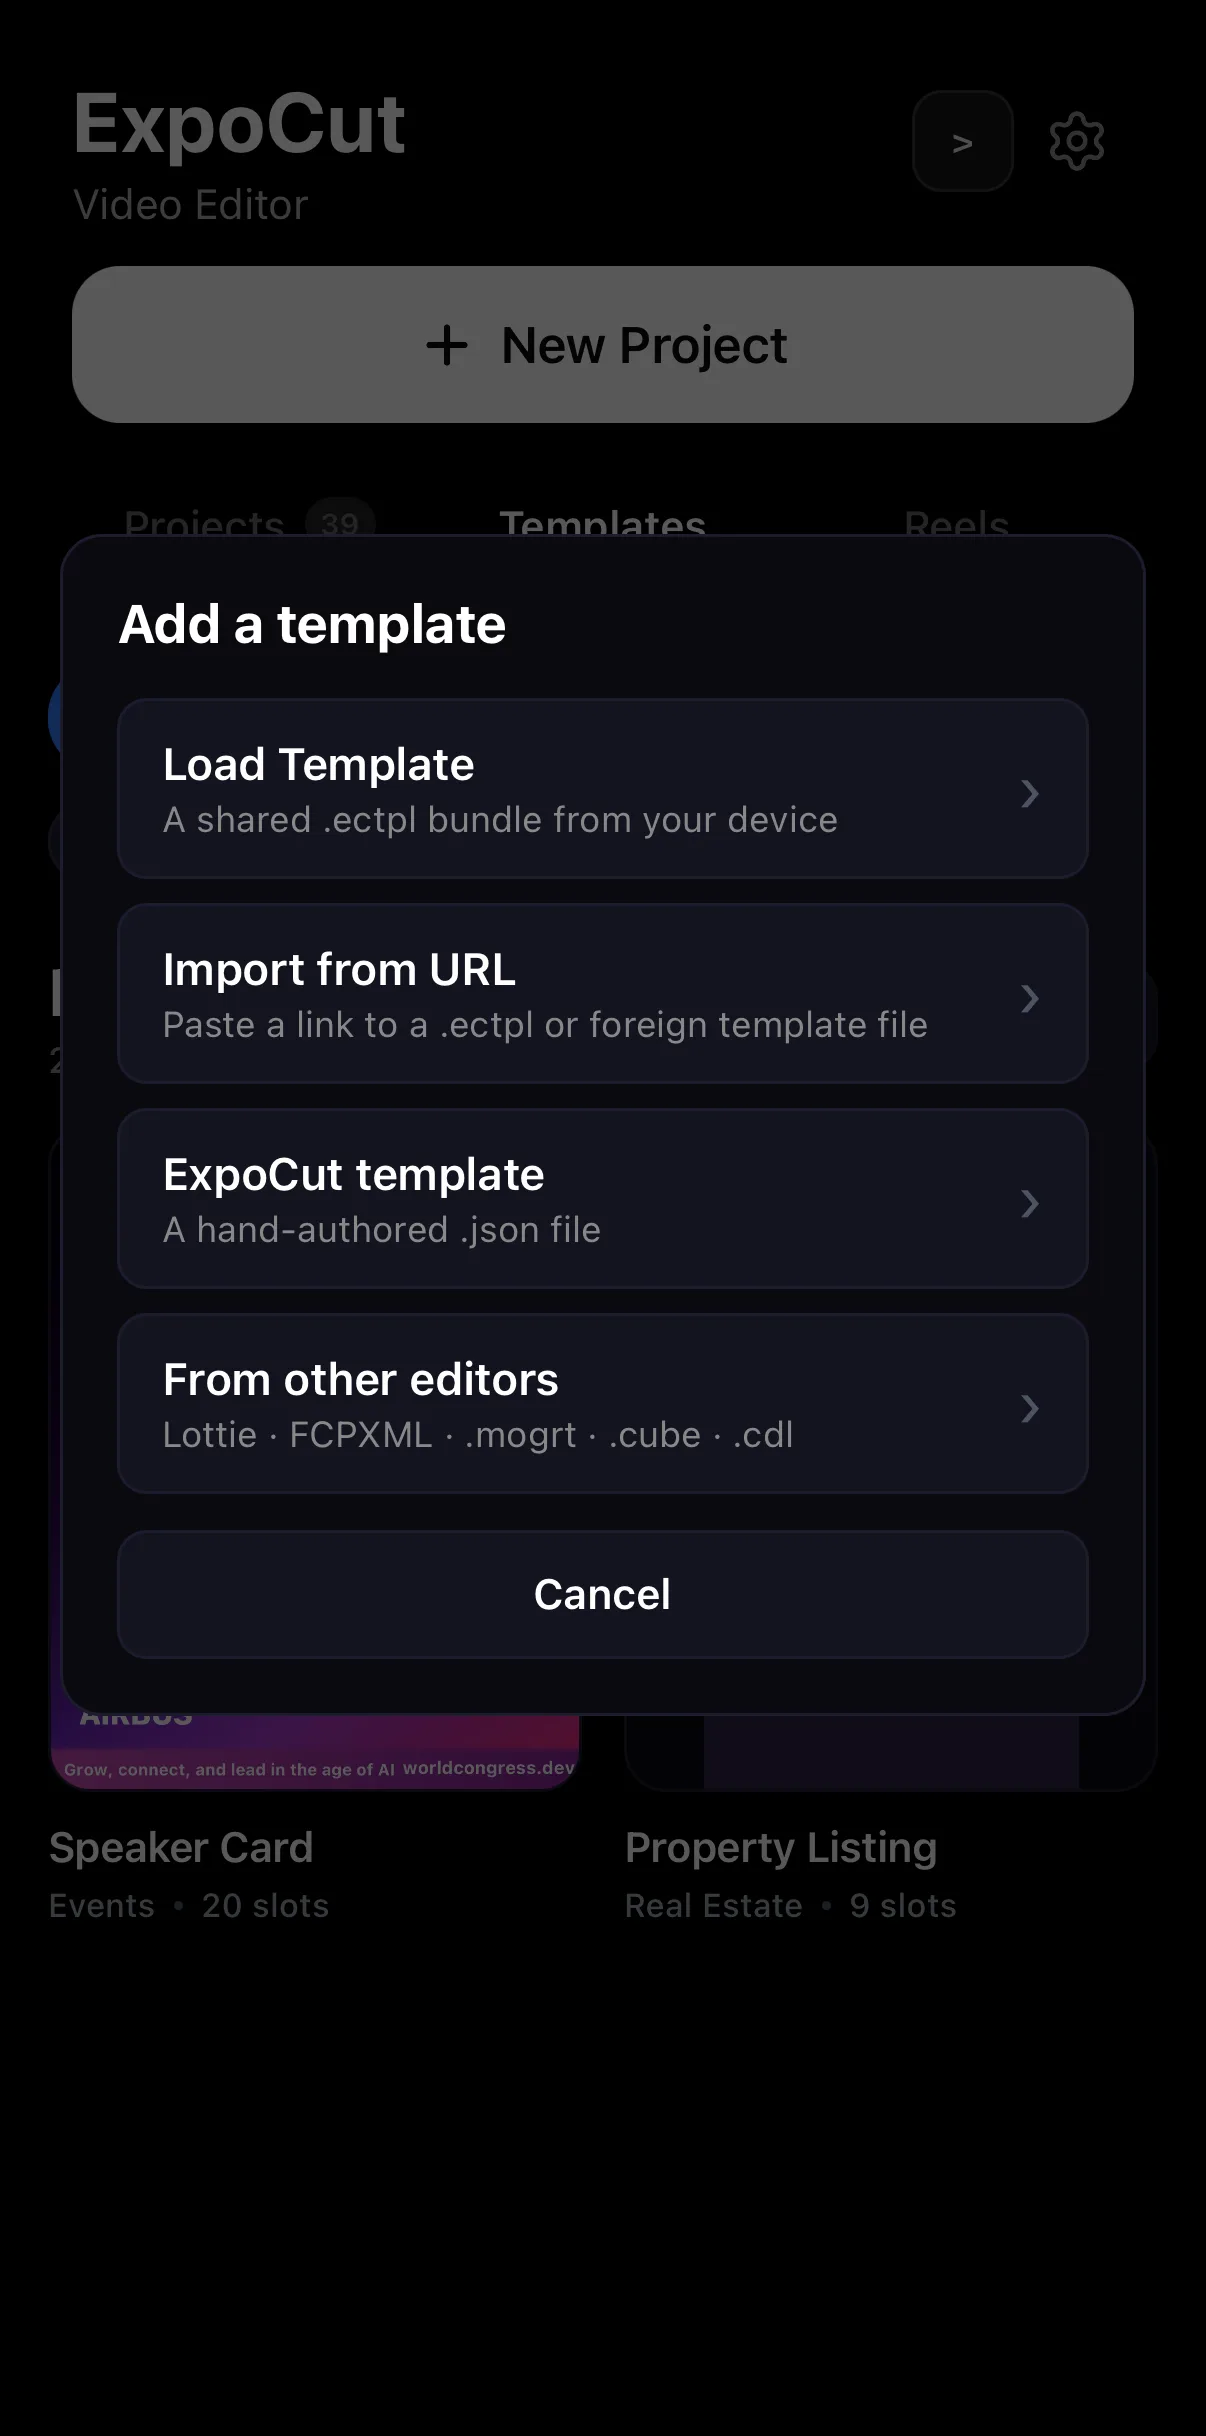
To import a DaVinci .cdl in ExpoCut: on the home screen open the Templates tab, tap + Add, choose From other editors (Lottie · FCPXML · .mogrt · .cube · .cdl) and pick the .cdl or .ccc file. ExpoCut shows an import report — Detected format: cdl (ASC CDL root element) — and Open in editor starts a one-slot template: drop your footage in from Camera Roll or Stock and the slope / offset / power / saturation are applied exactly as the colorist wrote them.
- Entry point: Home ▸ Templates ▸ + Add ▸ From other editors — the same sheet that reads Lottie, FCPXML, .mogrt and .cube.
- A .cdl holds one grade, a .ccc holds several; both are detected automatically and named from the file’s ColorCorrection id.
- The import becomes a template with a required Footage slot — fill it and the grade wraps the clip.
- CDL = balanced primary (slope/offset/power/sat). Layer a creative LUT from the LUTs panel on top for the final look.
- The math is standardised, so the phone render matches the desktop suite.
On a real production, the grade is decided on a desktop colorist’s suite — and the way it travels between apps is the ASC Color Decision List. ExpoCut reads it. So a grade roughed in on a DaVinci Resolve timeline can come to your phone exactly as the colorist set it, and you can finish the cut without a translation step.
What ASC CDL actually is
CDL stores a primary grade in a tiny, portable form:
- Slope — gain (like multiplying each channel).
- Offset — lift (adding to each channel).
- Power — gamma (the midtone curve).
- Saturation — overall color intensity.
Per RGB channel, that’s the backbone of any primary grade — and because it’s standardized, every major tool writes and reads it the same way. A .cdl holds one grade; a .ccc (Color Correction Collection) holds several.
Step 1 — Import the .cdl
On the home screen open the Templates tab and tap + Add. Choose From other editors — the row lists Lottie · FCPXML · .mogrt · .cube · .cdl — and pick your .cdl or .ccc file (see importing from other editors for the rest of that sheet). ExpoCut detects the format and reads the grade.
 + Add
From other editors — Lottie · FCPXML · .mogrt · .cube · .cdl
+ Add
From other editors — Lottie · FCPXML · .mogrt · .cube · .cdl
Templates ▸ + Add ▸ From other editors
Pick the
.cdl(or.ccc) from Files, iCloud Drive or a shared folder.Read the import report
It names the grade from the file’s ColorCorrection id and lists any notes. Tap Open in editor.
Fill the Footage slot
Camera Roll or Stock library — the CDL’s slope, offset, power and saturation are applied to whatever you drop in.
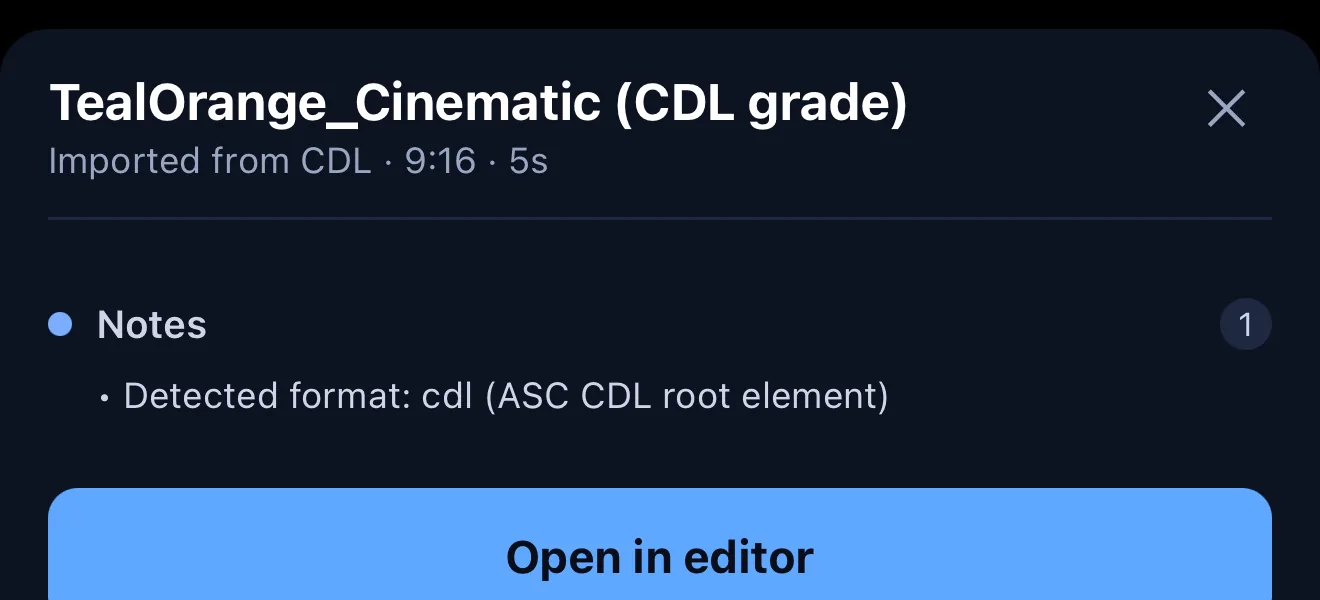 Imported as a CDL grade
Detected ASC CDL — straight from the desktop
Imported as a CDL grade
Detected ASC CDL — straight from the desktop
Step 2 — Wrap your footage in the grade
The imported grade opens as a project with a footage slot — drop in your clip and the CDL’s primary grade is applied to it. Because it’s the same math everywhere, what lands on your phone matches what the desktop tool produced.
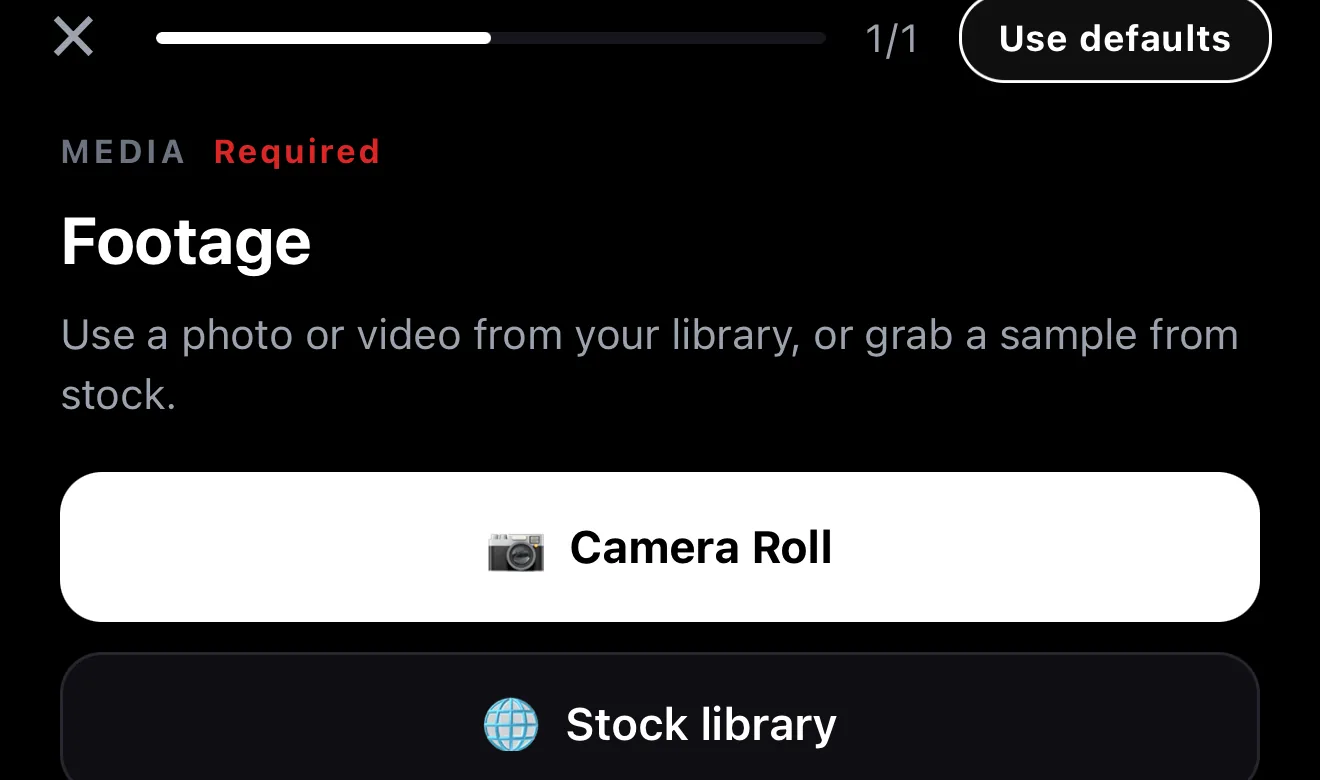 Drop in your footage
…and the imported grade wraps it
Drop in your footage
…and the imported grade wraps it
CDL for matching, LUT for look. A CDL carries a balanced, shot-matched primary grade; layer a creative LUT on top for the final look. Keeping the two separate is exactly what desktop colorists do.
Where this fits a real pipeline
Rough the shoot on set, hand the footage to a colorist who balances it in DaVinci, then take their .cdl back to your phone to assemble and ship a social cut that still matches the hero project’s color. The grade is the colorist’s; the speed is yours.
Where to go next
- The look layer on top: how to use & import LUTs.
- Hands-on color basics: color grading on your phone.
- Other formats you can bring in: import from CapCut, After Effects & more.
Import the .cdl, wrap your footage, finish on your phone — ExpoCut drops into a professional color pipeline instead of standing outside it.
Frequently asked questions
What is ASC CDL?
The ASC Color Decision List is a film-industry standard for exchanging primary color grades between applications. It stores slope, offset, and power per RGB channel plus an overall saturation — a compact, portable grade that DaVinci Resolve, Premiere, and Final Cut all understand and write.
Can I bring a grade from DaVinci Resolve into ExpoCut?
Yes. Export the grade as a .cdl or .ccc Color Decision List from DaVinci (or Premiere/FCP), then import it with ExpoCut's 'From other editors' option. ExpoCut detects the ASC CDL format and brings the grade in, ready to wrap your footage.
Why use CDL instead of just a filter?
CDL is standardized and portable, so a colorist's decisions travel cleanly between tools and stay consistent across a whole production. Filters and LUTs are great for looks; CDL carries an exchangeable, shot-matched primary grade from a professional pipeline.
Related guides
Bring desktop color to your phone
Import an ASC CDL grade from DaVinci, Premiere or FCP and finish the cut on your phone — the colorist's exact decisions, no translation step.
Get ExpoCut Browse all guides