How to Color Grade Video on Your Phone (Cinematic Look)
Color is the single biggest reason some phone videos look ‘cinematic’ and others look flat. Grading is how you control it. Here’s how to color grade on your phone — from a one-tap film look to manual control over every tonal range.
Two creators shoot the same scene on the same phone. One clip looks flat; the other looks like a film still. The difference is almost always color. Grading is how you take control of it — and on a modern phone editor you have the same tools a desktop colorist uses.
Correct first, then grade
Good color is two jobs in order:
- Correct — fix what’s wrong: white balance (is it too blue or too orange?), exposure (too dark/bright?), and matching shots so they agree.
- Grade — add a mood: warm and nostalgic, cool and clinical, teal-and-orange cinematic.
Do them in that order. Grading on top of an un-corrected shot just amplifies the problem.
The fast path: a filter as your base
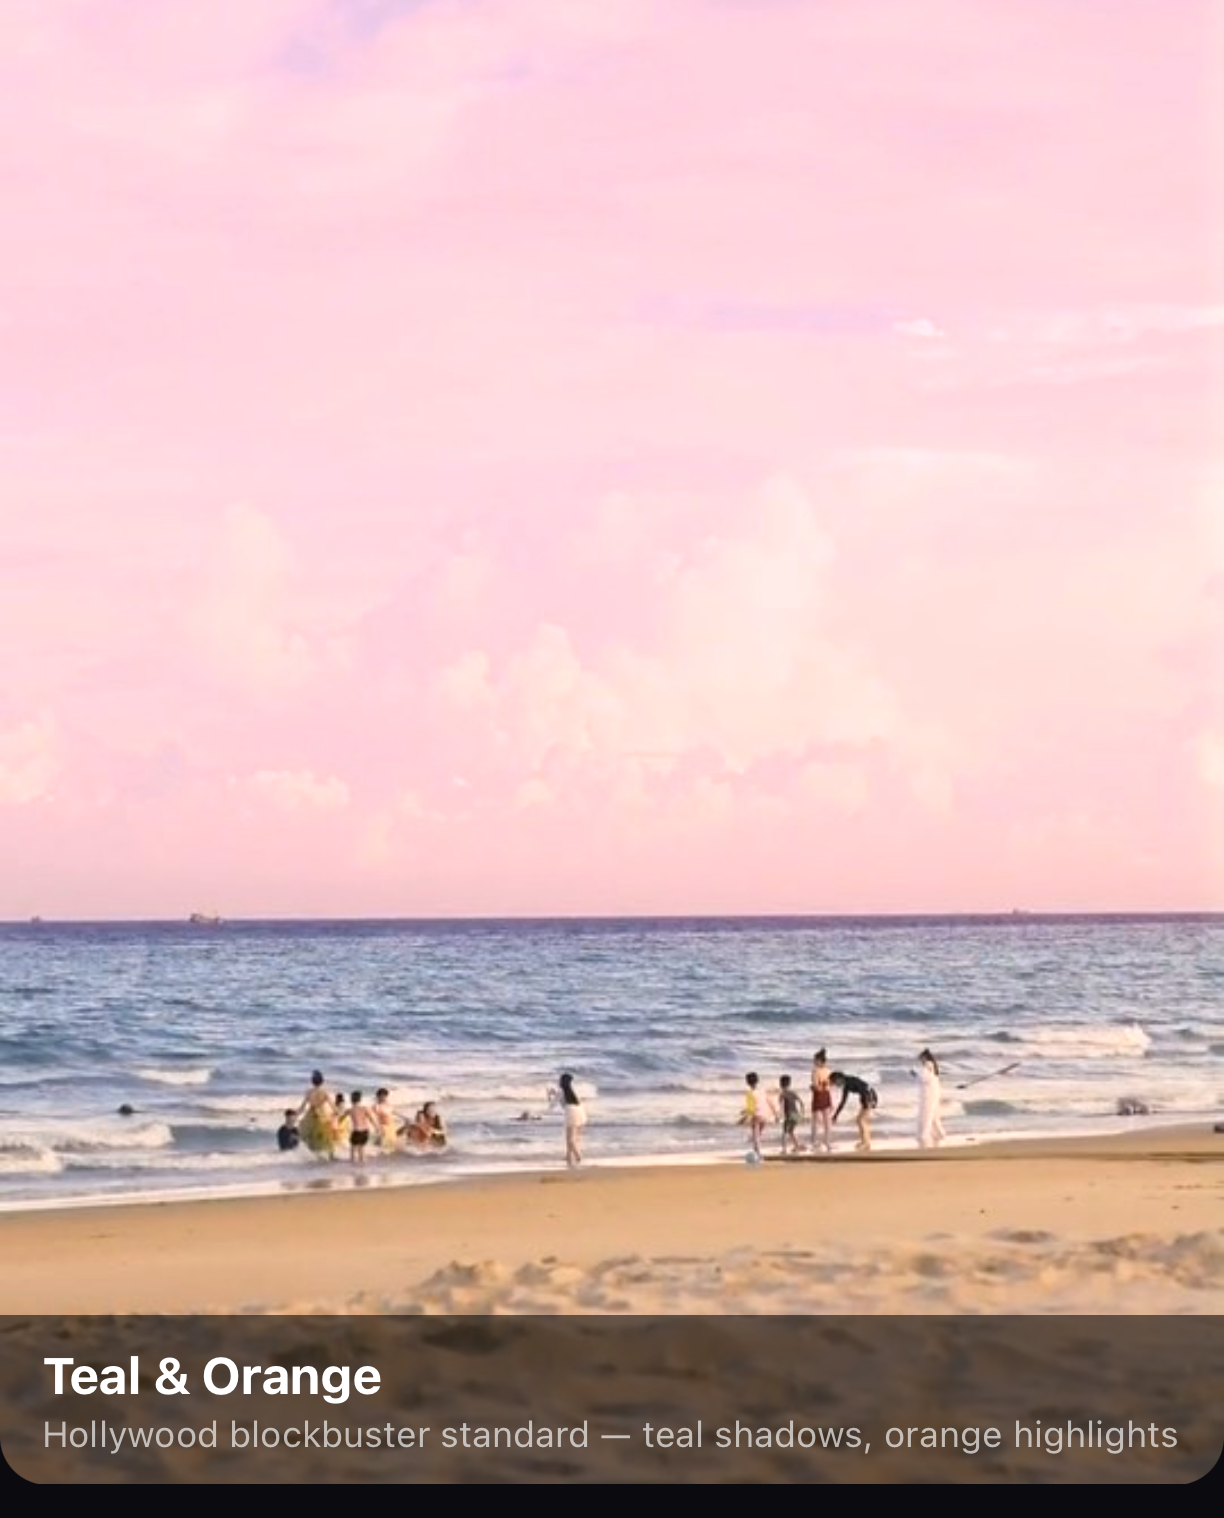
The quickest cinematic grade is a filter. A film or Teal & Orange look does 80% of the work in one tap — then you refine. Drop it to ~60% intensity so it reads as grading, not a preset.
The manual controls (and what each does)
When you want precise control, here’s what the sliders do:
| Control | What it changes | Cinematic move |
|---|---|---|
| Exposure | Overall brightness | Set so highlights aren’t blown |
| Contrast | Difference of light/dark | Slightly lower for film feel |
| Highlights | Brightest areas | Pull down to recover sky/skin |
| Shadows / Blacks | Darkest areas | Lift shadows a touch (“faded” look) |
| White balance (temp/tint) | Warm↔cool, green↔magenta | Nudge warm for golden, cool for moody |
| Saturation / Vibrance | Color intensity | Often reduce slightly — less is filmic |
| Hue shift | Specific color ranges | Push skies cyan, foliage teal |
The cinematic secret is restraint. Beginners crank contrast and saturation; pros pull them down, lift the shadows, and add a subtle color cast. Lower-contrast, slightly desaturated, warm-or-cool — that’s the film look people chase.
LUTs: portable professional looks
A LUT is a color recipe in a file. Apply one to remap your footage to a designed look instantly, or import your own .cube LUTs from a desktop grade. Because ExpoCut bakes every filter into the same LUT engine, the preview is exactly what exports — no surprises. More on this in the filters & LUTs guide.
Animate the grade
You can keyframe a grade so a clip blooms from flat to fully graded over a few seconds — a powerful reveal. That’s where color meets motion; see keyframes & motion.
Where to go next
- The one-tap version of color: Filters & LUTs.
- Where grading fits among effects: video effects guide.
- The full edit context: mobile video editor guide.
Correct first, grade with restraint, and let color do the heavy lifting. It’s the most cinematic upgrade you can make to phone footage.
Frequently asked questions
What is the difference between color correction and color grading?
Color correction fixes problems — wrong white balance, under-exposure, mismatched shots — to make footage look natural. Color grading is creative: pushing the image toward a mood (warm and nostalgic, cool and moody, teal-and-orange cinematic). You correct first, then grade.
How do I make my phone video look cinematic?
Start with a film or Teal & Orange filter at around 60% intensity, then refine: slightly lower the highlights, lift the shadows a touch (the 'faded film' move), add a hint of warmth, and reduce saturation slightly. Cinematic is usually less saturated and lower-contrast than people expect.
What is a LUT?
A LUT (look-up table) is a portable color recipe — the same format professional colorists use. Apply one to instantly remap your footage to a designed look. ExpoCut bakes its filters into the same LUT engine and lets you import your own .cube files.
Grade your next clip
From one-tap film looks to full manual control and imported LUTs — all previewing live, all rendered on-device.
Get ExpoCut Browse all guides