Track Mattes & After-Effects-Style Compositing on Your Phone
Track mattes, blend modes, adjustment layers — the compositing toolkit that turns a stack of clips into motion graphics. ExpoCut puts all three on your phone, in one Layer Properties panel. Here’s how each one works.
Quick answer
In ExpoCut, select a layer, tap the pencil (Edit) and swipe the toolbar to Properties to open Layer Properties. It holds Depth (Z) for camera parallax, the Blend Mode row (Normal, Multiply, Screen, Overlay, Darken and nine more), an Adjustment Layer switch that pushes the layer’s effects onto everything below, and Enable Track Matte — choose Alpha, Alpha Inv., Luma or Luma Inv., pick the Matte Source Layer (the text or shape above), and optionally Keep Source Visible. Tap Done.
- One panel — Edit ▸ Properties — holds Depth (Z), Blend Mode, Adjustment Layer, Track Matte and Time Remap.
- Track matte = another layer decides where this one shows: Alpha uses its shape, Luma its brightness, each with an inverted variant.
- Matte Source Layer lists the candidate layers (the text above the footage, for video-inside-letters); Keep Source Visible overrides the After-Effects default of hiding it.
- Adjustment Layer: flip it on a top layer with a grade and the whole stack beneath takes the grade.
- Depth (Z) makes a layer move faster or slower than the camera — set a Camera on the project first.
The features that separate “video editor” from “motion graphics” are mattes, blend modes, and adjustment layers. They sound technical, but each solves one obvious problem — and ExpoCut puts all three in one Layer Properties panel on your phone.
Where compositing lives
Select a layer, tap the pencil (Edit) and swipe the transform toolbar to its last button, Properties. Everything below lives in that one Layer Properties sheet — depth, blend mode, the adjustment-layer switch, track matte and time remap — so you composite without hunting through menus.
Track mattes — reveal through a shape or text
A track matte lets one layer decide where another shows. Two flavors:
- Alpha matte — the matte layer’s shape is the window. Put text on top of footage, set the footage to use the text as an alpha matte, and you get video inside the letters.
- Luma matte — the matte layer’s brightness is the window. Bright areas reveal, dark areas hide — great for soft, organic reveals using a gradient or a textured clip.
Each mode also has an inverted variant, so you can flip the mask without rebuilding it. Mattes are non-destructive: nothing is erased, so you can tweak the shape or footage anytime.
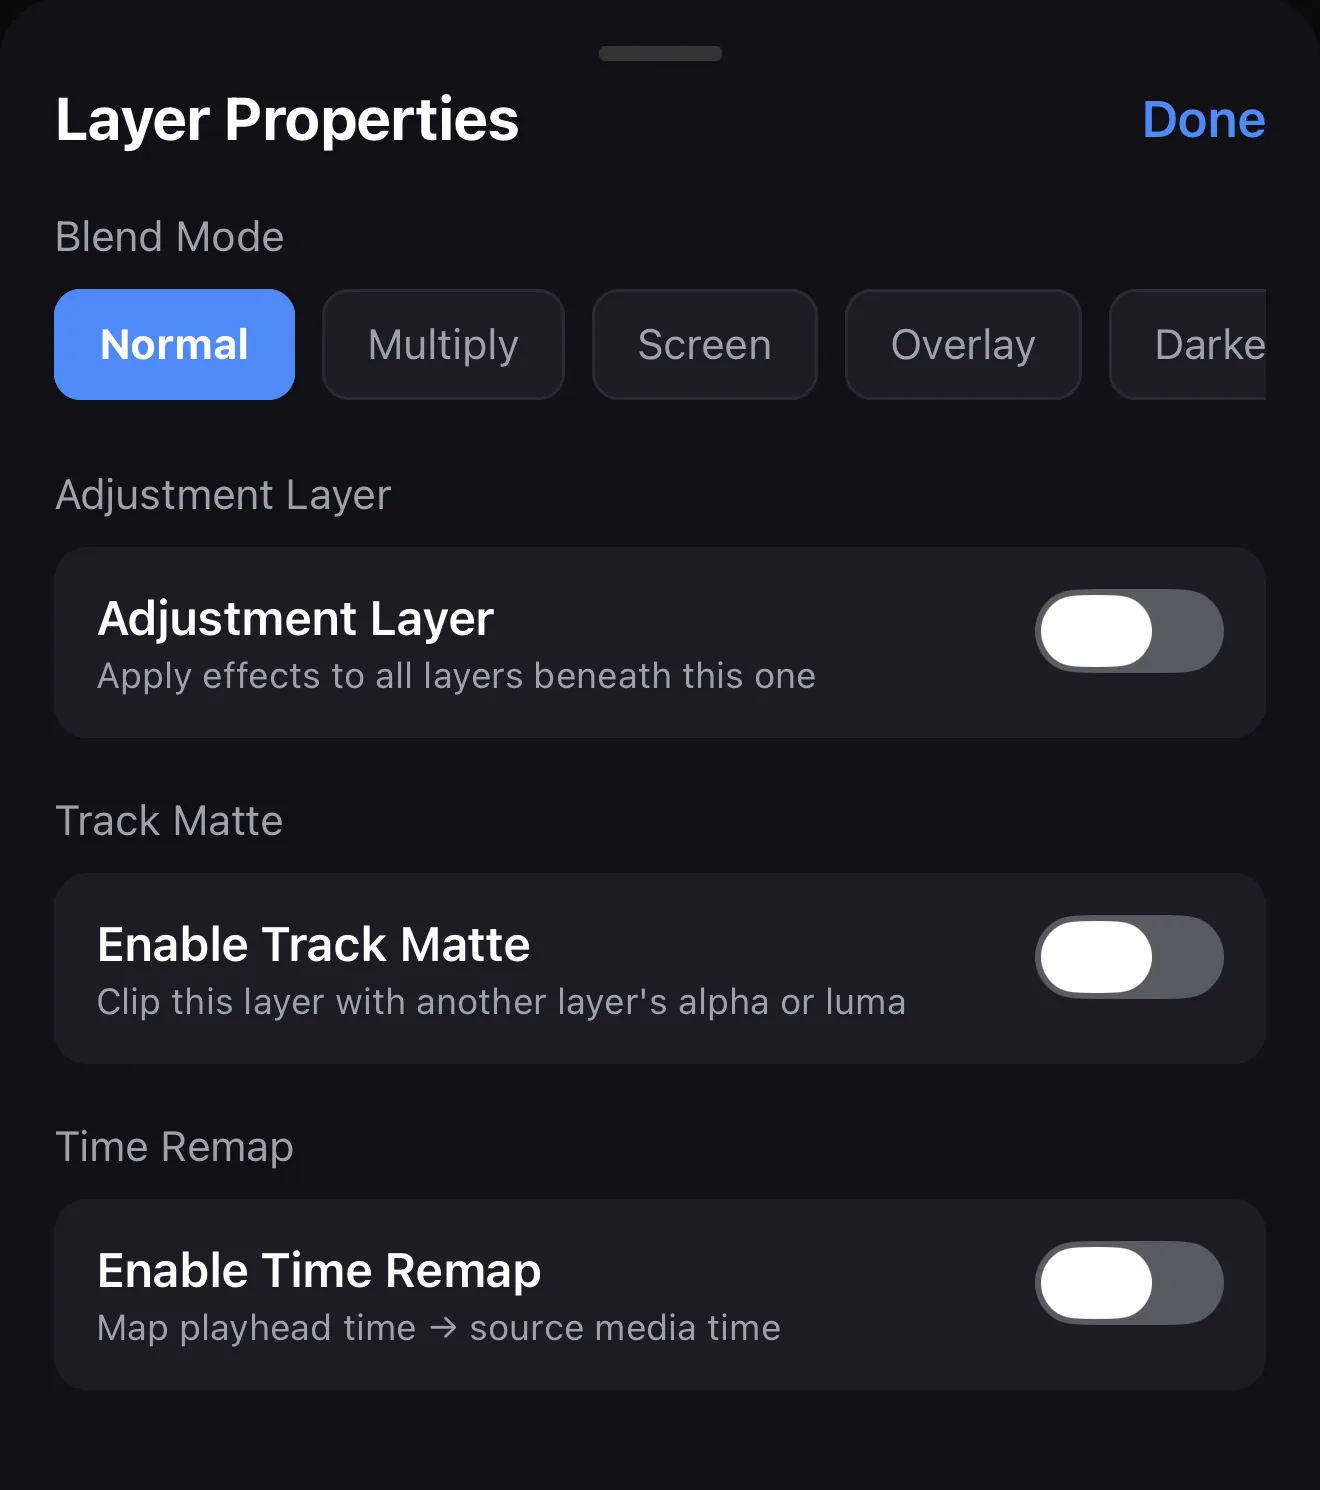 Enable Track Matte — alpha or luma
Alpha · Alpha Inv. · Luma · Luma Inv.
Matte source — the text layer above
Keep Source Visible
Enable Track Matte — alpha or luma
Alpha · Alpha Inv. · Luma · Luma Inv.
Matte source — the text layer above
Keep Source Visible
Blend modes — how layers mix
A blend mode decides how a layer’s colors combine with everything beneath it — Screen to drop blacks (perfect for light leaks and flares), Multiply to keep darks, Overlay for contrast. The same panel offers all 14 modes. There’s a full blend-modes guide if you want the recipe for each one.
Matte vs. blend — use both. A track matte controls where a layer shows; a blend mode controls how its colors mix. Stack them: footage revealed through a luma matte, with a Screen-blended texture on top, is two controls and a finished look.
Adjustment layers — affect everything below
Flip a layer into an adjustment layer and its effects and grade push down onto every layer beneath it. One adjustment layer with a color grade unifies your whole timeline; change it once and the entire video updates. Use a second one for a vignette or a shared film look.
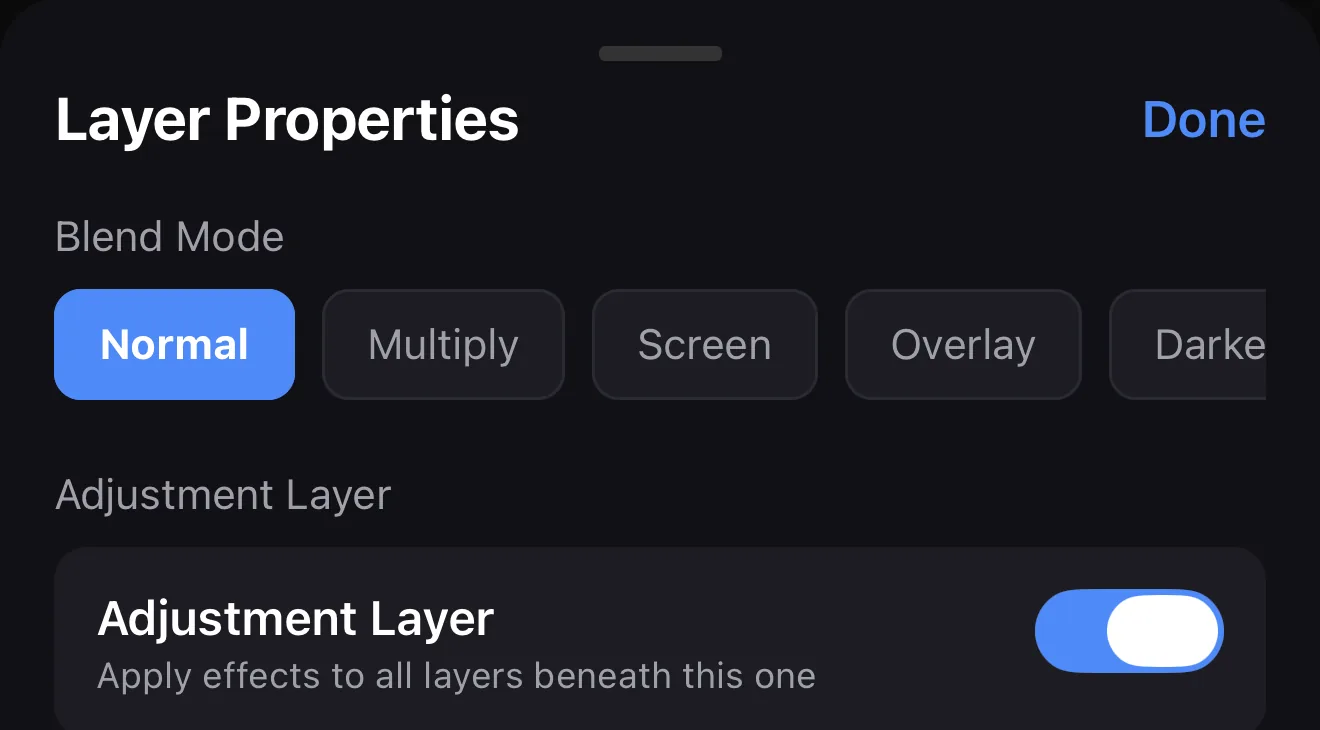 Depth (Z) — camera parallax
Blend Mode — 14 ways layers mix
Adjustment Layer — grades everything below
Enable Track Matte
Depth (Z) — camera parallax
Blend Mode — 14 ways layers mix
Adjustment Layer — grades everything below
Enable Track Matte
A worked example: a reveal title
- Footage on the bottom.
- A bold word on top → set the footage to use it as an alpha matte → the video now lives inside the letters.
- Add a Screen-blended texture or light leak over the top for depth.
- Add an adjustment layer on top with a grade → the whole shot is unified.
Where to go next
- The simpler version of “video in text”: every effect explained.
- Each mode, explained: blend modes explained.
- Grade the whole stack: color grading on your phone.
Mattes reveal, blend modes mix, adjustment layers unify. Learn the three and you’re not editing clips anymore — you’re compositing.
Frequently asked questions
What is a track matte?
A track matte uses one layer to define where another is visible. An alpha matte uses the top layer's shape; a luma matte uses its brightness. It's how you reveal video through text or a shape — the classic 'footage inside letters' look — without erasing anything permanently.
What's the difference between a blend mode and a track matte?
A blend mode decides how a layer's colors mix with what's beneath it (Screen, Multiply, Overlay…). A track matte decides where a layer is visible, using another layer's shape or brightness as the mask. You'll often use both together — for example, a Screen-blended light leak over footage revealed through a luma matte.
What does an adjustment layer do?
An adjustment layer applies its effects and color to every layer beneath it. Put a grade on one adjustment layer and your whole stack is graded consistently — change it once to change everything.
Related guides
Composite like it's a desktop app
Track mattes, blend modes and adjustment layers — the motion-graphics toolkit, on your phone. Build reveals and unified grades that used to need a laptop.
Get ExpoCut Browse all guides