How to Add Stock Footage & Import Clips to Your Video
You don’t always have the perfect clip — and you don’t need to. Built-in stock libraries and easy import mean you can fill any gap in seconds. Here’s how to add free stock footage and import clips into your video on your phone.
Quick answer
Tap Video (or Image) in the bottom bar. The Gallery tab imports from your camera roll, records a clip, or downloads a direct video link; the Stock tab searches thousands of free clips and photos — type a keyword or browse Nature, People, Technology and more, tap the row you want, then tap Add. A video opens the Trim Clip sheet first (with an HD quality switch), then lands on the timeline centred on the canvas; tap Edit ▸ Fit for full-bleed.
- Gallery · Stock · Download are the three tabs of every media picker.
- Stock rows show length and resolution — tap Add on the row, nothing drops in by accident.
- Trim before it lands: the Trim Clip sheet keeps just the seconds you need.
- Everything edits on-device; your own footage never uploads.
The blank timeline is the hardest part of any edit. Stock footage and quick import solve it: search a library, drop a clip, keep moving. Here’s how to add free stock video and import your own footage into a video on your phone.
Three ways to fill a timeline
Every clip you add comes through the same picker — tap Video or Image in the bottom bar and you get three tabs:
- Gallery — your own footage from the camera roll, a fresh recording, or a pasted SVG for images.
- Stock — a built-in library of free, ready-to-use video and photos.
- Download — a direct link to a video file (.mp4, .mov, .webm…).
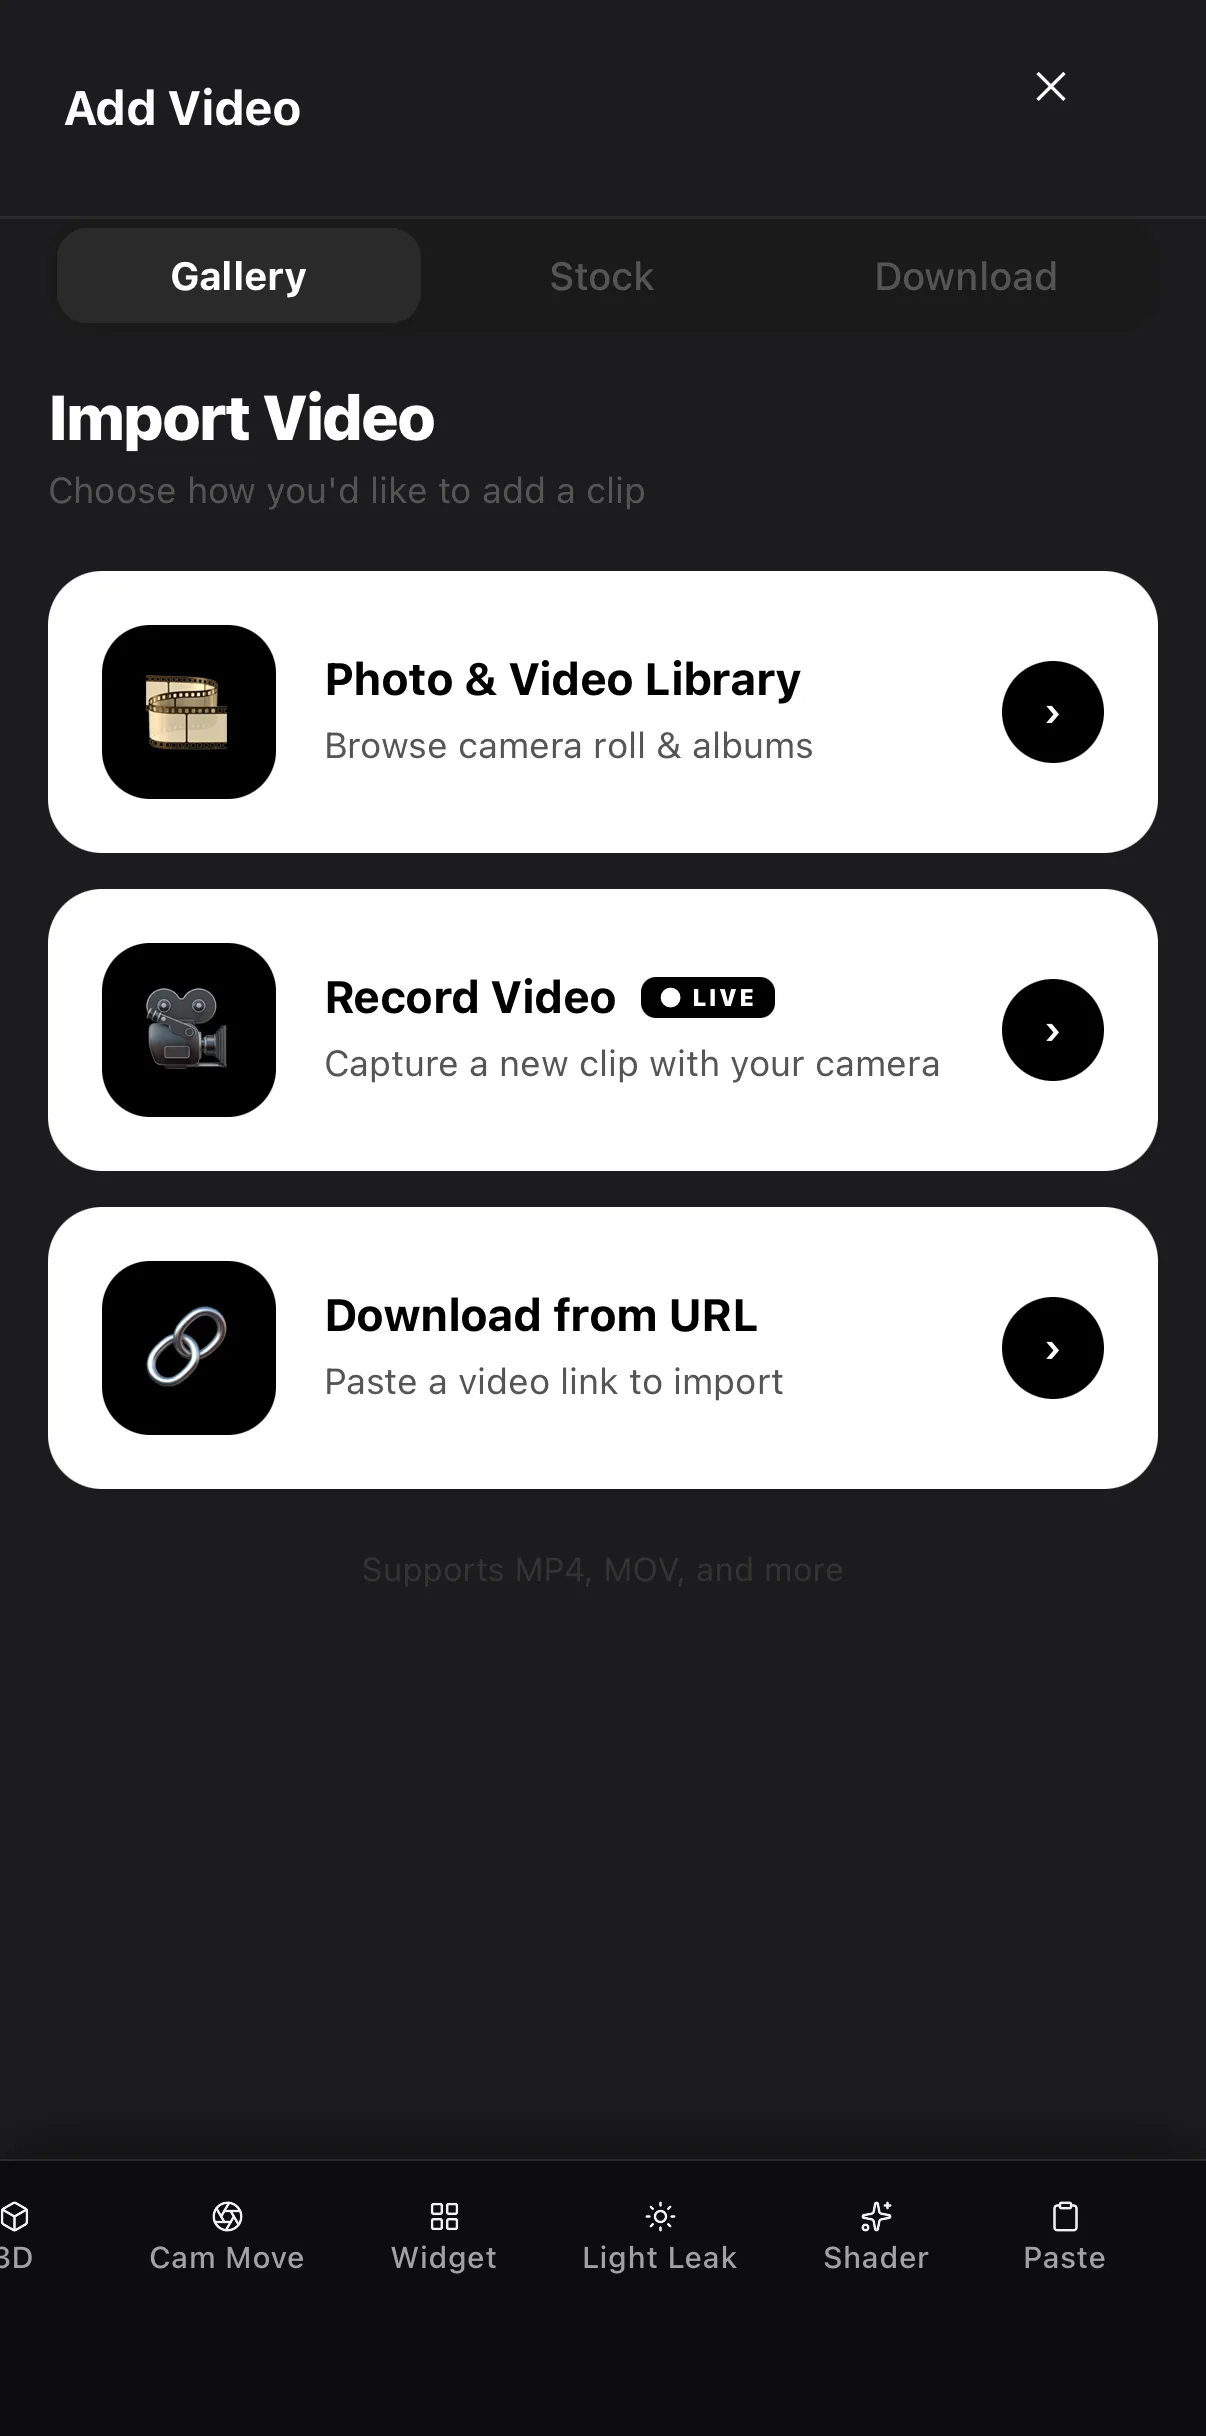 Gallery · Stock · Download
Your camera roll
Record a clip now
Gallery · Stock · Download
Your camera roll
Record a clip now
Using the built-in stock library
Open the Stock tab
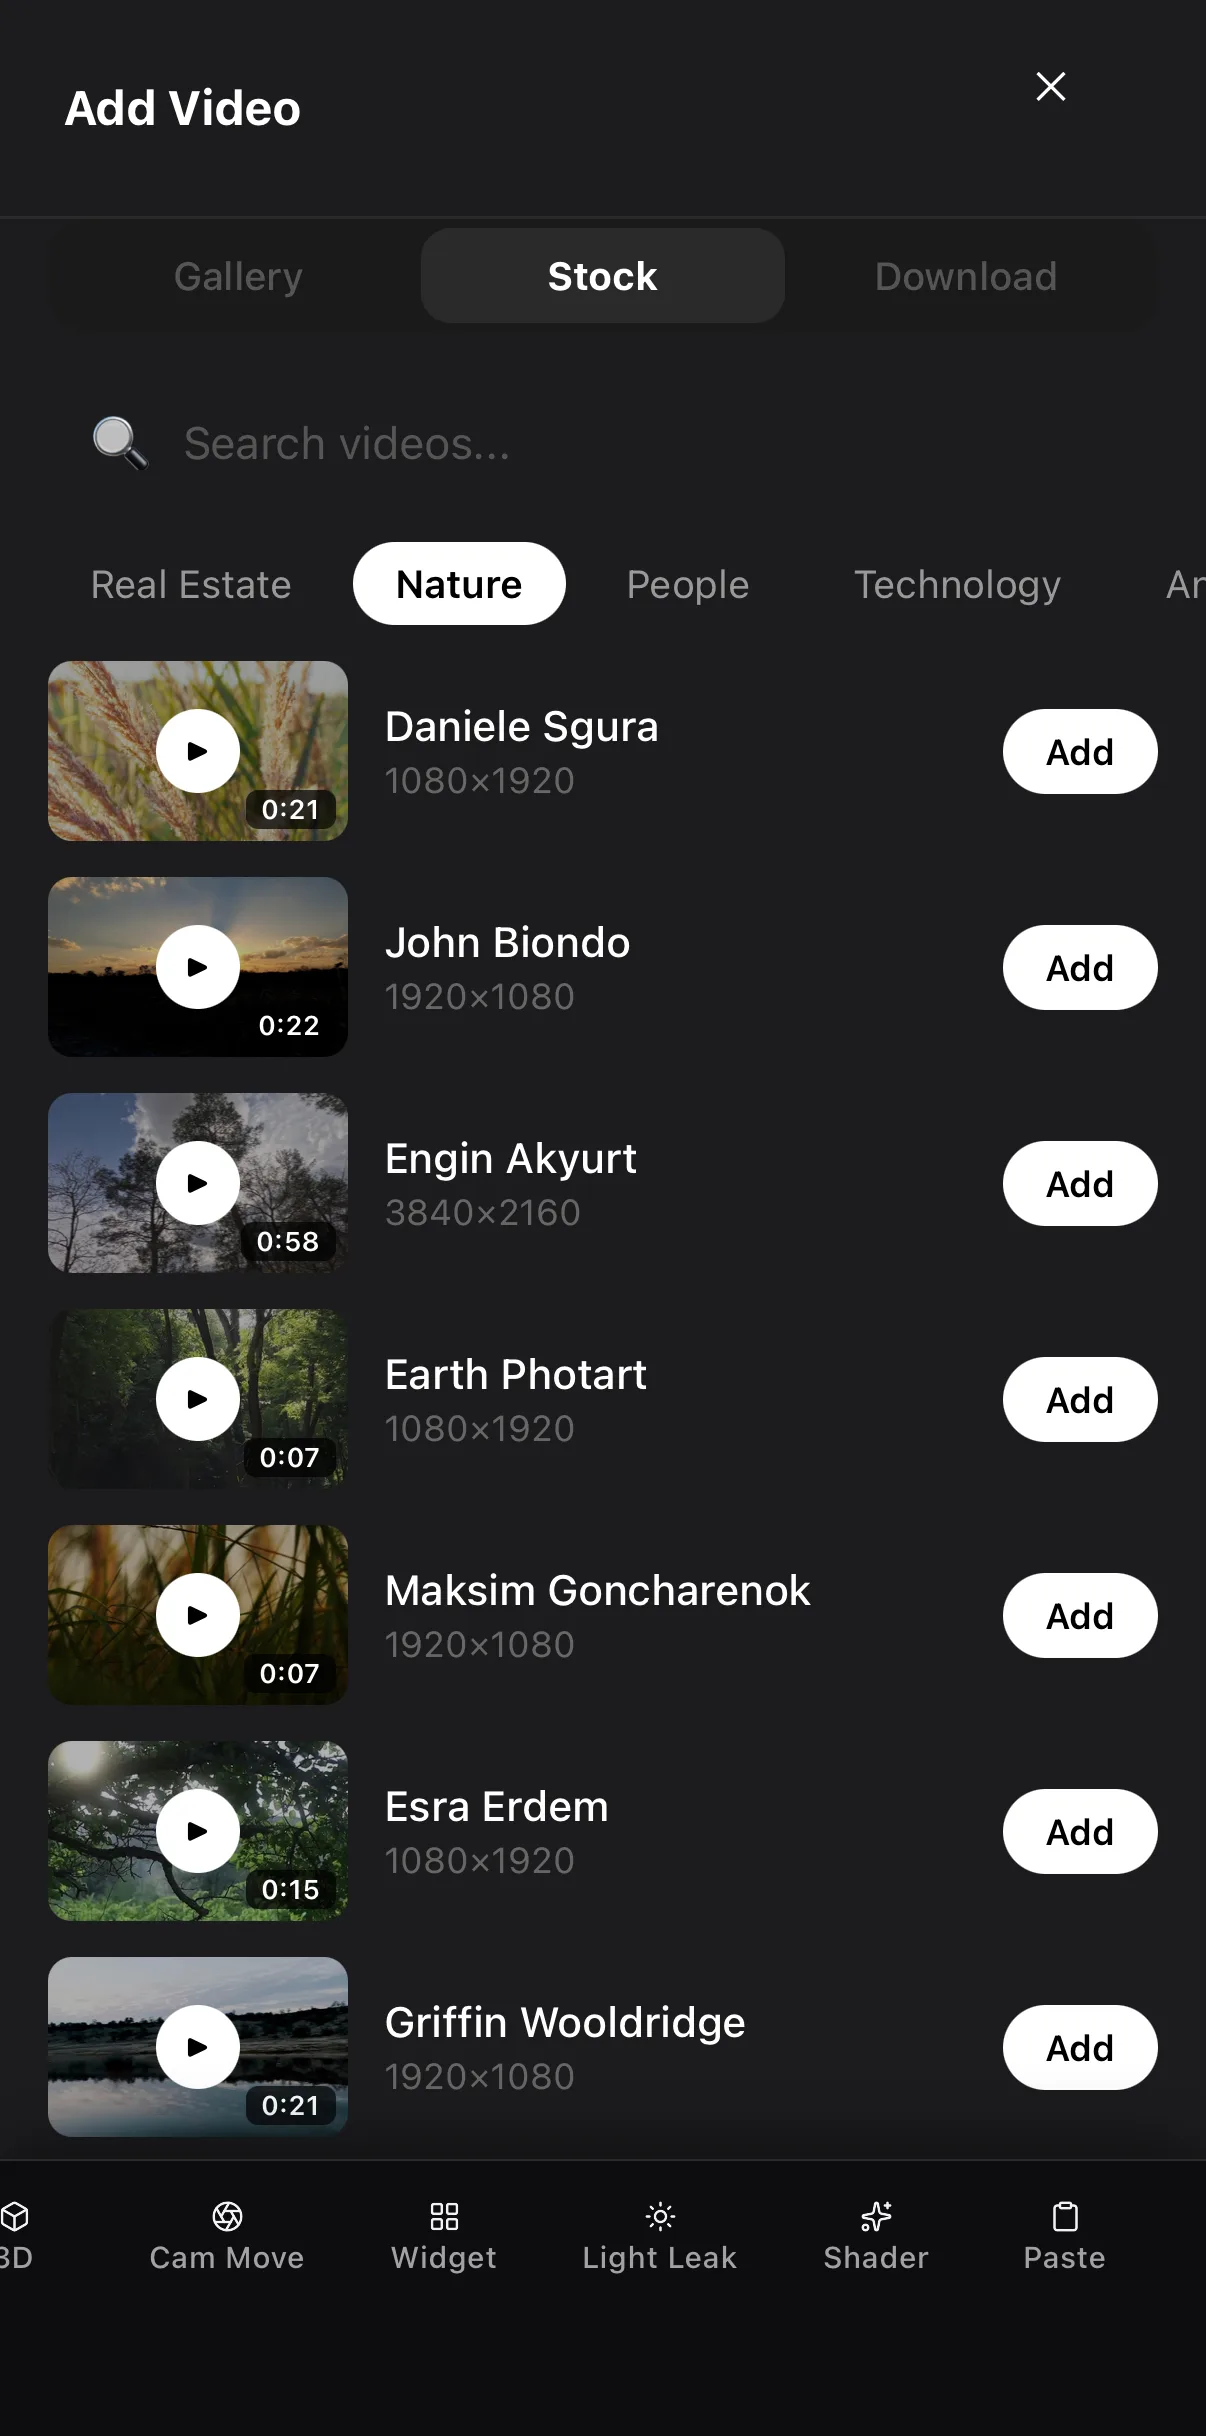
Tap Video (or Image) in the bottom bar, then tap Stock. It opens on a category — Nature, People, Technology, Real Estate and more — with a search field on top.
Search or browse
Type what you need — “coffee shop”, “city street night”, “beach sunset” — and the list refreshes with matching clips. Every row shows the creator, the resolution (1080×1920 up to 4K) and the length, with a ▶ to preview.
Tap Add on the row you want
Nothing drops in by accident: tap Add on the row. The clip downloads (a progress ring shows on the row) and the Trim Clip sheet opens.
Trim, then place it
Drag the filmstrip ends to keep just the seconds you need — or tap Done to keep it all. Flip on HD quality if you want the export to use the full-resolution original instead of a lighter 1080p copy. The clip lands on its own row, centred on the canvas at 80 % width; tap Edit ▸ Fit for full-bleed.
 Search
Browse by category
Tap Add
Search
Browse by category
Tap Add
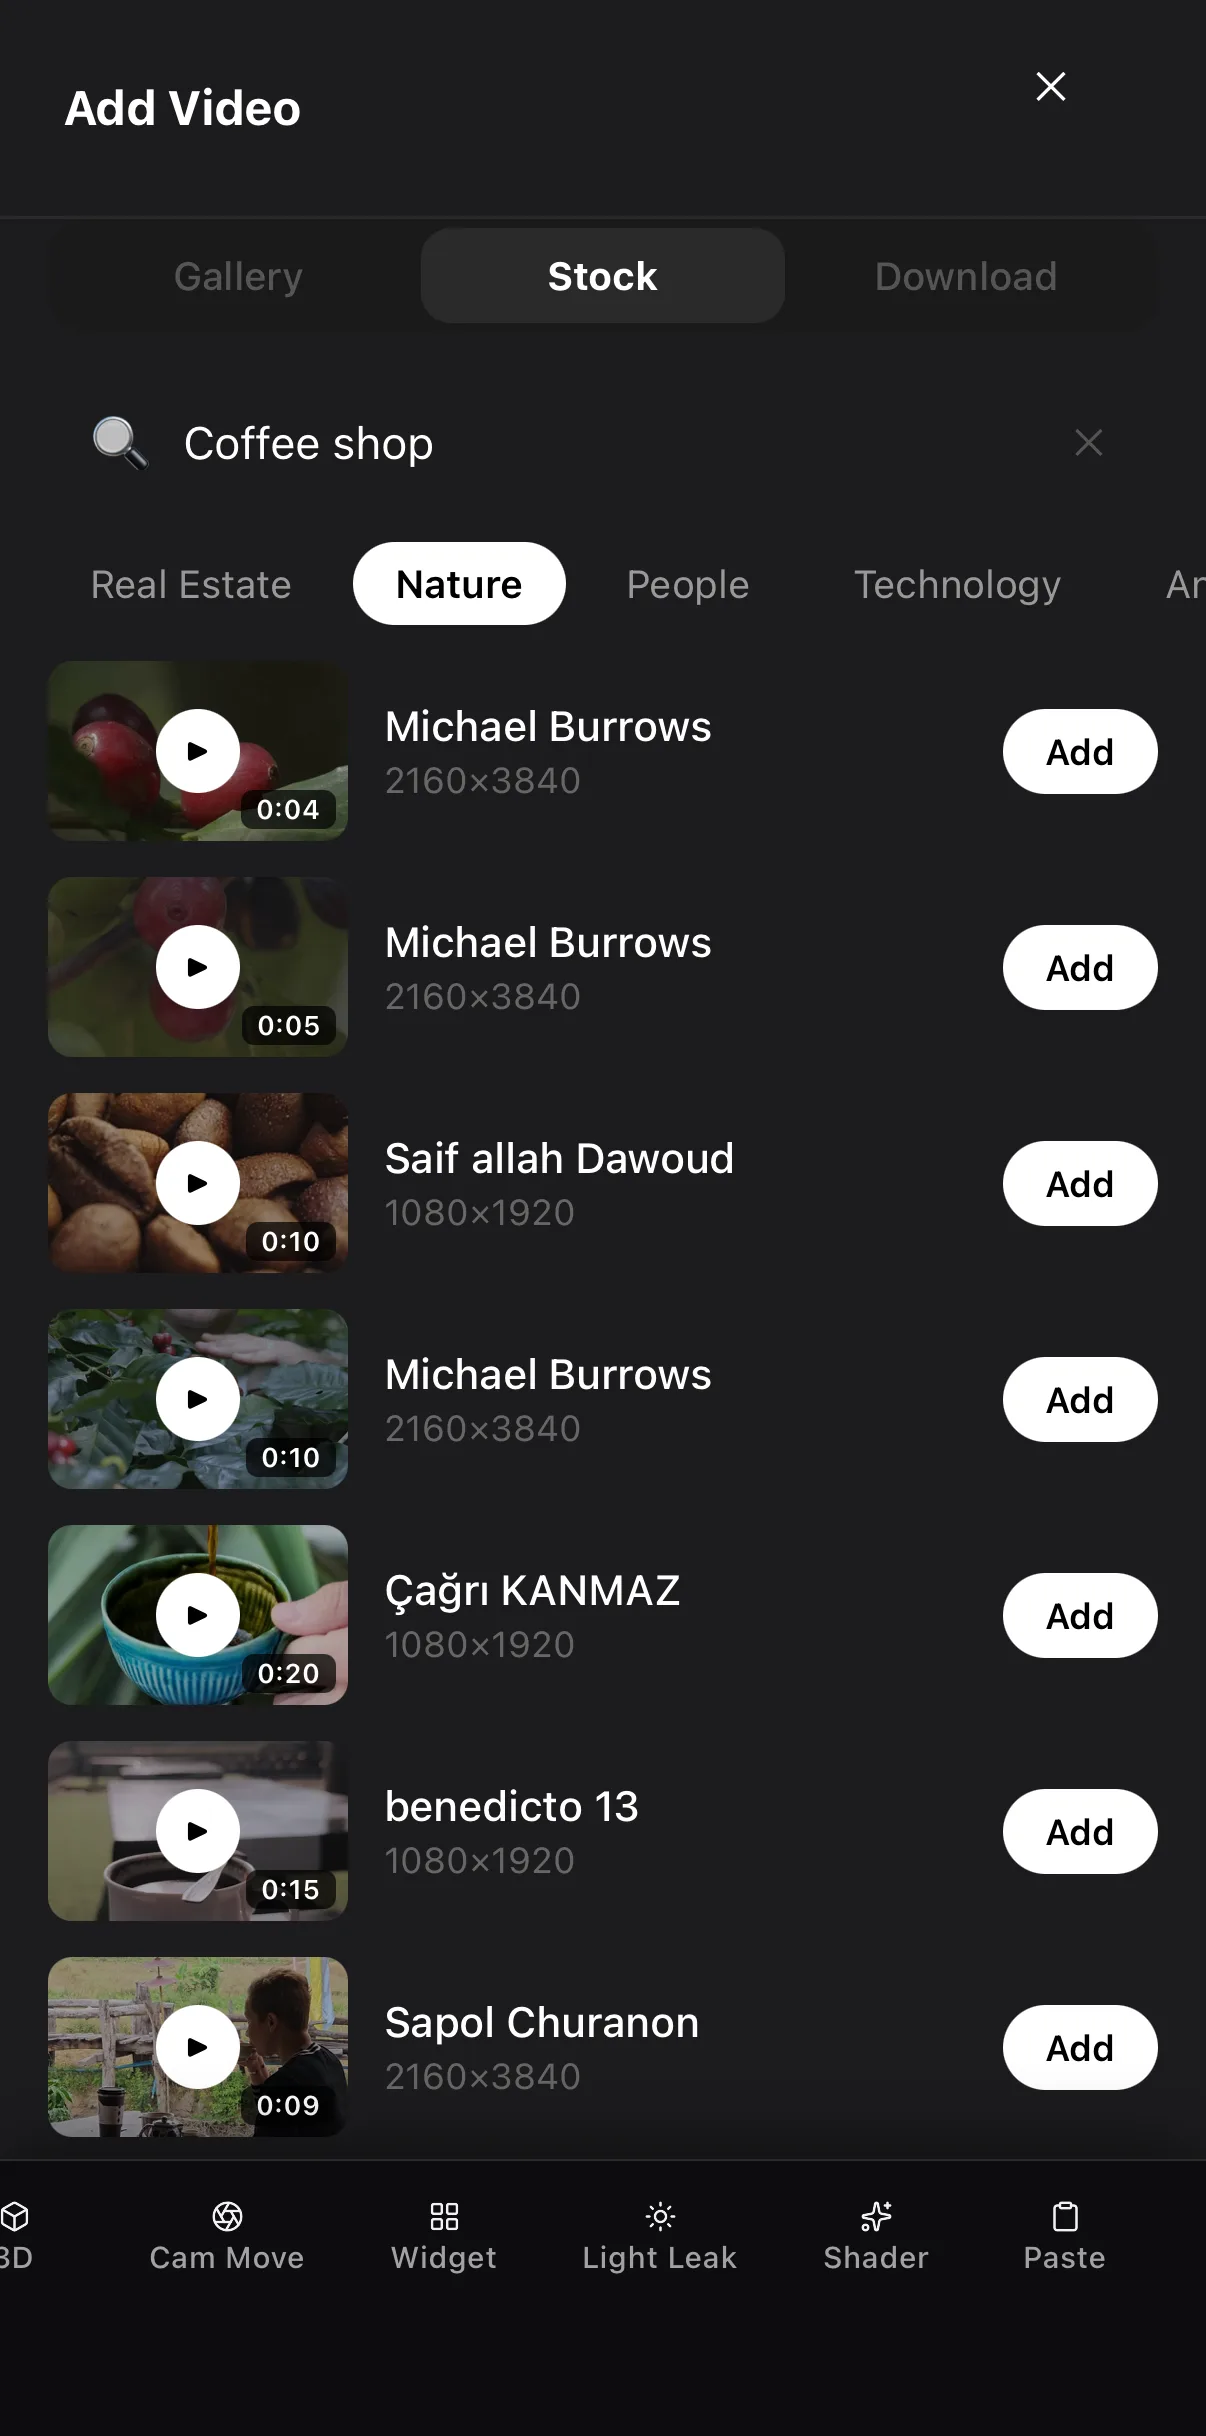 “coffee shop”
Portrait and landscape, 1080p to 4K
“coffee shop”
Portrait and landscape, 1080p to 4K
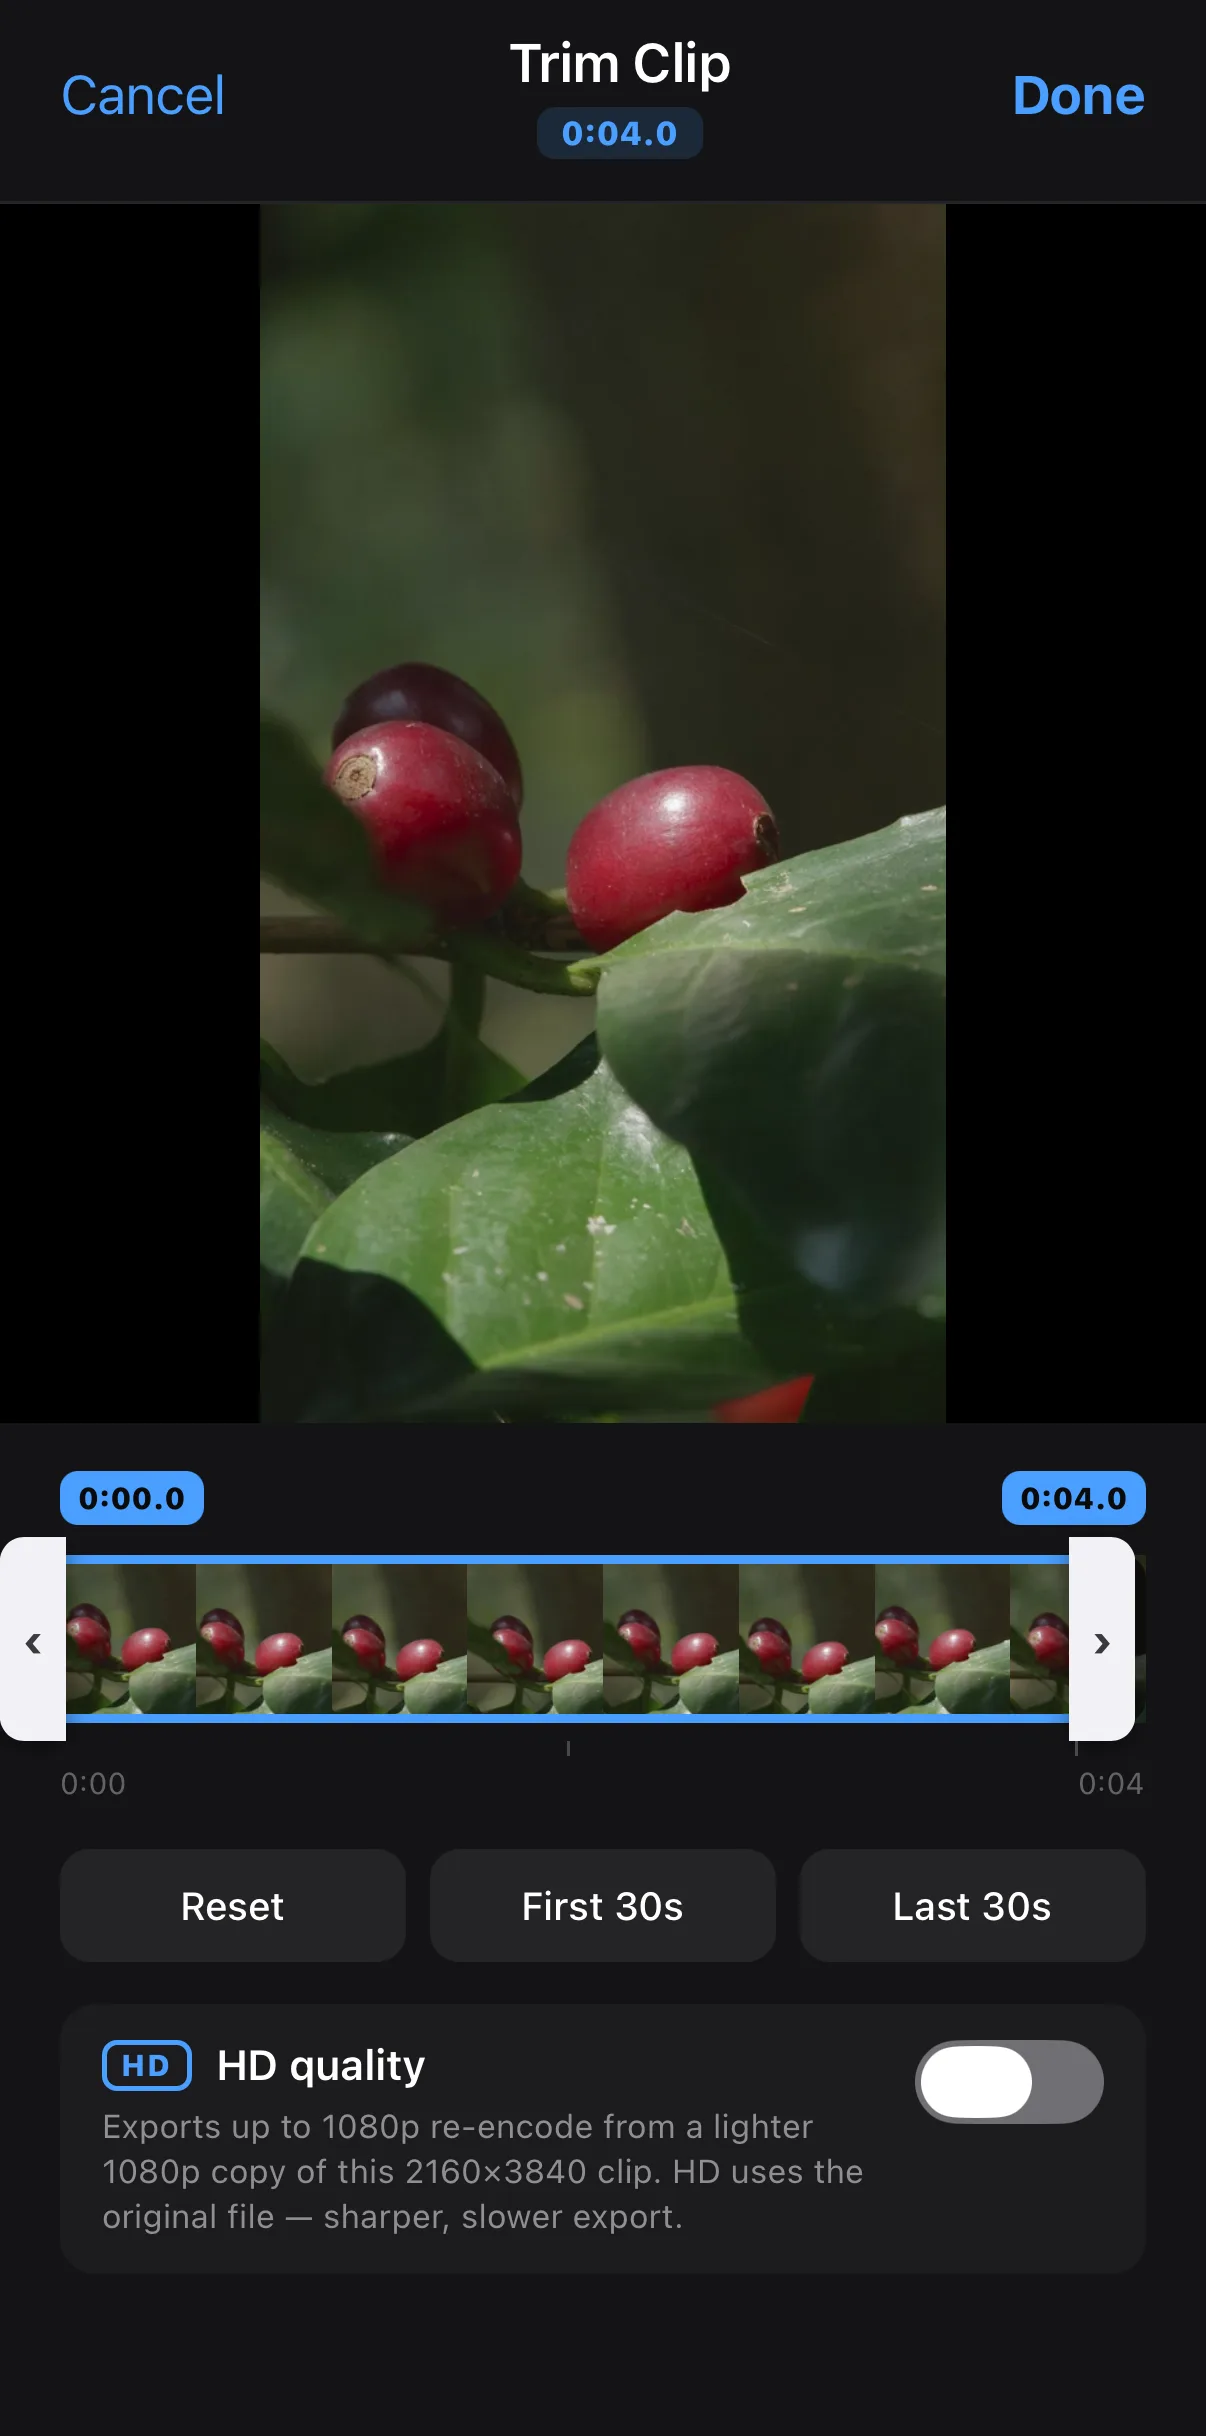 Keep just the good part
HD quality — export from the original
Done
Keep just the good part
HD quality — export from the original
Done
Stock is perfect for B-roll (cutaways that cover a jump or illustrate a point), establishing shots, and backgrounds behind text.
B-roll is a secret weapon. Cutting to a relevant stock clip for a second or two hides edits, adds production value, and keeps a talking-head video visually moving. Sprinkle it in wherever the main shot gets static.
Importing your own clips
Your camera-roll footage imports the same way — Gallery ▸ Photo & Video Library, pick the clip, trim, done. Record Video shoots a new clip straight into the project. Because everything edits on-device, your footage never uploads; it just moves from your photos into your project.
Got a file somewhere else? The Download tab takes a direct link to a video file (.mp4, .mov, .webm, .avi, .mkv) and pulls it in. Platform share links — YouTube, TikTok, Instagram — aren’t supported; save the file first.
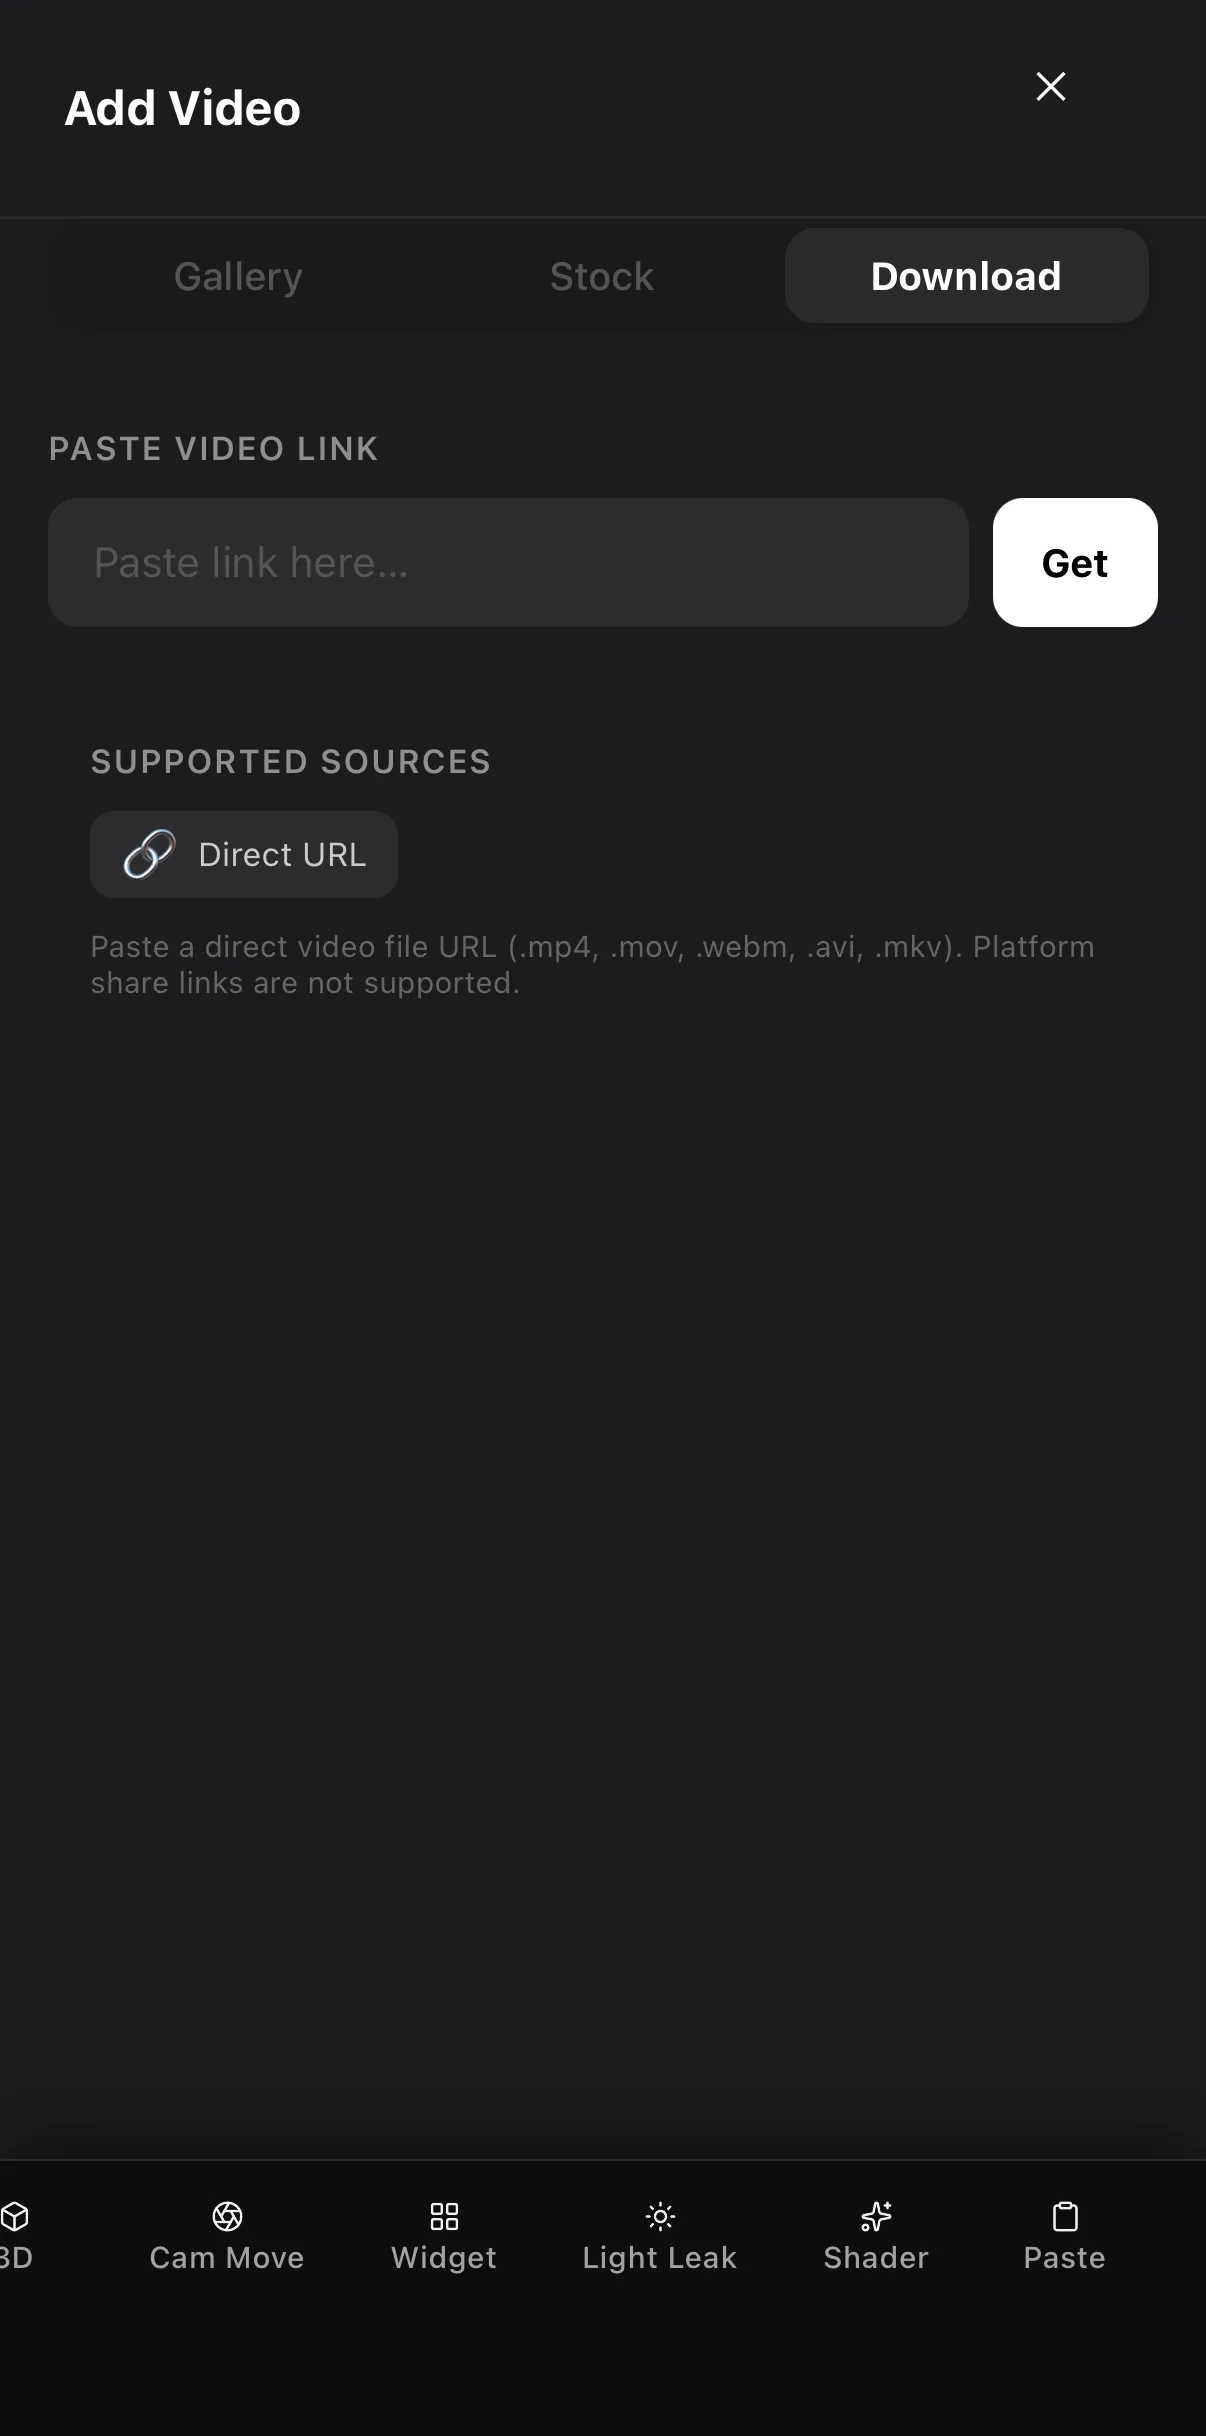 Paste a direct video link
Get
Paste a direct video link
Get
Build a video entirely from stock
You can make a complete, polished video without shooting a frame: stock B-roll, an animated title, music from the Audio tray’s own library, and a filter. It’s the fastest way to produce social content at volume — and it pairs naturally with video automation when you want to make many at once.
Where to go next
- Put it all together: Make Your First Video.
- Add titles over your clips: animated text & titles.
- Fill the bars on a landscape clip: blur part of a video.
- Make many videos from stock: video automation.
Never stare at an empty timeline again. Between your camera roll and a built-in stock library, the right clip is always a search away.
Frequently asked questions
Where can I get free stock video for my edits?
A good mobile editor includes a built-in stock library (ExpoCut uses a large free catalog of photos and videos) so you can search and drop clips straight onto the timeline without leaving the app or hunting for licenses. You can also import your own footage from the camera roll.
How do I import a video clip into my project?
Tap the media or video tool, then choose from your camera roll or the built-in stock library. Tap the result to select it, then tap Add. A video opens the Trim Clip sheet first; then it lands on the timeline as a new layer, centred on the canvas. Trim it, layer it, and edit like any other clip.
Is stock footage royalty-free?
Built-in stock libraries are typically royalty-free for use in your videos — but always check the specific license for commercial projects. The advantage of an in-app library is that the licensing is handled for you.
Related guides
Fill your timeline in seconds
A huge built-in library of free stock photos and video, plus easy import — drop a clip and start editing immediately.
Get ExpoCut Browse all guides