How to Make Your First Video in ExpoCut (Start to Export)
Never edited a video before? Perfect. This is the only guide you need to go from a blank project to a finished, share-ready clip — without any jargon. We’ll build a real video together, one tap at a time.
Every great video starts the same way: one clip on an empty timeline. In the next ten minutes you’ll add that clip, shape it, dress it up with a title and music, give it a cinematic color, and export something you’re proud to post. No experience required — just follow along, screen by screen.
What you’re about to build
We’re making a short, vertical clip — the kind that works on Reels, TikTok, and Shorts. By the end you’ll have a single video with a bold title, background music, and a film-style color filter. The exact same steps work for any video you’ll ever make in ExpoCut, so this is your foundation.
The one idea that makes editing click: a video is just layers stacked on a timeline. Your footage is one layer. Your title is another. Your music is another. You stack them, line them up in time, and ExpoCut plays them all together. That’s the whole game.
Step 1 — Start a project and add your first clip
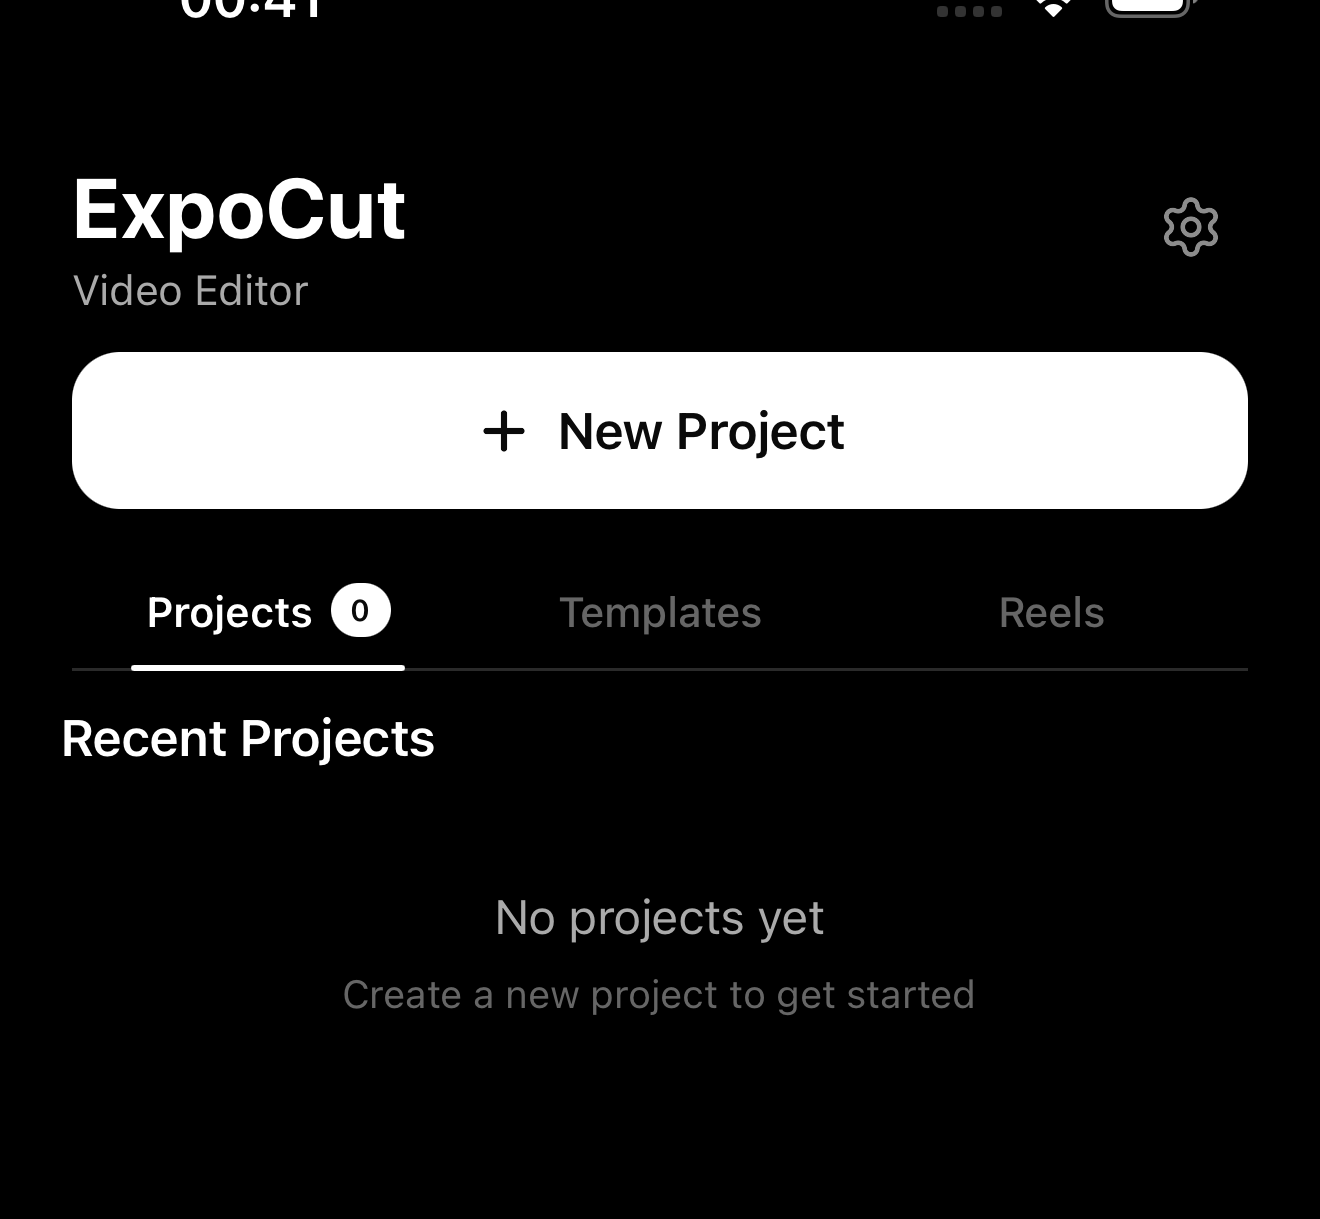
Create a new project
Open ExpoCut and tap New Project on the home screen.
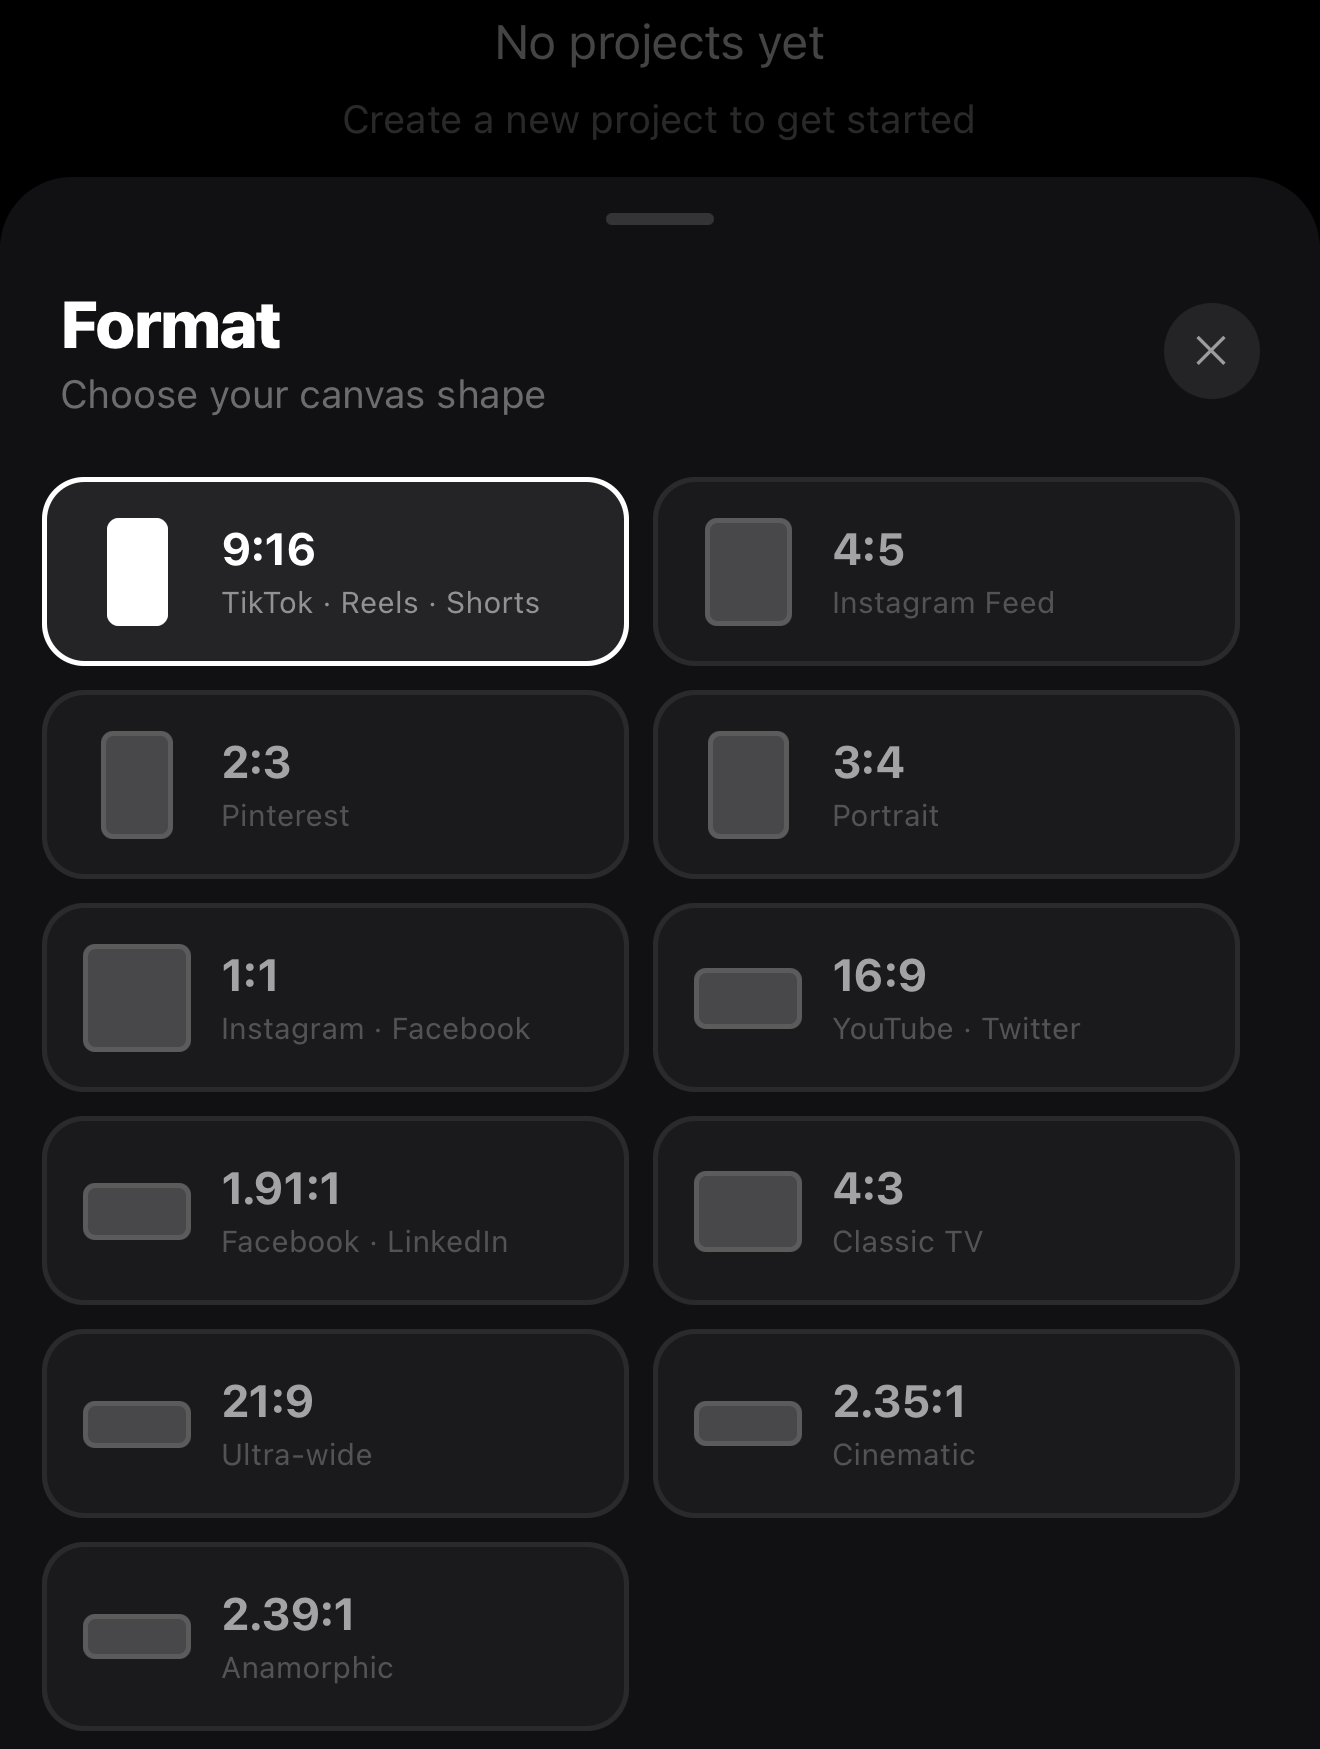
Pick your shape
Choose an aspect ratio — 9:16 for vertical (Reels / TikTok / Shorts), 1:1 for a square post, or 16:9 for YouTube. You can change your mind later.
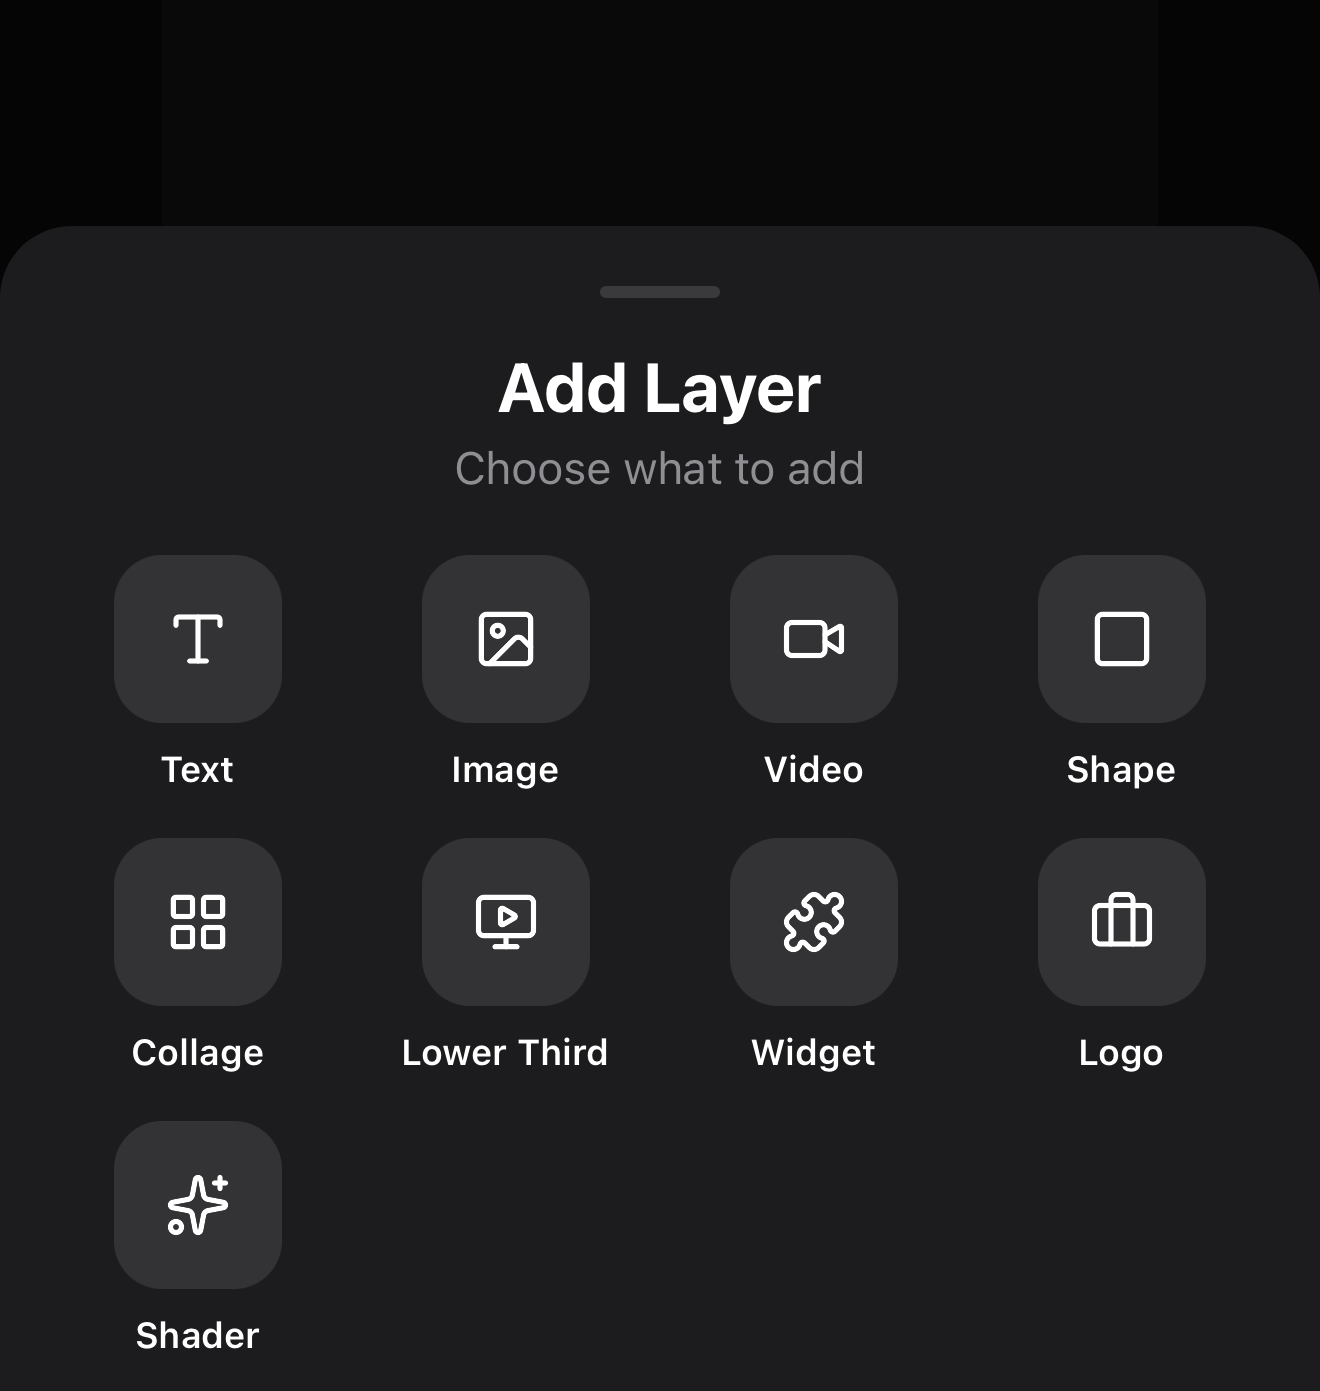
Add a clip
Tap Video, then pick a clip from your camera roll or the built-in Stock library (thousands of free clips). It drops onto the timeline as your first layer and fills the canvas automatically.
 Tap to start
 Pick 9:16
 Tap Video
Step 2 — Trim it to the good part
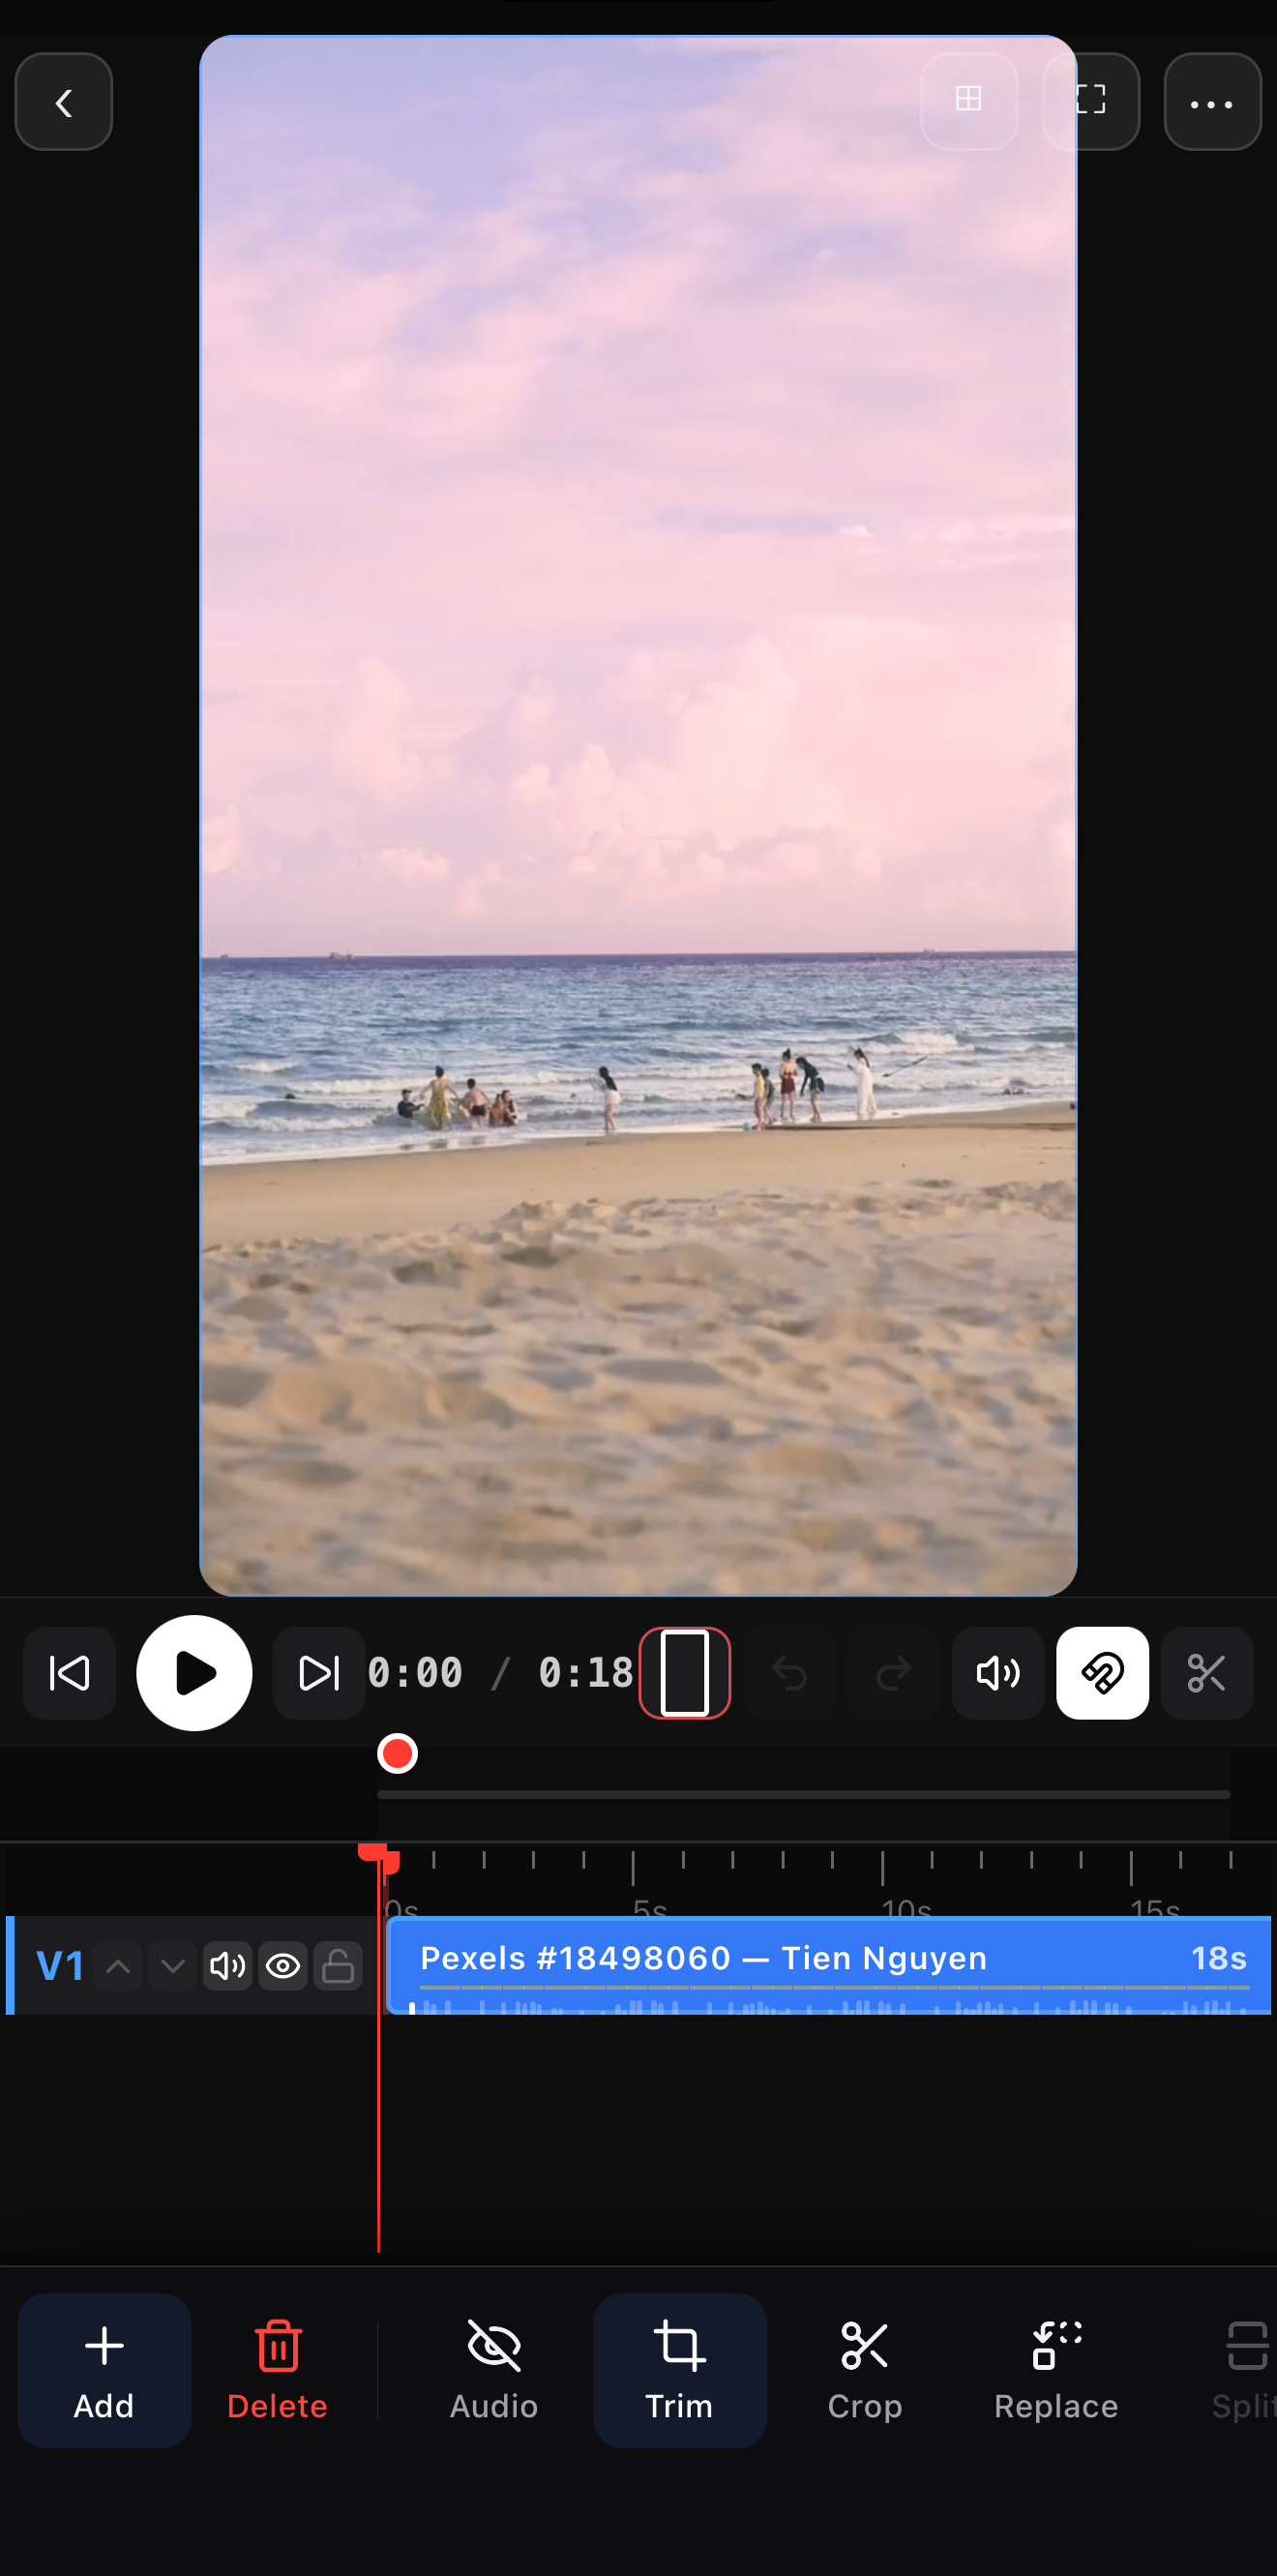
Most clips have a few boring seconds at the start or end. Trimming is how you keep only the part that matters.
Select the clip
Tap your clip on the timeline once. Handles appear on each end.
Drag the handles
Drag the left handle inward to cut the start, and the right handle inward to cut the end. The preview scrubs as you drag so you can find the exact frame.
Split if you need to
Want to cut something out of the middle? Move the playhead to that spot and tap the scissors to slice the clip in two, then delete the piece you don’t want.
 Drag the edges to trim
Tip: shorter is almost always better. A tight 8–15 second clip holds attention far better than a loose 30-second one. When in doubt, cut.
Step 3 — Add a title
A title tells viewers what they’re watching in the first second — the moment that decides whether they keep watching.
Add a text layer
Tap the T (text) tool in the bottom toolbar. A text box appears on the canvas as a new layer above your video.
Type and place it
Type your headline, then drag it where you want it. Pinch to resize, and pick a color, font, and style from the panel — the presets are designed to look good instantly.
Make it animate
Open Animation and choose an entrance like Fade or Typewriter so your title arrives with a little motion instead of just popping in.
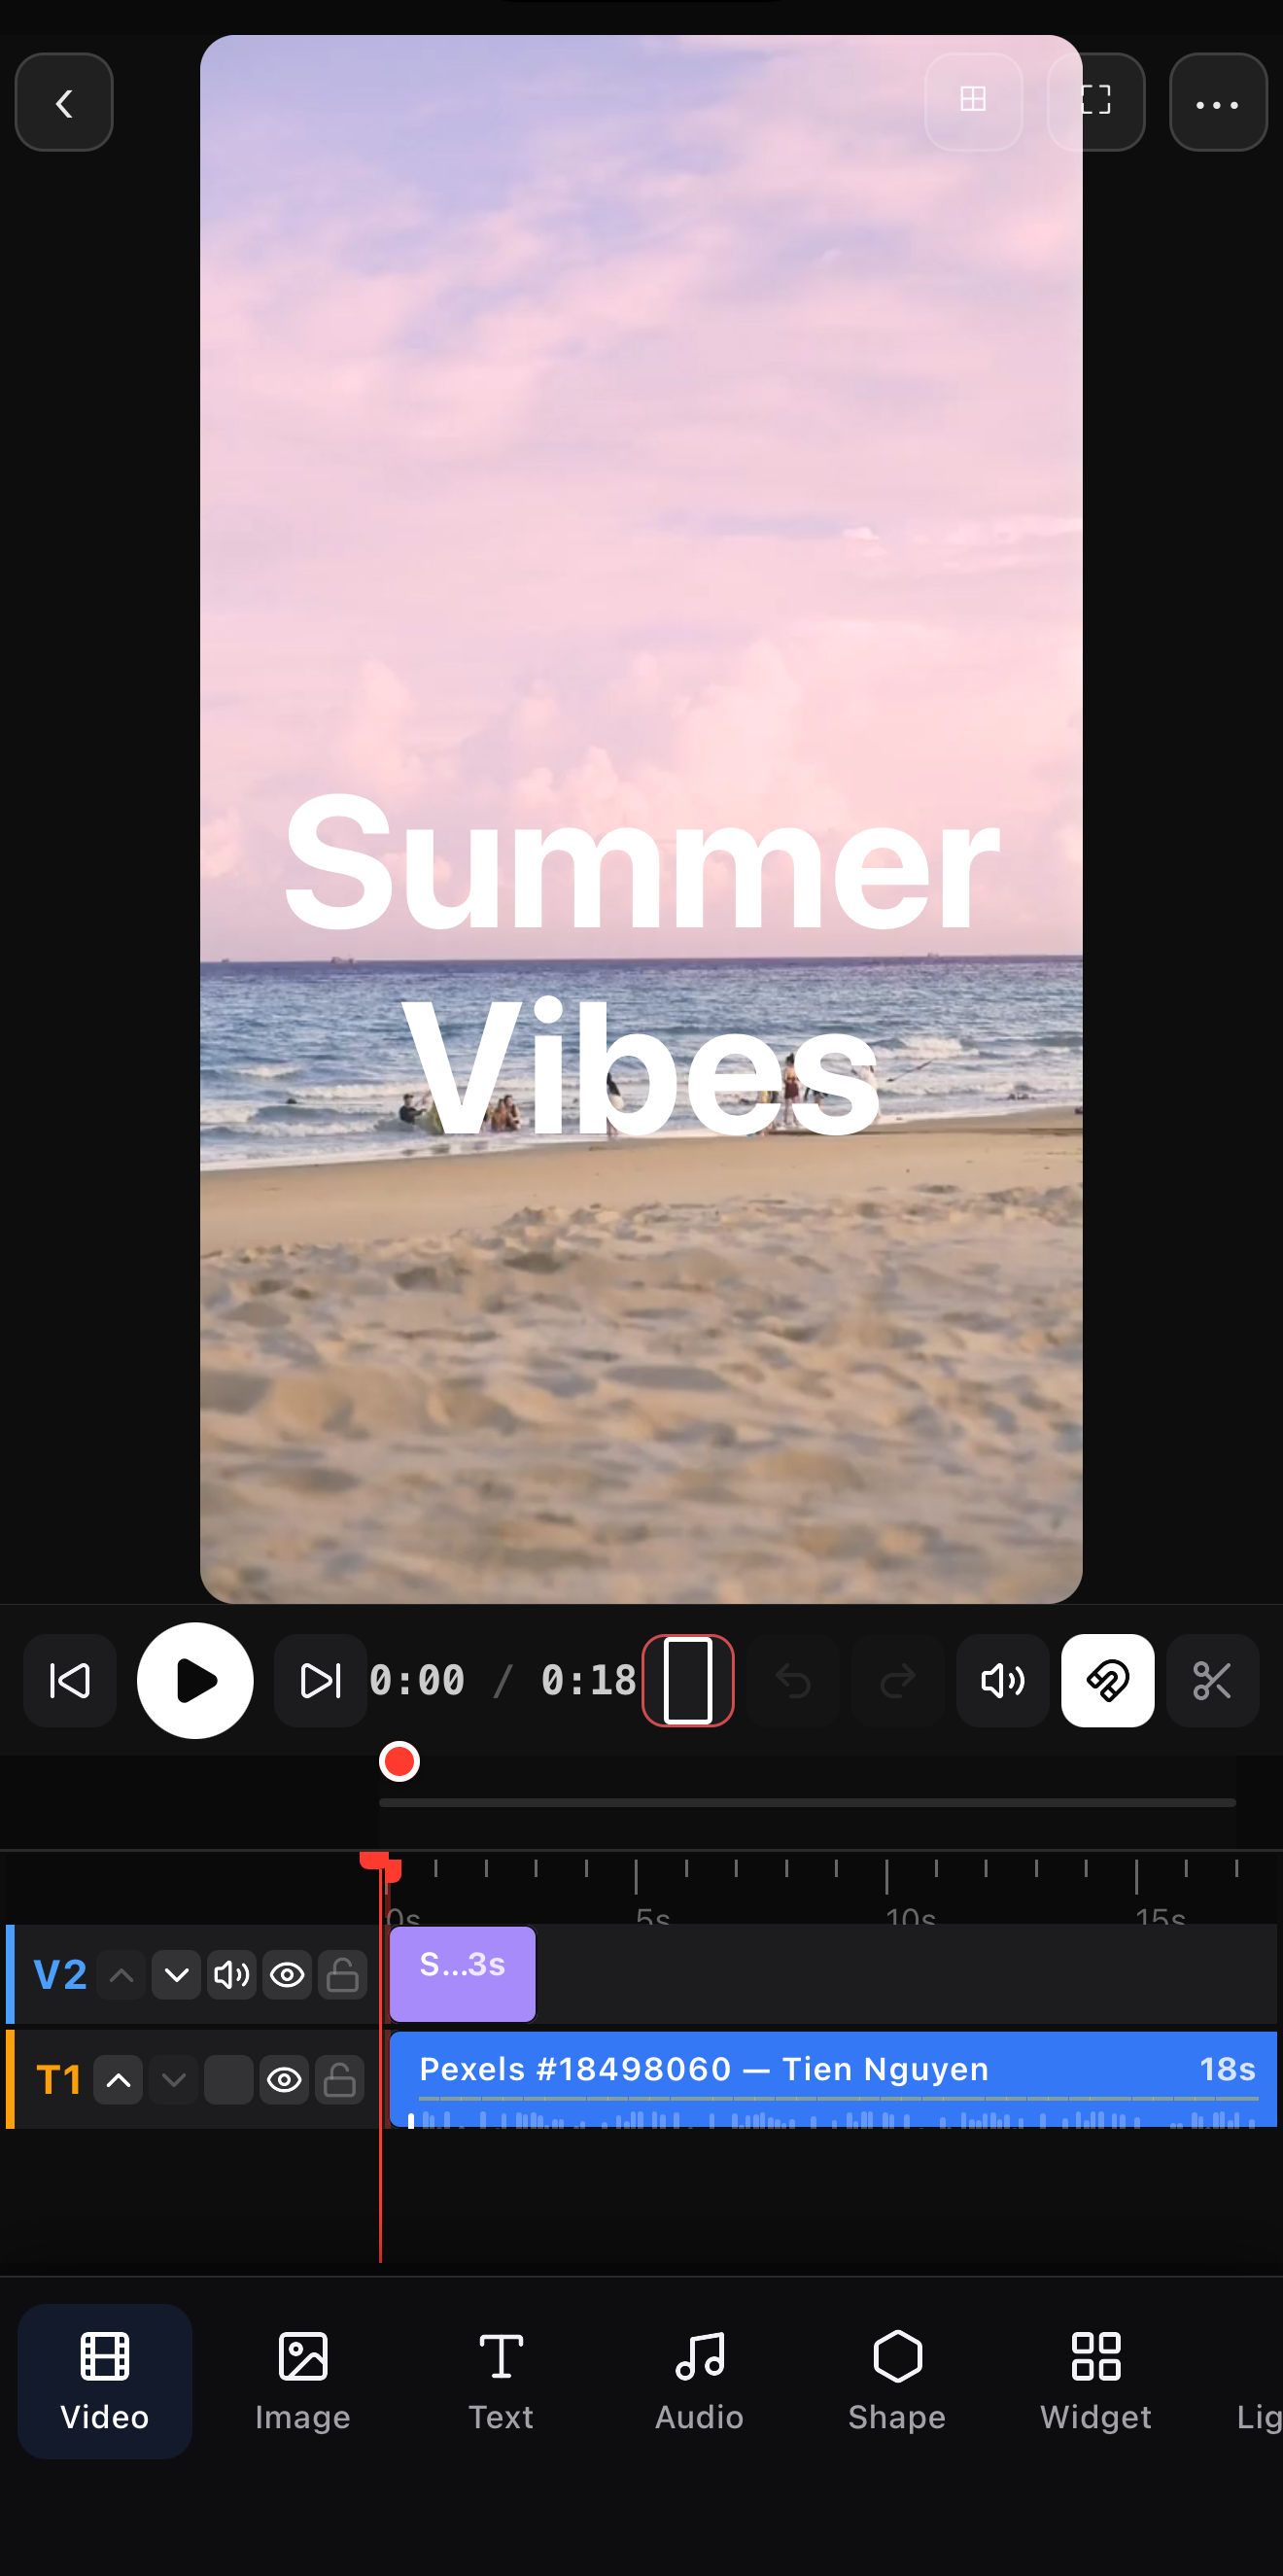 Your title = its own layer
Here’s the result on the canvas — a clean, bold title over the footage:

Step 4 — Add music
Music sets the mood more than any other single choice. ExpoCut gives you a built-in library so you never have to leave the app.
Open the audio tool
Tap the music note in the bottom toolbar to open the built-in sound library, or add a track from your phone.
Drop it on the timeline
Pick a track and it lands on its own audio layer beneath your video. Drag it left or right to line the beat up with your cut.
Fade it nicely
Select the audio layer and add a fade in at the start and a fade out at the end so the music eases in and out instead of cutting abruptly.
Tap for Audio
Step 5 — Give it a look with a filter
One filter can take a flat phone clip and make it feel intentional and cinematic.
Open filters
Select your video clip and tap Filters. Swipe through the presets — Instagram-style, film, and cinematic looks update the preview live.
Pick one and dial it in
Tap a filter you like. If it’s too strong, drag the intensity slider down until it feels right. Subtle usually wins.

The table below is a cheat sheet for matching a filter family to the vibe you’re going for:
| You want it to feel… | Try a filter from… |
|---|---|
| Warm, nostalgic, film-like | Film presets (Vintage, Cinematic) |
| Clean and punchy for social | Instagram presets (Clarendon, Juno) |
| Moody and desaturated | VSCO-style presets |
| Cool and modern | Color presets (Cool, Vibrant) |
Step 6 — Export and share
This is the payoff: turning your project into a real video file.
Open the menu
Tap the ••• menu in the top bar and choose Export Video.
Choose your settings
Pick 1080p (best for social) and your aspect ratio — they’re already set from when you started. Leave quality on High and the format on MP4 unless you have a reason to change them.
Save and share
Tap Export. ExpoCut renders the finished video straight to your camera roll in seconds. From there, post it anywhere.
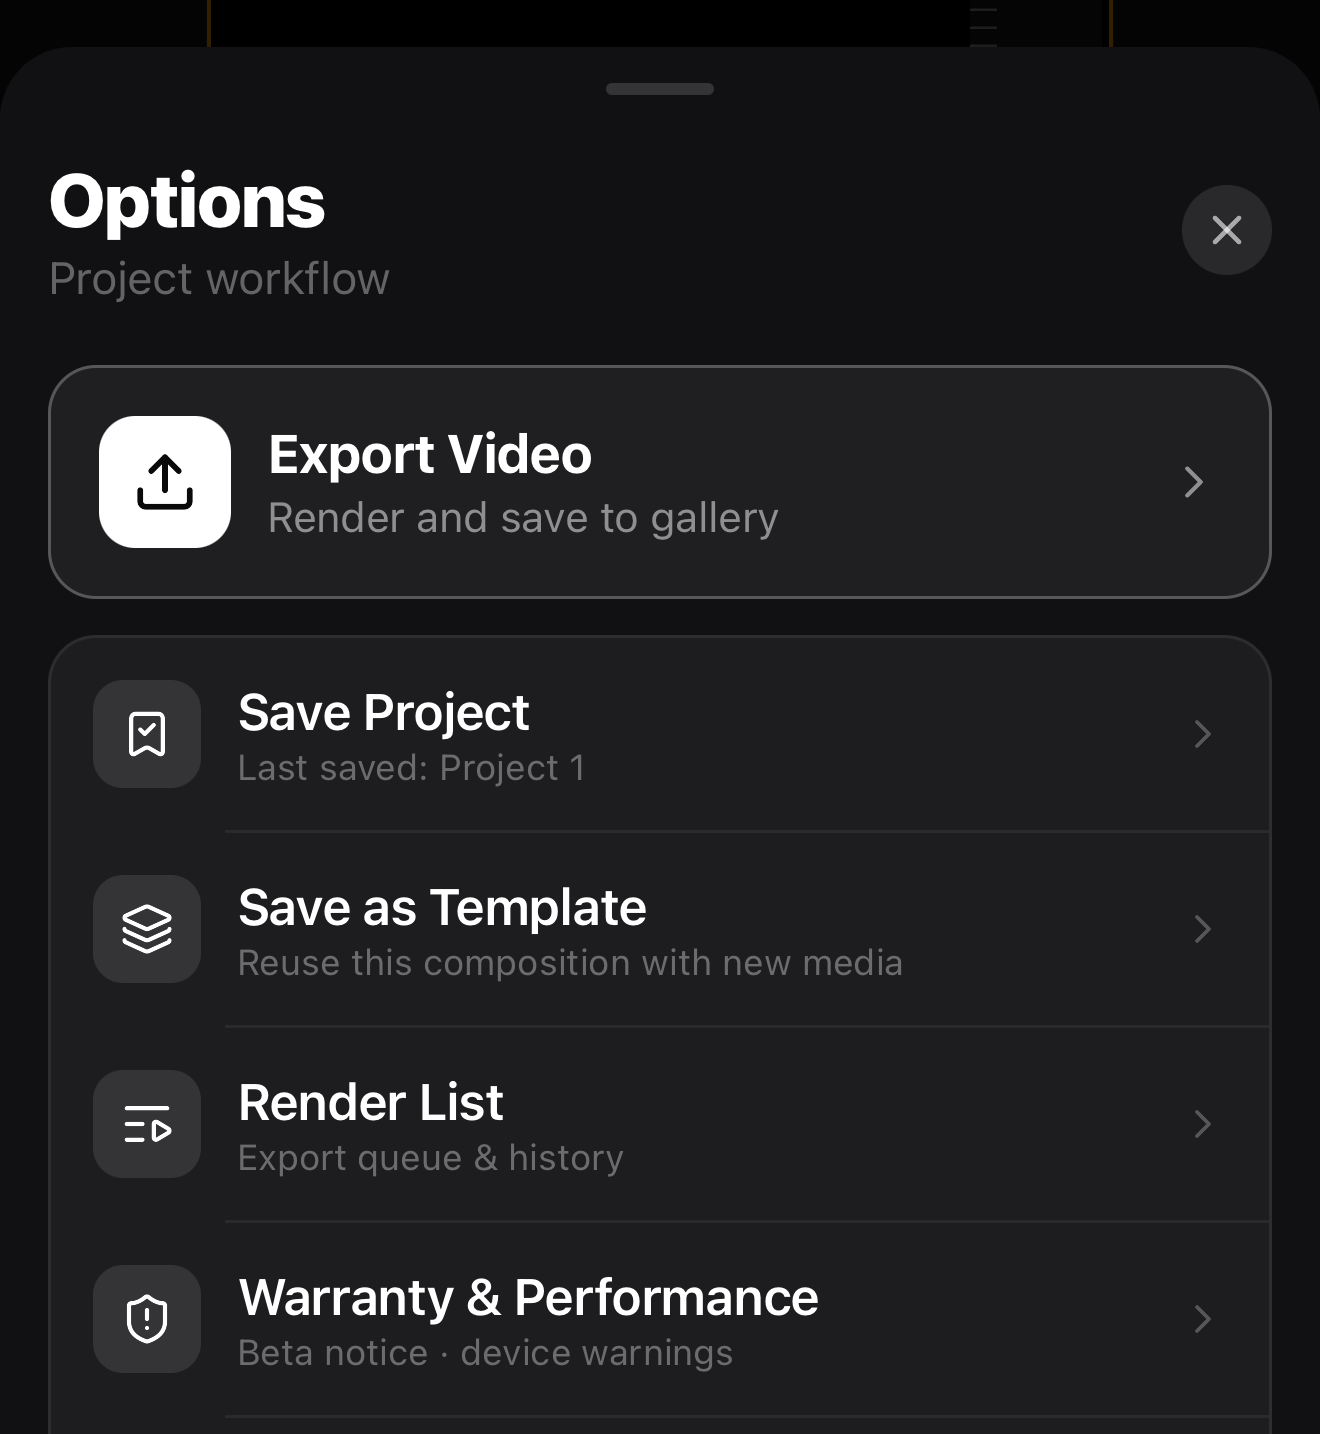 Tap Export Video
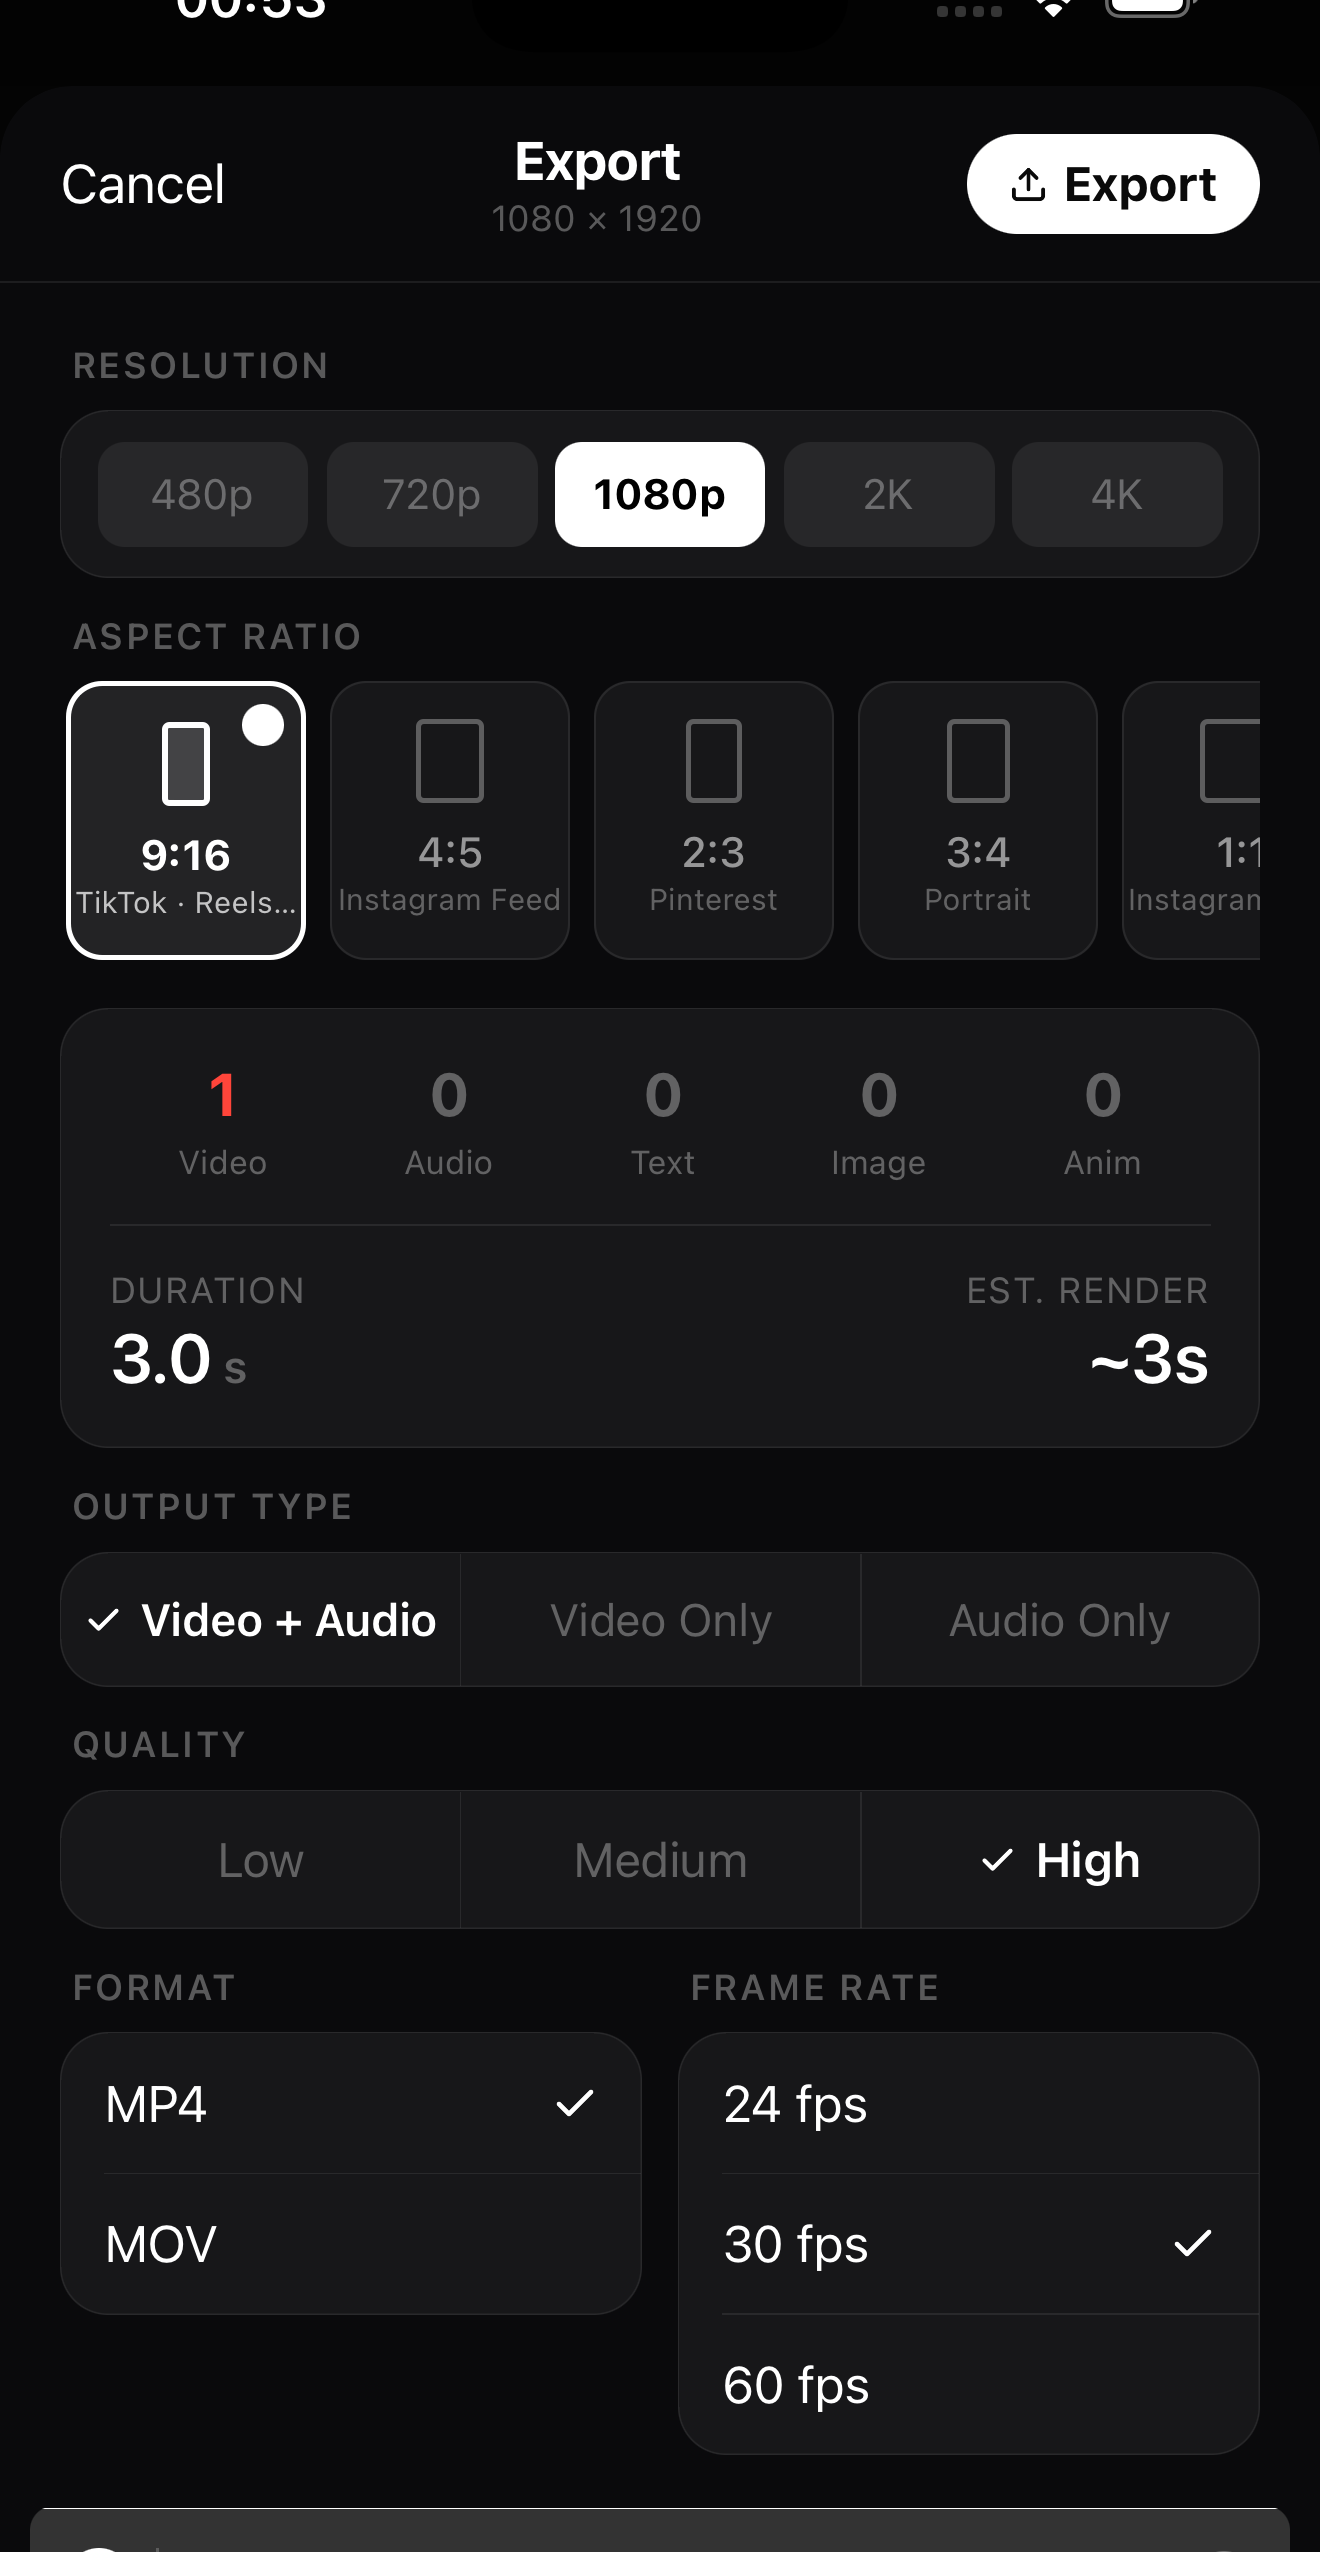 1080p for social
Tap Export
1080p for social
Tap Export
You did it. That exact six-step loop — add, trim, title, music, filter, export — is how every video in ExpoCut gets made, from a quick story to a polished brand promo. Everything else you’ll learn is just a richer version of one of these steps.
Where to go next
Now that the foundation is solid, pick the thread that excites you most:
- Make titles pop — explore the 20+ text animations and word-by-word effects.
- Find the perfect look — go deeper on filters and pro color grading.
- Move things around — learn keyframes to animate position, scale, and rotation.
- Go faster — start from a template and just swap in your own clips and text.
Each of those has its own guide. But the video you just made? That’s the hard part — and you already did it.
Frequently asked questions
Do I need any editing experience to use ExpoCut?
No. ExpoCut is built so a complete beginner can make a clean, share-ready video on their first try. Every tool has sensible defaults, so you can get a great result just by adding clips and tapping export — then go deeper whenever you're ready.
How long does my first video take to make?
About ten minutes. Adding a clip, trimming it, dropping on a title and some music, and picking a filter are all a few taps each. Export to 1080p takes seconds on a modern phone.
What resolution should I export at?
1080p is the sweet spot for social media — crisp, fast to upload, and supported everywhere. Step up to 4K only if you need it, since the file will be much larger.
Can I keep editing after I export?
Yes. Exporting writes a finished video to your camera roll but leaves your project untouched. Reopen it any time to tweak and export again.
Ready to make your first one?
Open ExpoCut, add a clip, and follow along. Your first share-ready video is ten minutes away.
Get ExpoCut Browse more guides