How to Make a Split Screen & Collage Video (Multi-Cam, Reactions)
Split screens do a lot of work: comparisons, reactions, multi-cam, before/after. ExpoCut has ready-made layouts so you just drop a clip into each slot — no fiddly resizing.
A single frame can hold more than one story. Split screens and collages let you compare two takes, react to a clip, show four angles at once, or build a before/after — and ExpoCut’s ready-made layouts mean you never have to eyeball the sizing.
What you can build
- Reaction — the source clip big, you small in a corner.
- Comparison / before-after — two tiles, side by side.
- Multi-cam — three or four angles in a grid.
- Stylized split — diamond or mosaic for a designed look.
Step 1 — Pick a layout
Add a Collage (or a Layout preset)
Choose from Grid, Mosaic, Diamond, or Freeform — Freeform lets you place tiles anywhere.
Drop a clip into each tile
Each slot is a layer. Add a video or photo to each one; ExpoCut handles the sizing and position.
Fine-tune the fit
Use each tile’s fit/crop so the important part of every clip is centered in its slot.
 Grid · Mosaic · Diamond · Freeform — pick a layout family
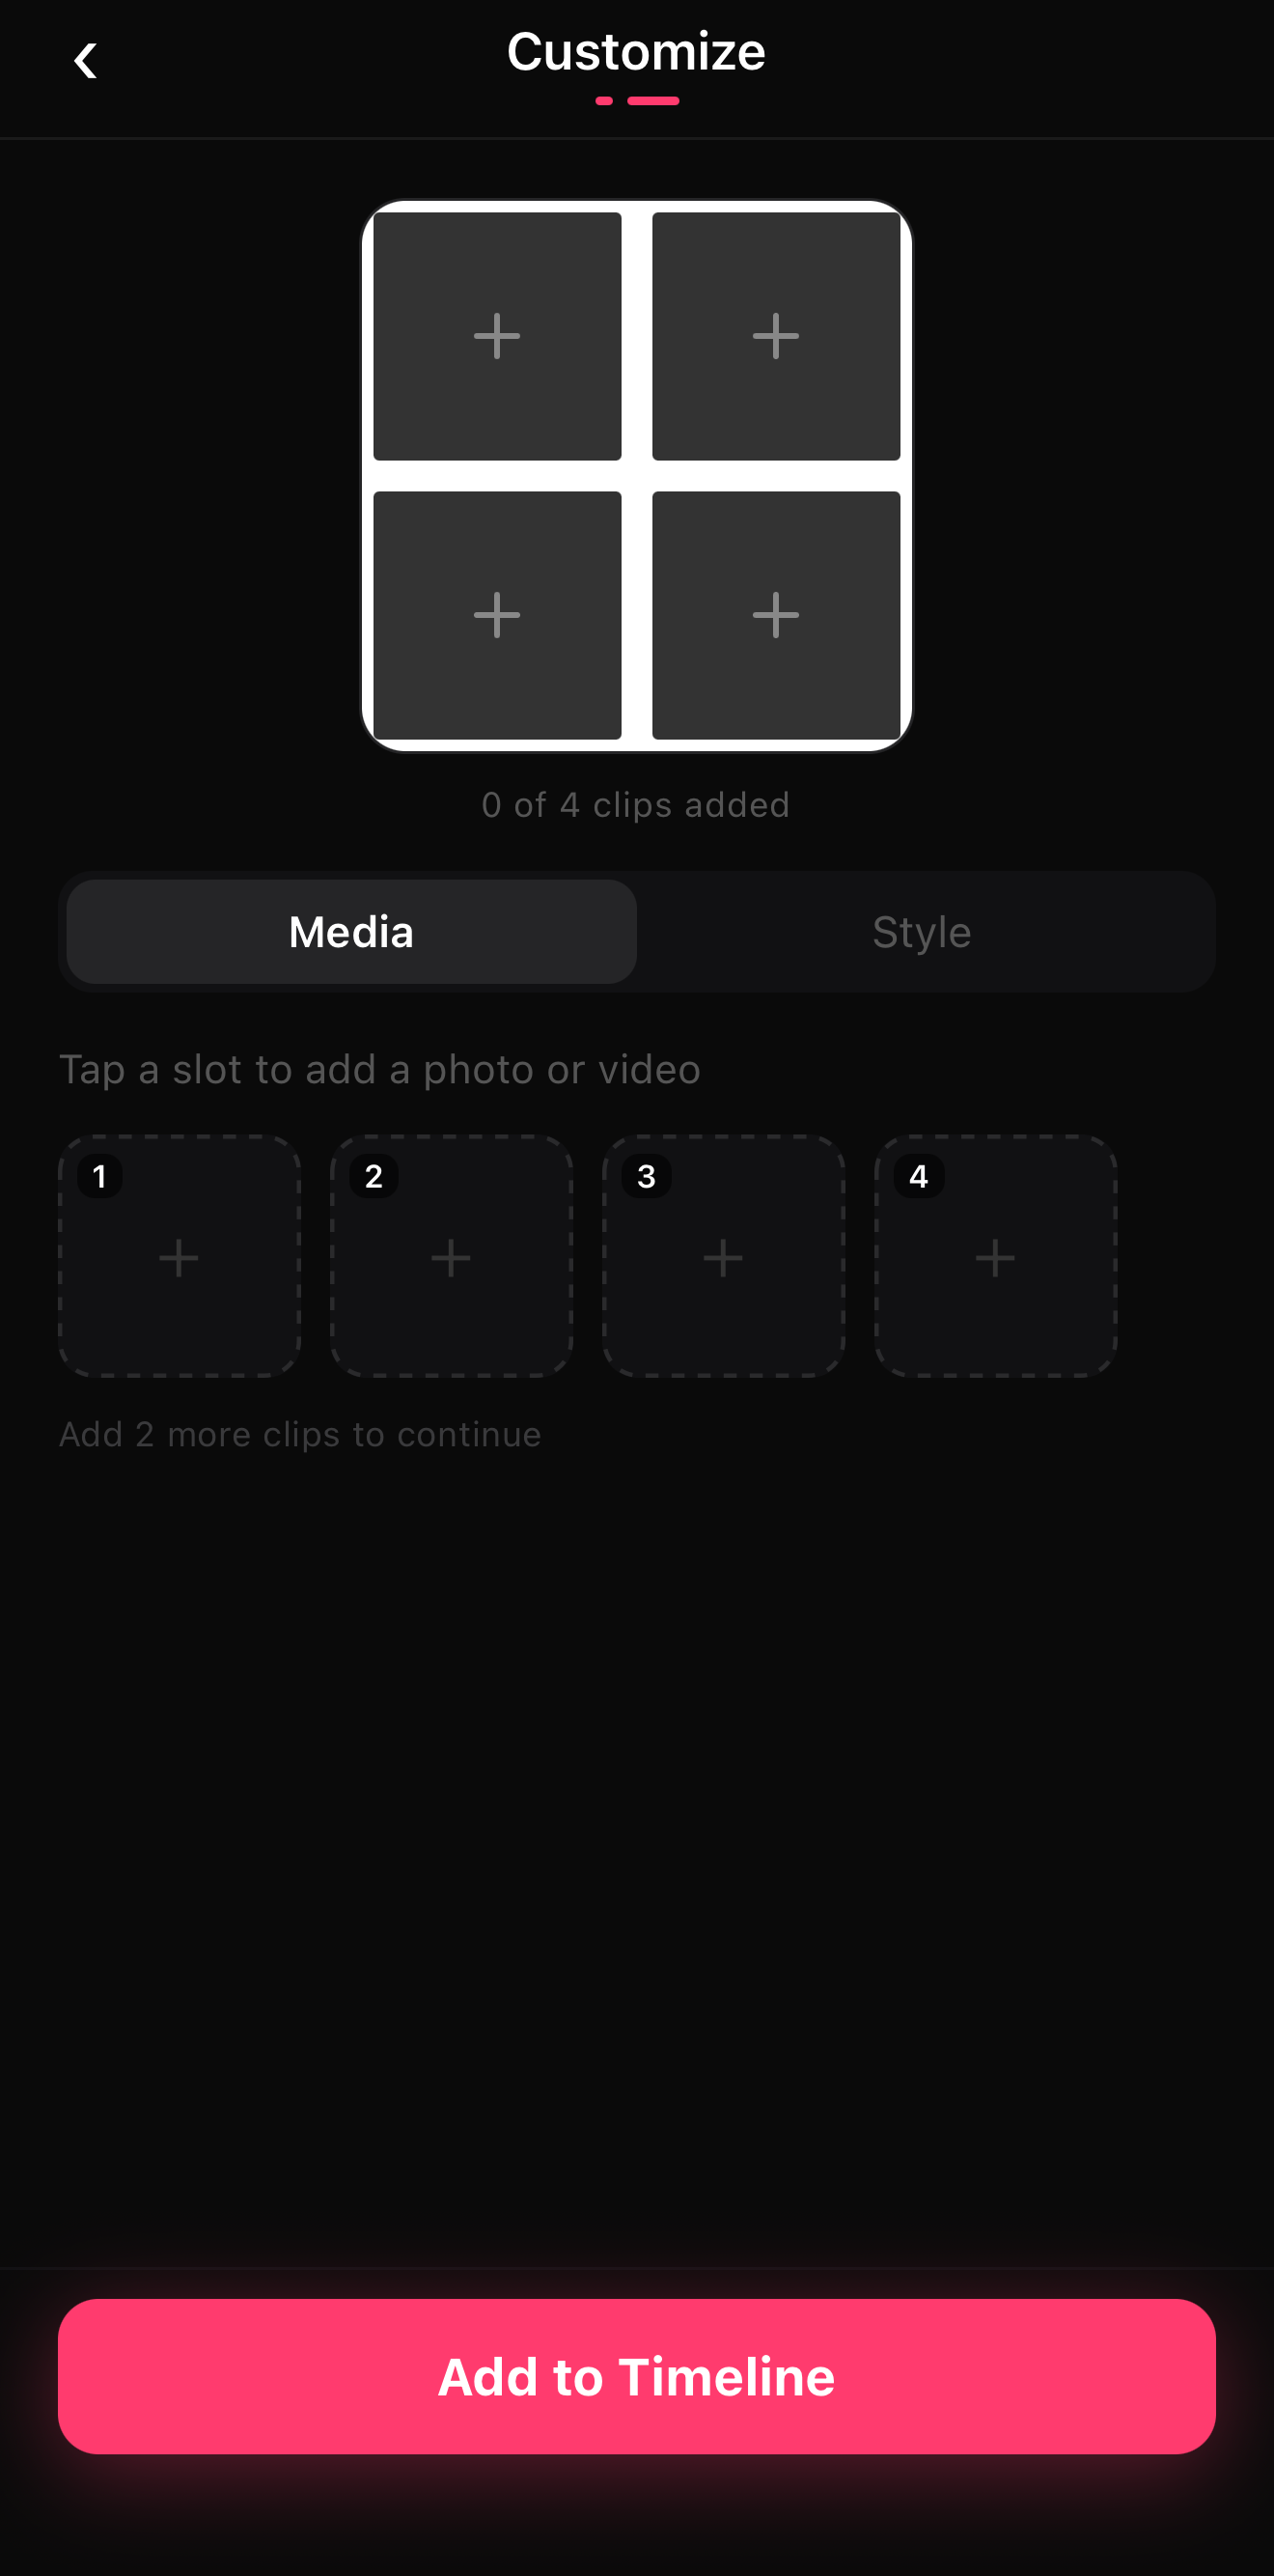 Tap each numbered slot to drop in a clip
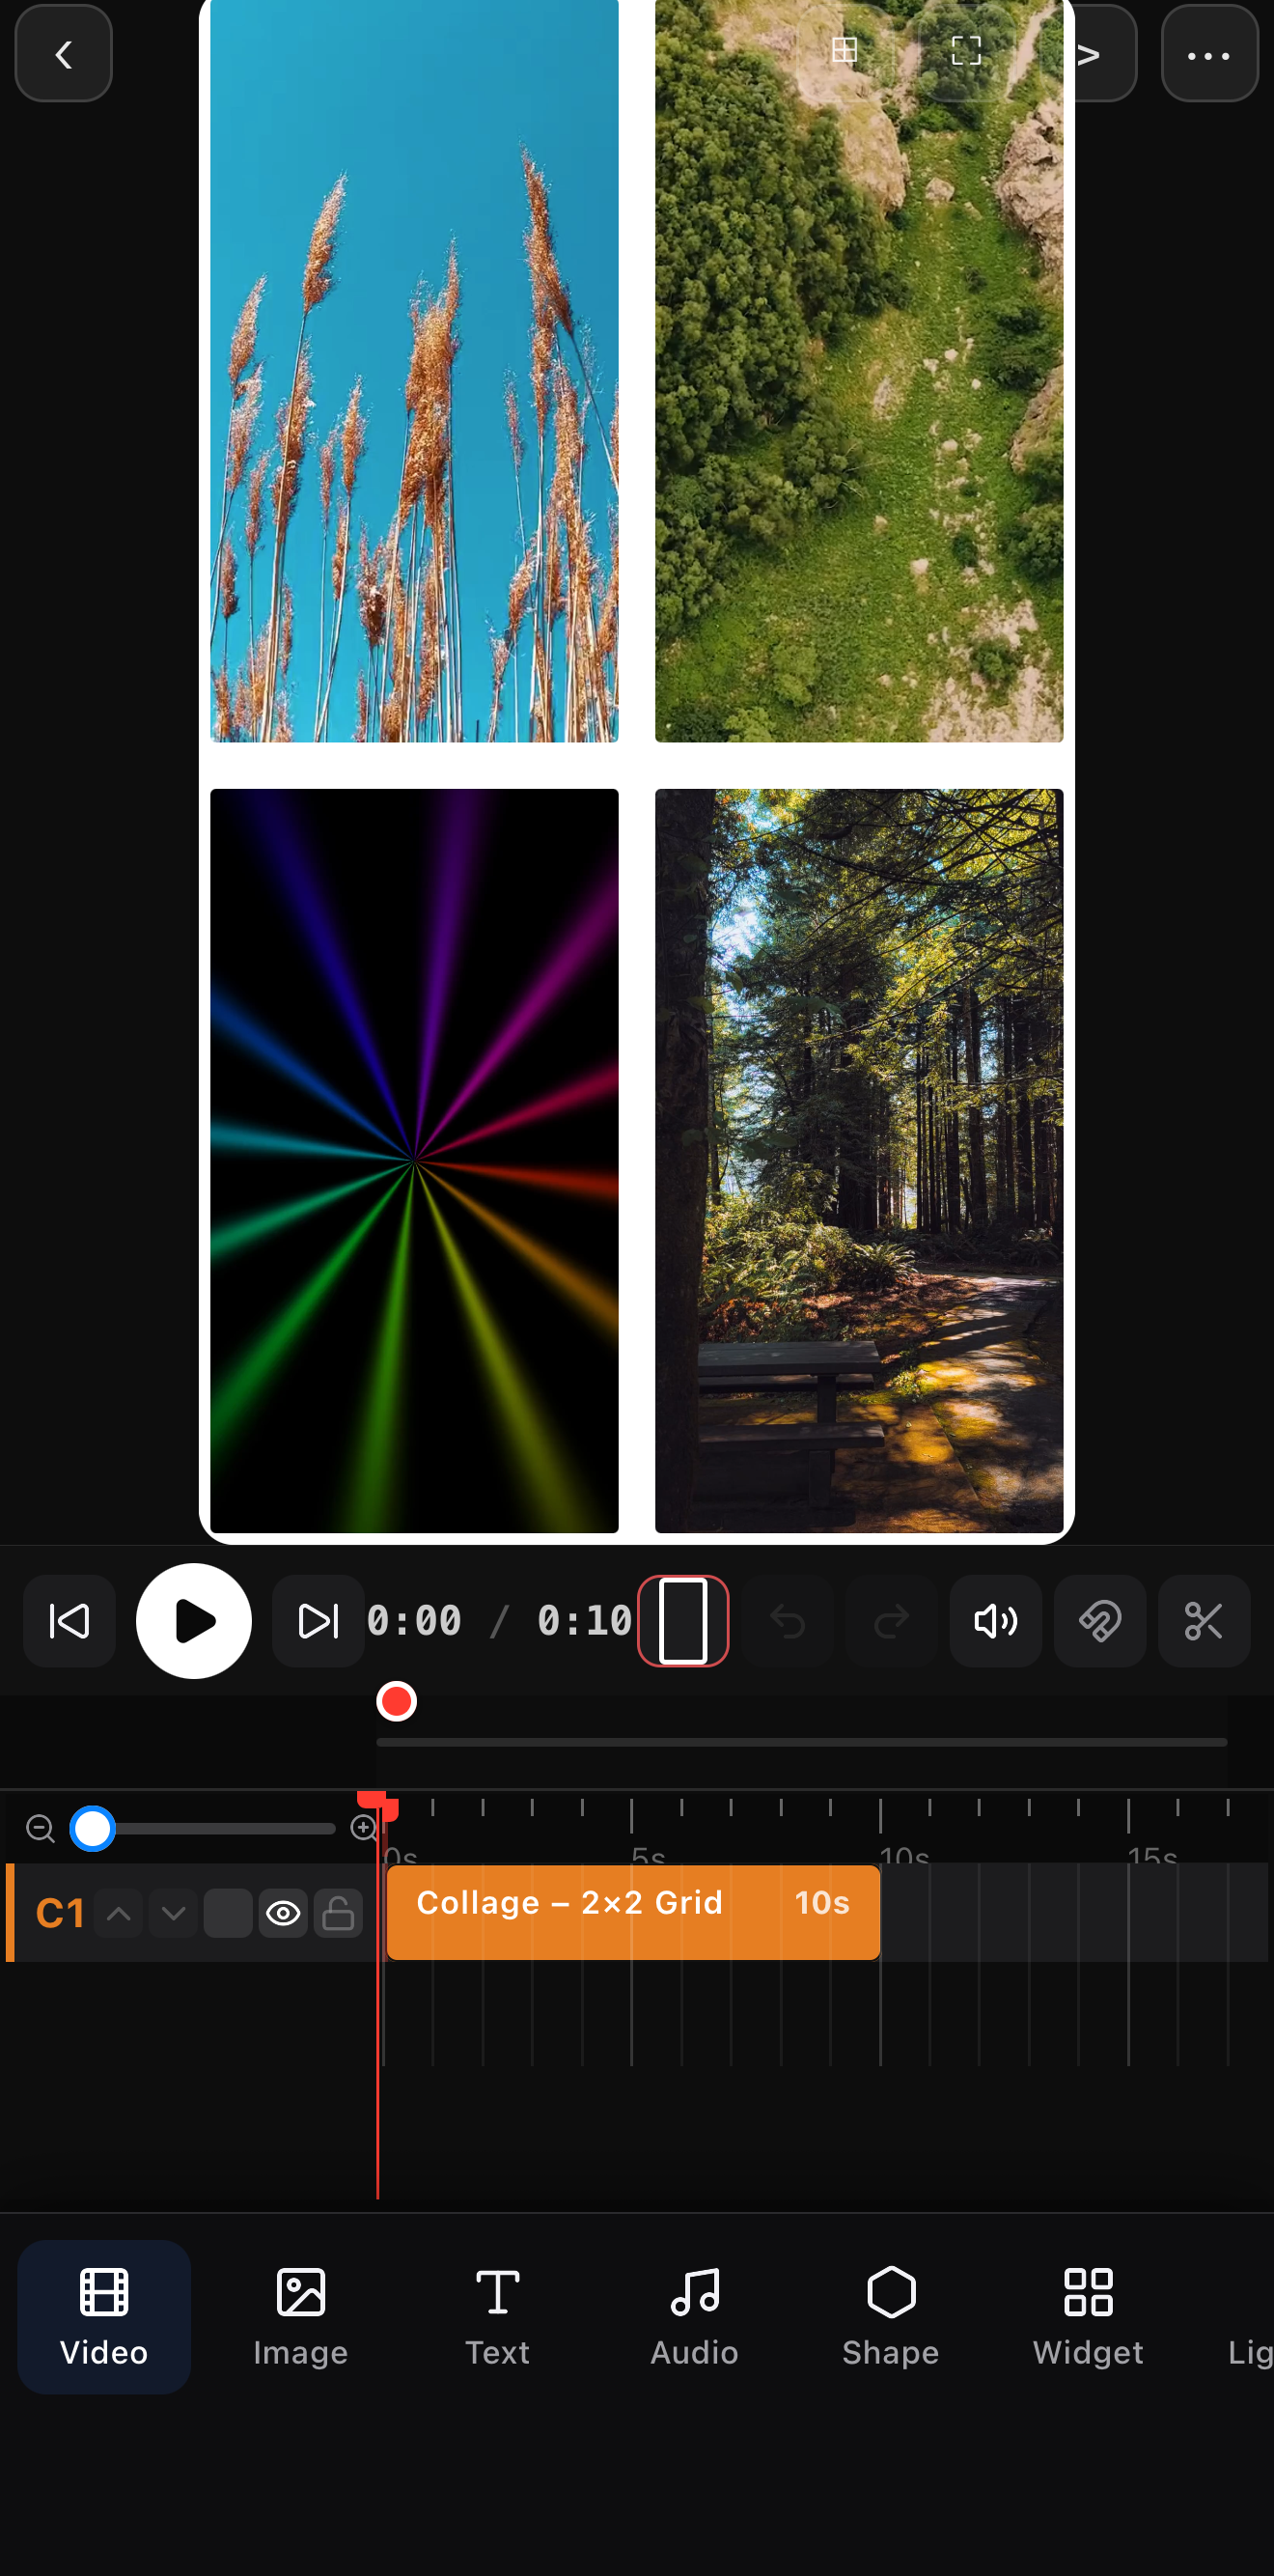 Four clips, one grid — playing together
Step 2 — Make it move
A static split is fine; a moving one is better. Because every tile is its own layer, you can:
- Start full-screen and transition into the split.
- Keyframe a tile sliding in from the edge.
- Animate a comparison wipe between before and after.
Step 3 — Add labels
Split screens almost always want labels — “Before / After”, names, or camera tags. Drop a title or a lower third on each tile so viewers know what they’re looking at.
Mind the safe area. On a 9:16 split, keep faces and key action away from the center seam and the platform’s UI zone at the bottom.
Where to go next
- One small inset instead of a full split: picture-in-picture.
- Animate the tiles: keyframes & motion paths.
- Label each panel: text & titles.
Pick a layout, fill the tiles, label them — and you’ve turned one frame into a comparison, a reaction, or a four-angle show.
Frequently asked questions
How do I put two videos side by side?
Add a collage or layout preset, pick a two-up split, and drop a clip into each tile. ExpoCut sizes and positions them for you, so you get a clean side-by-side without manually scaling each video.
Which layout should I use for a reaction video?
A two-tile split (or a small picture-in-picture) works best: the thing you're reacting to in the big tile, you in the smaller one. For multi-cam or comparisons, use a grid; for a stylized look, try mosaic or diamond.
Can I animate the split?
Yes — each tile is a layer, so you can keyframe a tile sliding in, or transition from full screen into a split. Freeform layouts let you place and size each clip exactly where you want.
Two videos, one screen
Grid, mosaic, diamond and freeform layouts for split-screens, reactions and multi-cam. Drop a clip in each tile — done.
Get ExpoCut Browse all guides