How to Use Keyframes to Animate Video (Zoom, Pan, Move)
Keyframes are the one skill that unlocks everything: zooms, pans, smooth reveals, animated text and graded looks. Learn how keyframes work — set a start, set an end, let the editor fill the middle — and you can animate any property of any layer.
If you learn one advanced skill in mobile video editing, make it keyframes. They’re the engine behind zooms, pans, reveals, animated text and graded looks — every “how did they do that” move. And the idea is simple: mark a start, mark an end, and the editor animates the middle for you.
The one idea behind all animation
A keyframe stores a property’s value at a point in time. Set two of them with different values and the editor interpolates — fills in every frame between — to create smooth motion.
That’s it. Once you understand “start value here, end value there,” you can animate anything:
| Animate this property | And you get… |
|---|---|
| Scale | Zoom in / out, Ken Burns |
| Position | Pans, slides, motion paths |
| Rotation | Spins, tilts |
| Opacity | Fades, reveals |
| Filter intensity | A grade that blooms in |
Your first keyframe move: the slow zoom
Keyframe the start
Put the playhead at the clip’s start and add a scale keyframe at 100%.
Keyframe the end
Move the playhead to the clip’s end and set scale to 115%. A second keyframe appears automatically.
Play it back
The editor animates a smooth, slow zoom across the clip. Add a position keyframe too and you’ve made a Ken Burns pan-and-zoom.
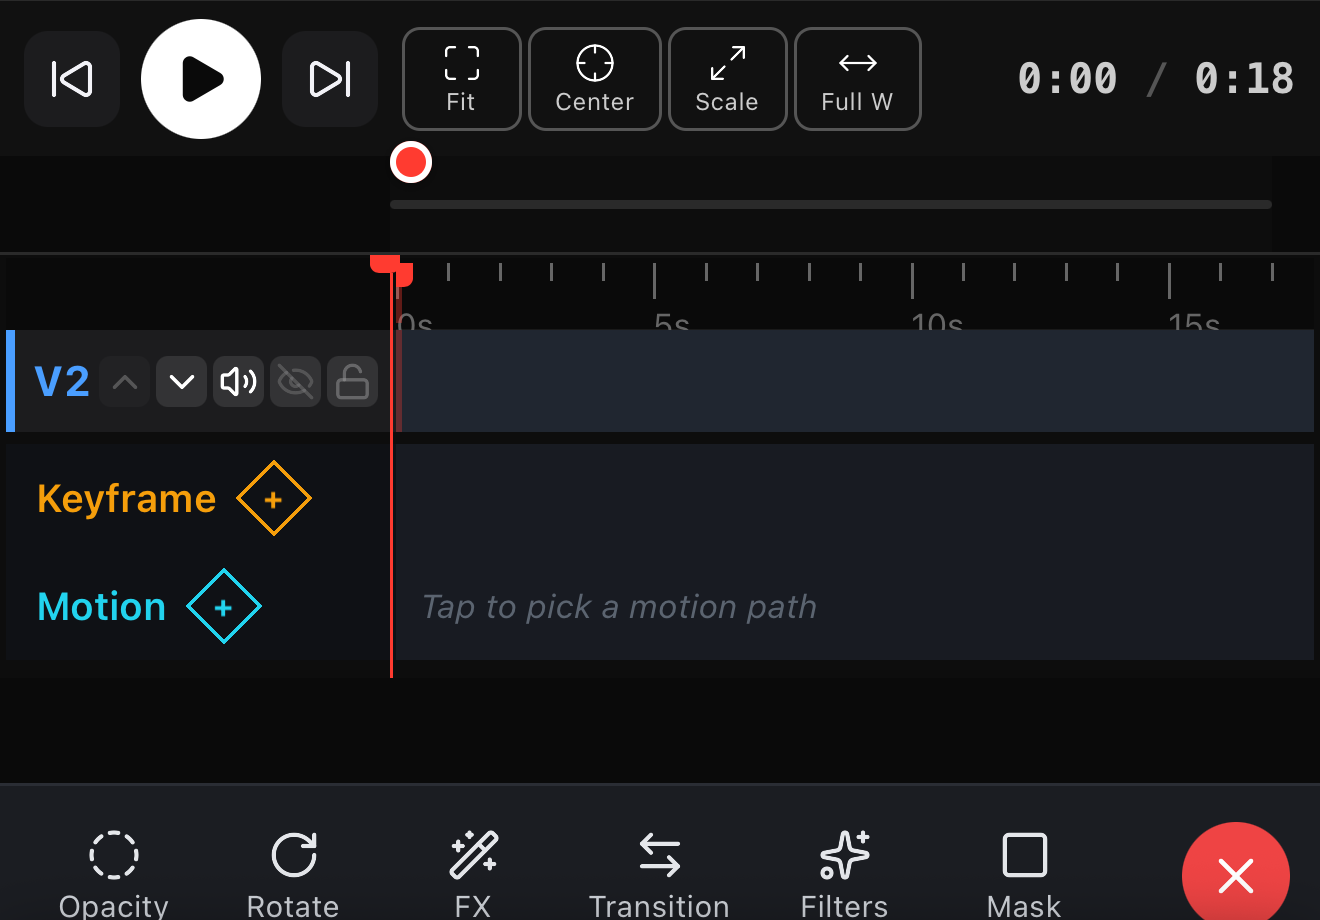 Tap the diamond to add a keyframe
A slow push like this adds life to any static shot — it’s the most useful single animation in video.
Easing makes it look professional
Raw keyframes move at a constant speed, which feels robotic. Easing fixes that:
- Linear — constant speed (use rarely).
- Ease-in-out — starts and ends gently (use almost always).
Switch your keyframes to ease-in-out and the same zoom instantly looks intentional instead of mechanical.
Less distance, more class. Beginners make huge keyframe moves — a 100%→200% zoom that feels dizzying. Pros keep it subtle: 100%→112% over three seconds. The viewer feels the motion without noticing it. Restraint, again, is the secret.
Motion paths
For position, you can do more than a straight line: a motion path lets a layer follow a curve across the canvas — a logo that arcs in, a sticker that bounces. Combine a motion path with rotation and easing and you have full character animation.
Keyframes power other effects too
Keyframing filter intensity makes a clip bloom from flat to graded (see color grading). Keyframing a mask creates reveals (see shapes & masks). Keyframes aren’t a feature — they’re the foundation under most advanced effects.
Where to go next
- Apply motion to color: color grading on your phone.
- Animate masks and shapes: shapes & masks.
- Where motion fits among effects: video effects guide.
Master keyframes and the whole editor opens up. Start with a subtle slow zoom on your next clip, switch it to ease-in-out, and you’ve already made the move that separates polished video from flat video.
Frequently asked questions
What are keyframes in video editing?
A keyframe records a property's value at a moment in time. Set two keyframes — a start and an end — with different values, and the editor animates smoothly between them. Keyframe a layer's scale from 100% to 120% and you've created a slow zoom.
How do I add a zoom or Ken Burns effect?
Add a keyframe for scale at the start of the clip, move the playhead to the end, and set a larger scale there. The editor interpolates a smooth zoom across the clip. Add a position keyframe too and you get the classic Ken Burns pan-and-zoom.
What is easing?
Easing controls the acceleration between keyframes. Linear moves at a constant speed (robotic); ease-in-out starts and ends gently (natural). Almost every animation looks better with ease-in-out than with linear motion.
Animate your next clip
Keyframe position, scale, rotation, opacity and more — with easing and motion paths, all previewing live on-device.
Get ExpoCut Browse all guides