How to Add Transitions Between Video Clips (Smoothly)
A transition bridges two clips with motion. Used well, it’s invisible momentum; used badly, it screams ‘amateur.’ Here’s how to add transitions between clips on your phone — and the timing rules that separate smooth from cheesy.
Quick answer
Put the two clips on the same timeline row (tap the row’s V1 label before adding the second clip so it lands butt-joined), then tap the small + joiner on the cut between them. Pick from the Dissolve, Wipe, Shader, Slide or Distort families — every tile is animated — tap Customize to set Duration (0.3–0.5 s), alignment on the cut and easing, and tap Done. For a single layer’s entrance or exit use Edit ▸ Transition and the Intro / Outro tabs instead.
- Junction transitions bridge two adjacent clips; layer transitions give one layer an intro or outro.
- The joiner turns blue once a transition is set — tap it again to change or delete.
- Most cuts should stay cuts; land the ones you keep on the beat.
A cut is clean. A transition adds motion between two clips. The trick isn’t knowing which transitions exist — it’s knowing when not to use one. Here’s how to add transitions on your phone, and the timing that keeps them smooth.
First rule: most cuts should be cuts
This is the part tutorials skip. The strongest edits are mostly hard cuts on the beat. A transition is a spice, not the meal. Reach for one only at a genuine scene change or a deliberate stylistic moment — not on every clip boundary.
Two kinds of transition
ExpoCut has two places to put a transition, and they do different jobs:
- Junction transitions bridge two clips on the same row — the classic clip-to-clip dissolve, wipe or shader effect. They live on the joiner, the small button that appears on the cut between adjacent clips.
- Layer transitions give one layer an entrance (Intro) or an exit (Outro) — a fade-in on a title, a flash on a cutaway, a light leak on a clip that starts alone. They live under Edit ▸ Transition.
Most of the time you want the first kind. The second is for layers that don’t have a neighbour.
The transition families
| Family | Examples | Feel |
|---|---|---|
| Dissolve | Cross Dissolve, Dip to Black / White, Additive, Film Dissolve | Soft, time-passing |
| Wipe | Linear, Clock, Iris, Barn Doors, Checkerboard, Gradient | Clean, classic |
| Slide | Push, slide, cover | Energetic, directional |
| Distort | Zoom, warp, glitch | Punchy, hype |
| Shader | Liquid Wipe, Ink Dissolve, Slice Wipe, Tile Flip, Mosaic Shatter, Hex Cells… | Bold, designed moments |
The shader wipes are eye-catching — which is exactly why you use them rarely, on a moment you want people to notice.
How to add a junction transition
Put two clips on one row
Add your first clip. Then tap the row’s label (V1) so it’s highlighted, and add the second clip — it lands butt-joined right after the first on the same row. (Two clips on different rows overlap; they don’t cut.)
Tap the joiner on the cut
A small + button sits on the boundary between the two clips. Tap it.
Pick the transition
The junction editor opens with a live preview on top and the families — Dissolve, Wipe, Shader, Slide, Distort — underneath. Every tile is animated; tap one to see it on the preview.
Time it
Tap Customize to set the Duration (short — 0.3–0.5 s — usually feels snappier), whether it sits centred on the cut or starts/ends there, an Ease, and the direction. Tap Done. The joiner turns blue to show a transition is set.
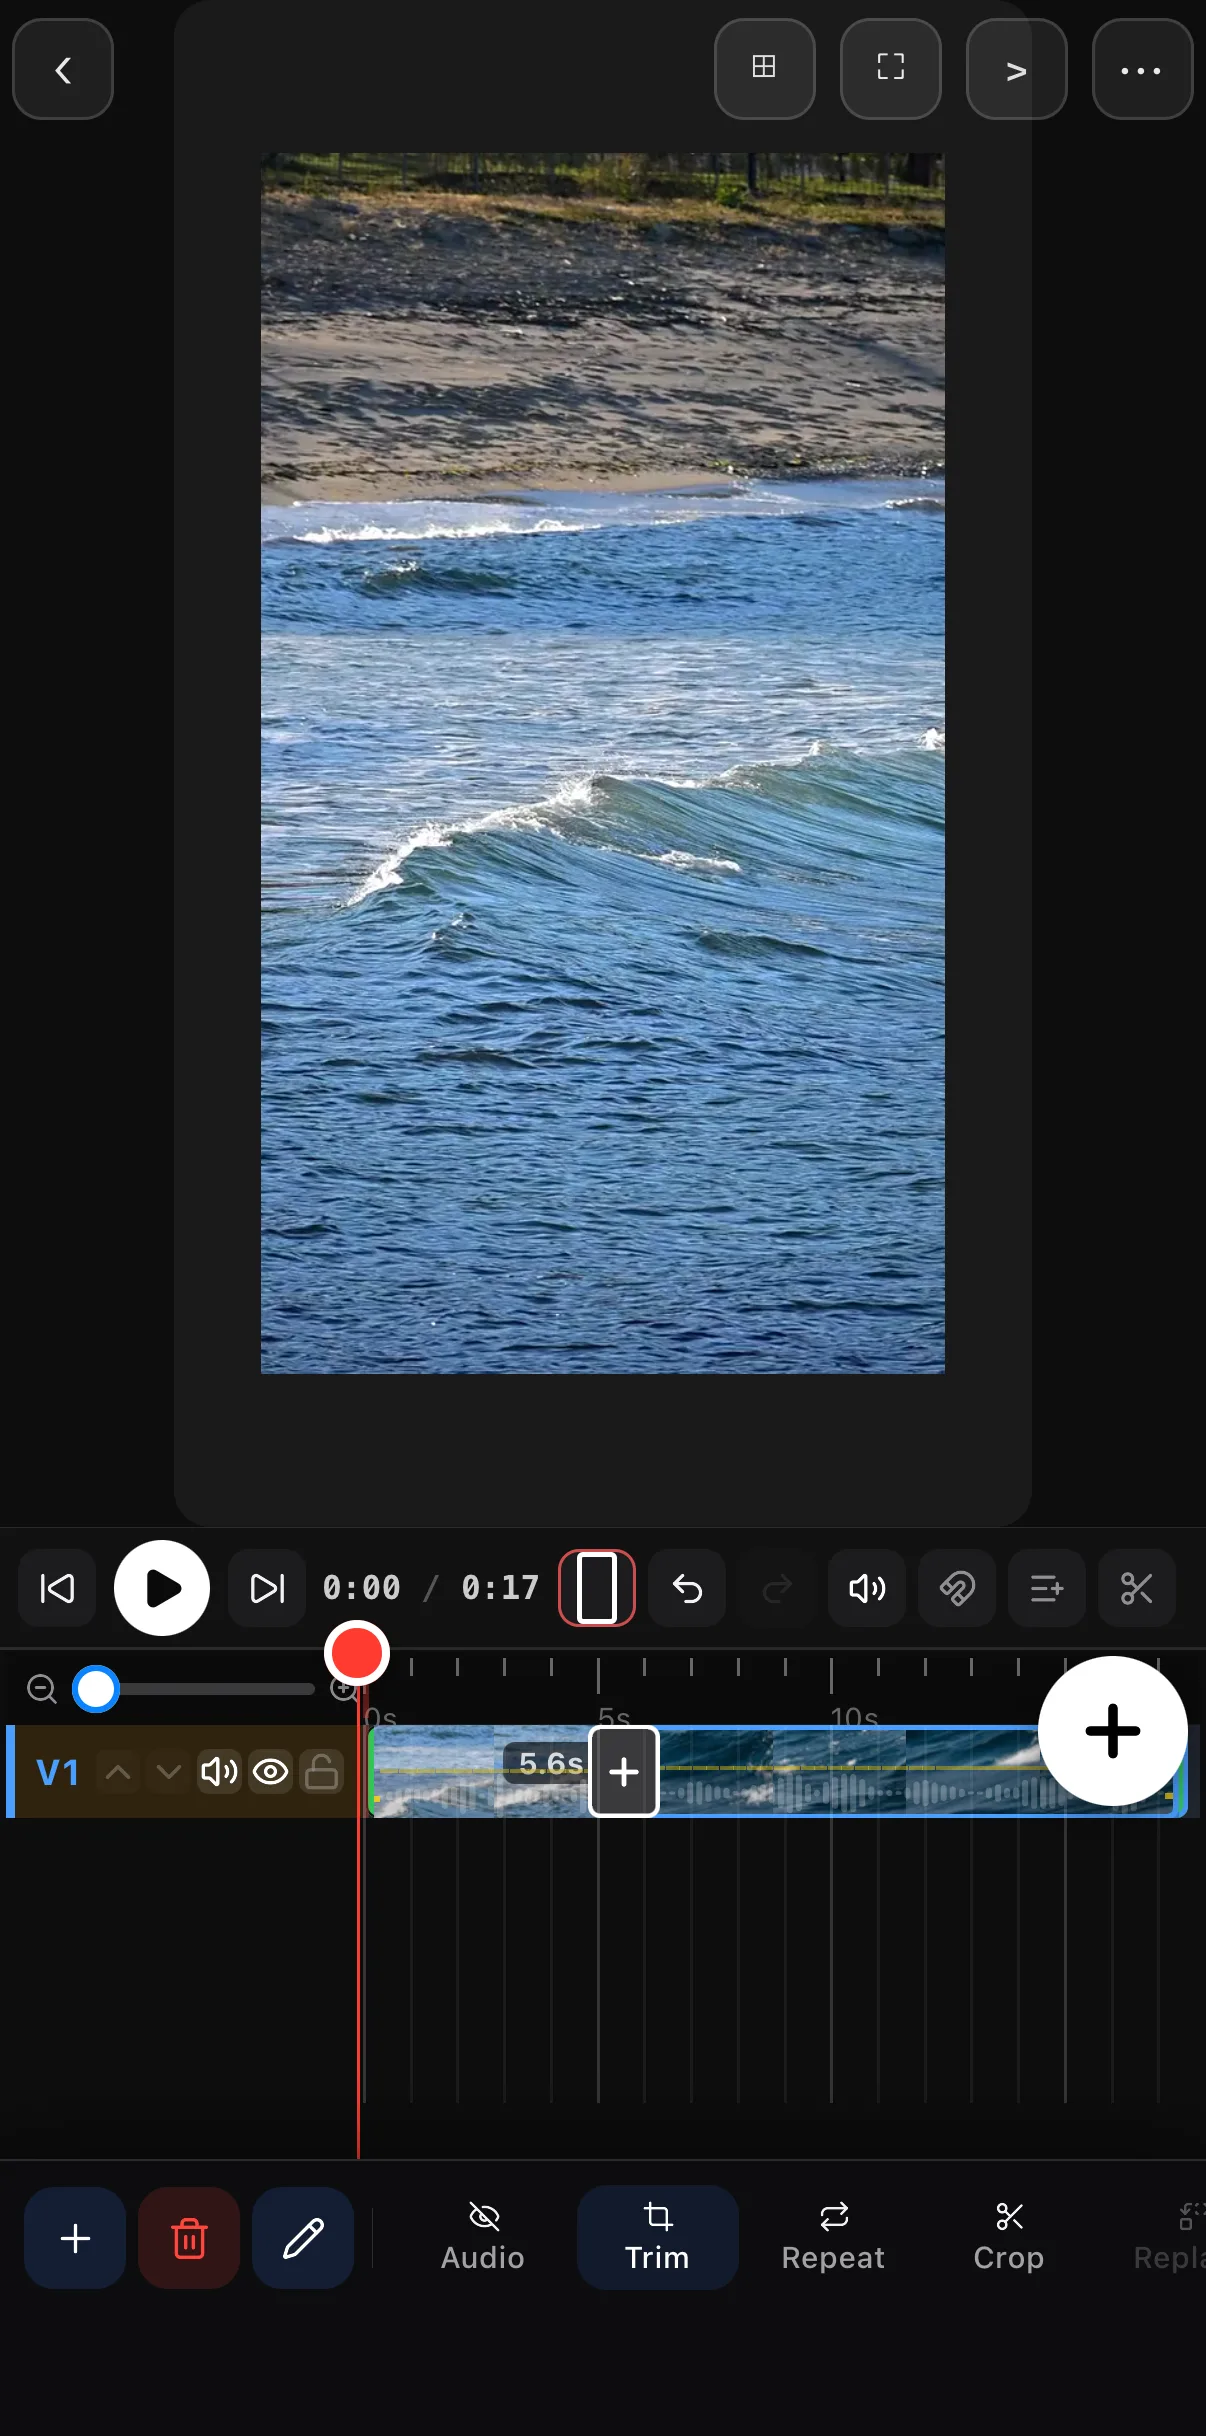 Two clips, one row
The joiner
Two clips, one row
The joiner
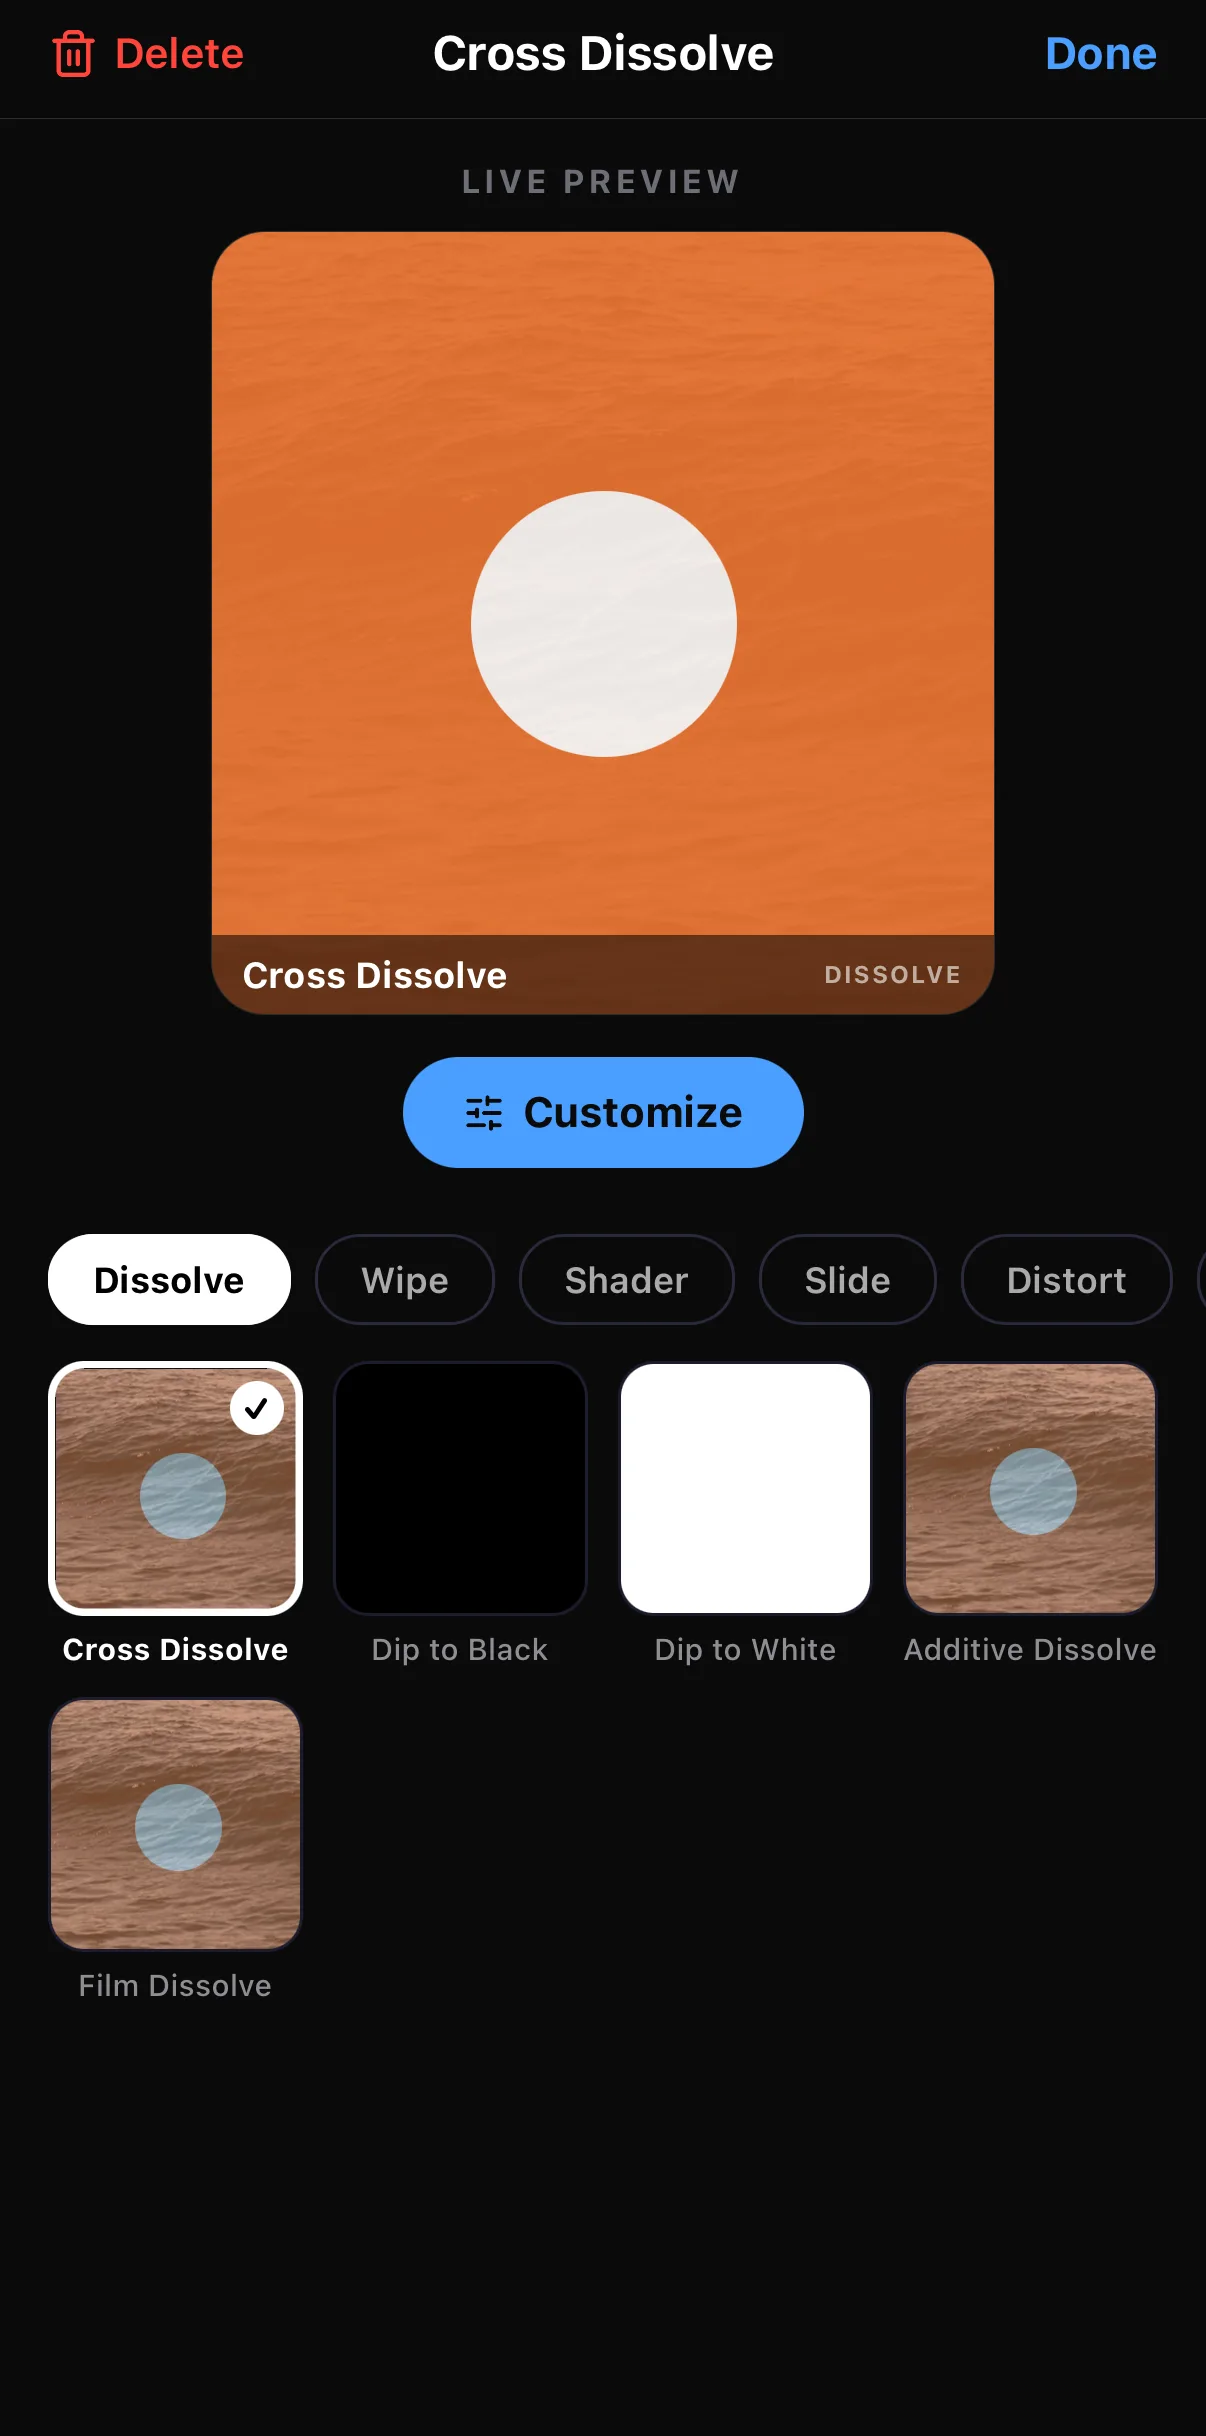 Live preview
Dissolve · Wipe · Shader · Slide · Distort
Animated tiles — tap to try
Live preview
Dissolve · Wipe · Shader · Slide · Distort
Animated tiles — tap to try
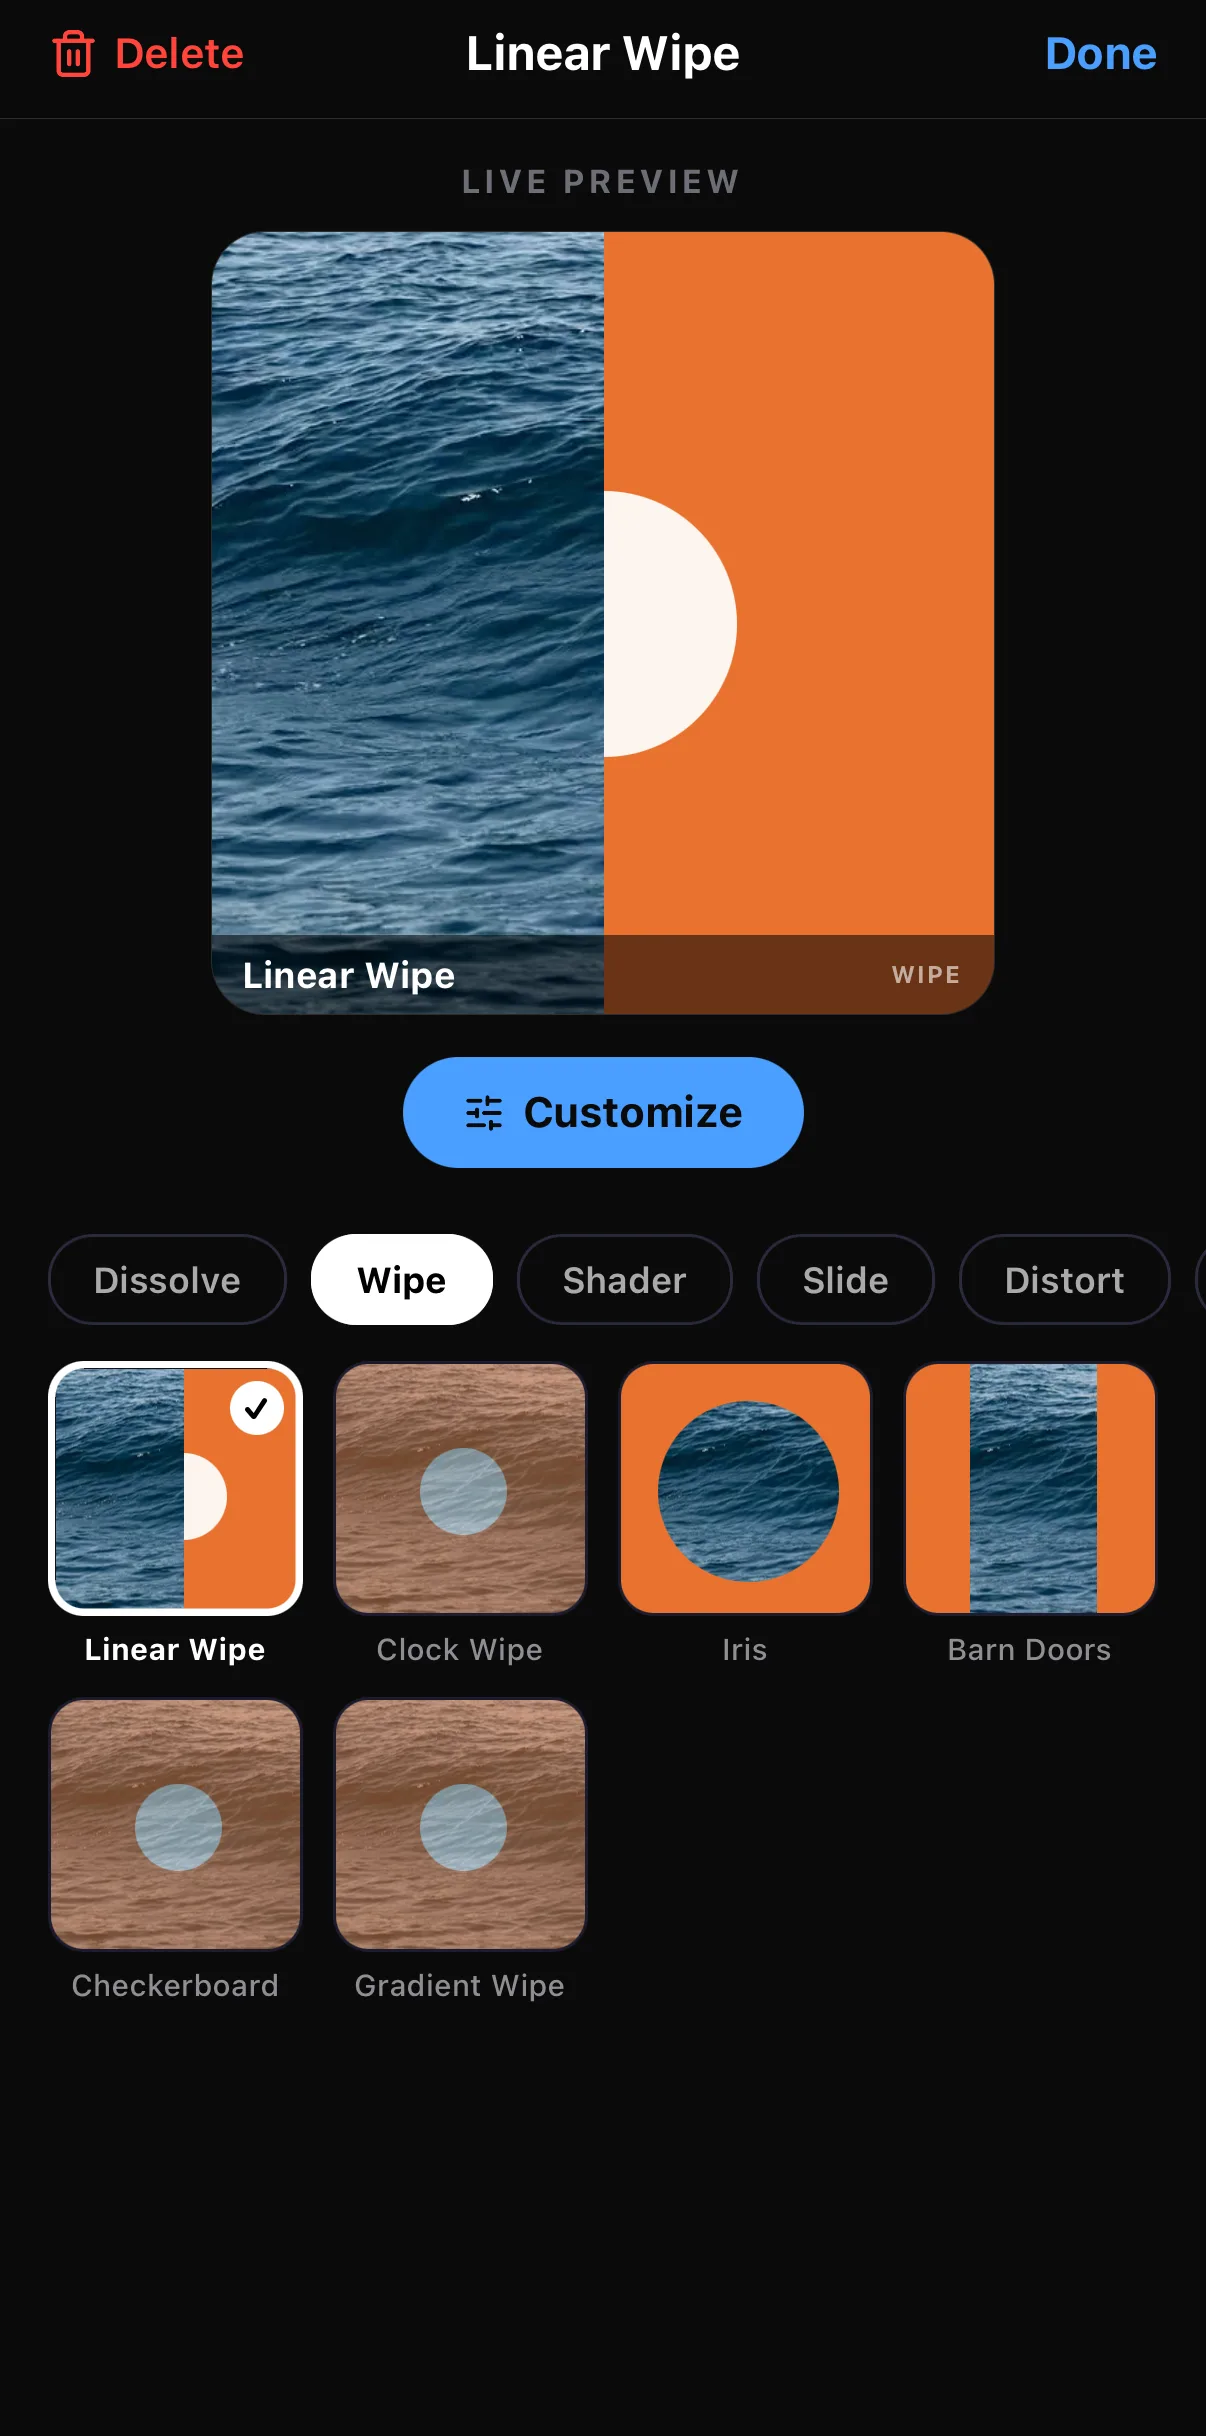 Linear · Clock · Iris · Barn Doors · Checkerboard · Gradient
Customize
Done
Linear · Clock · Iris · Barn Doors · Checkerboard · Gradient
Customize
Done
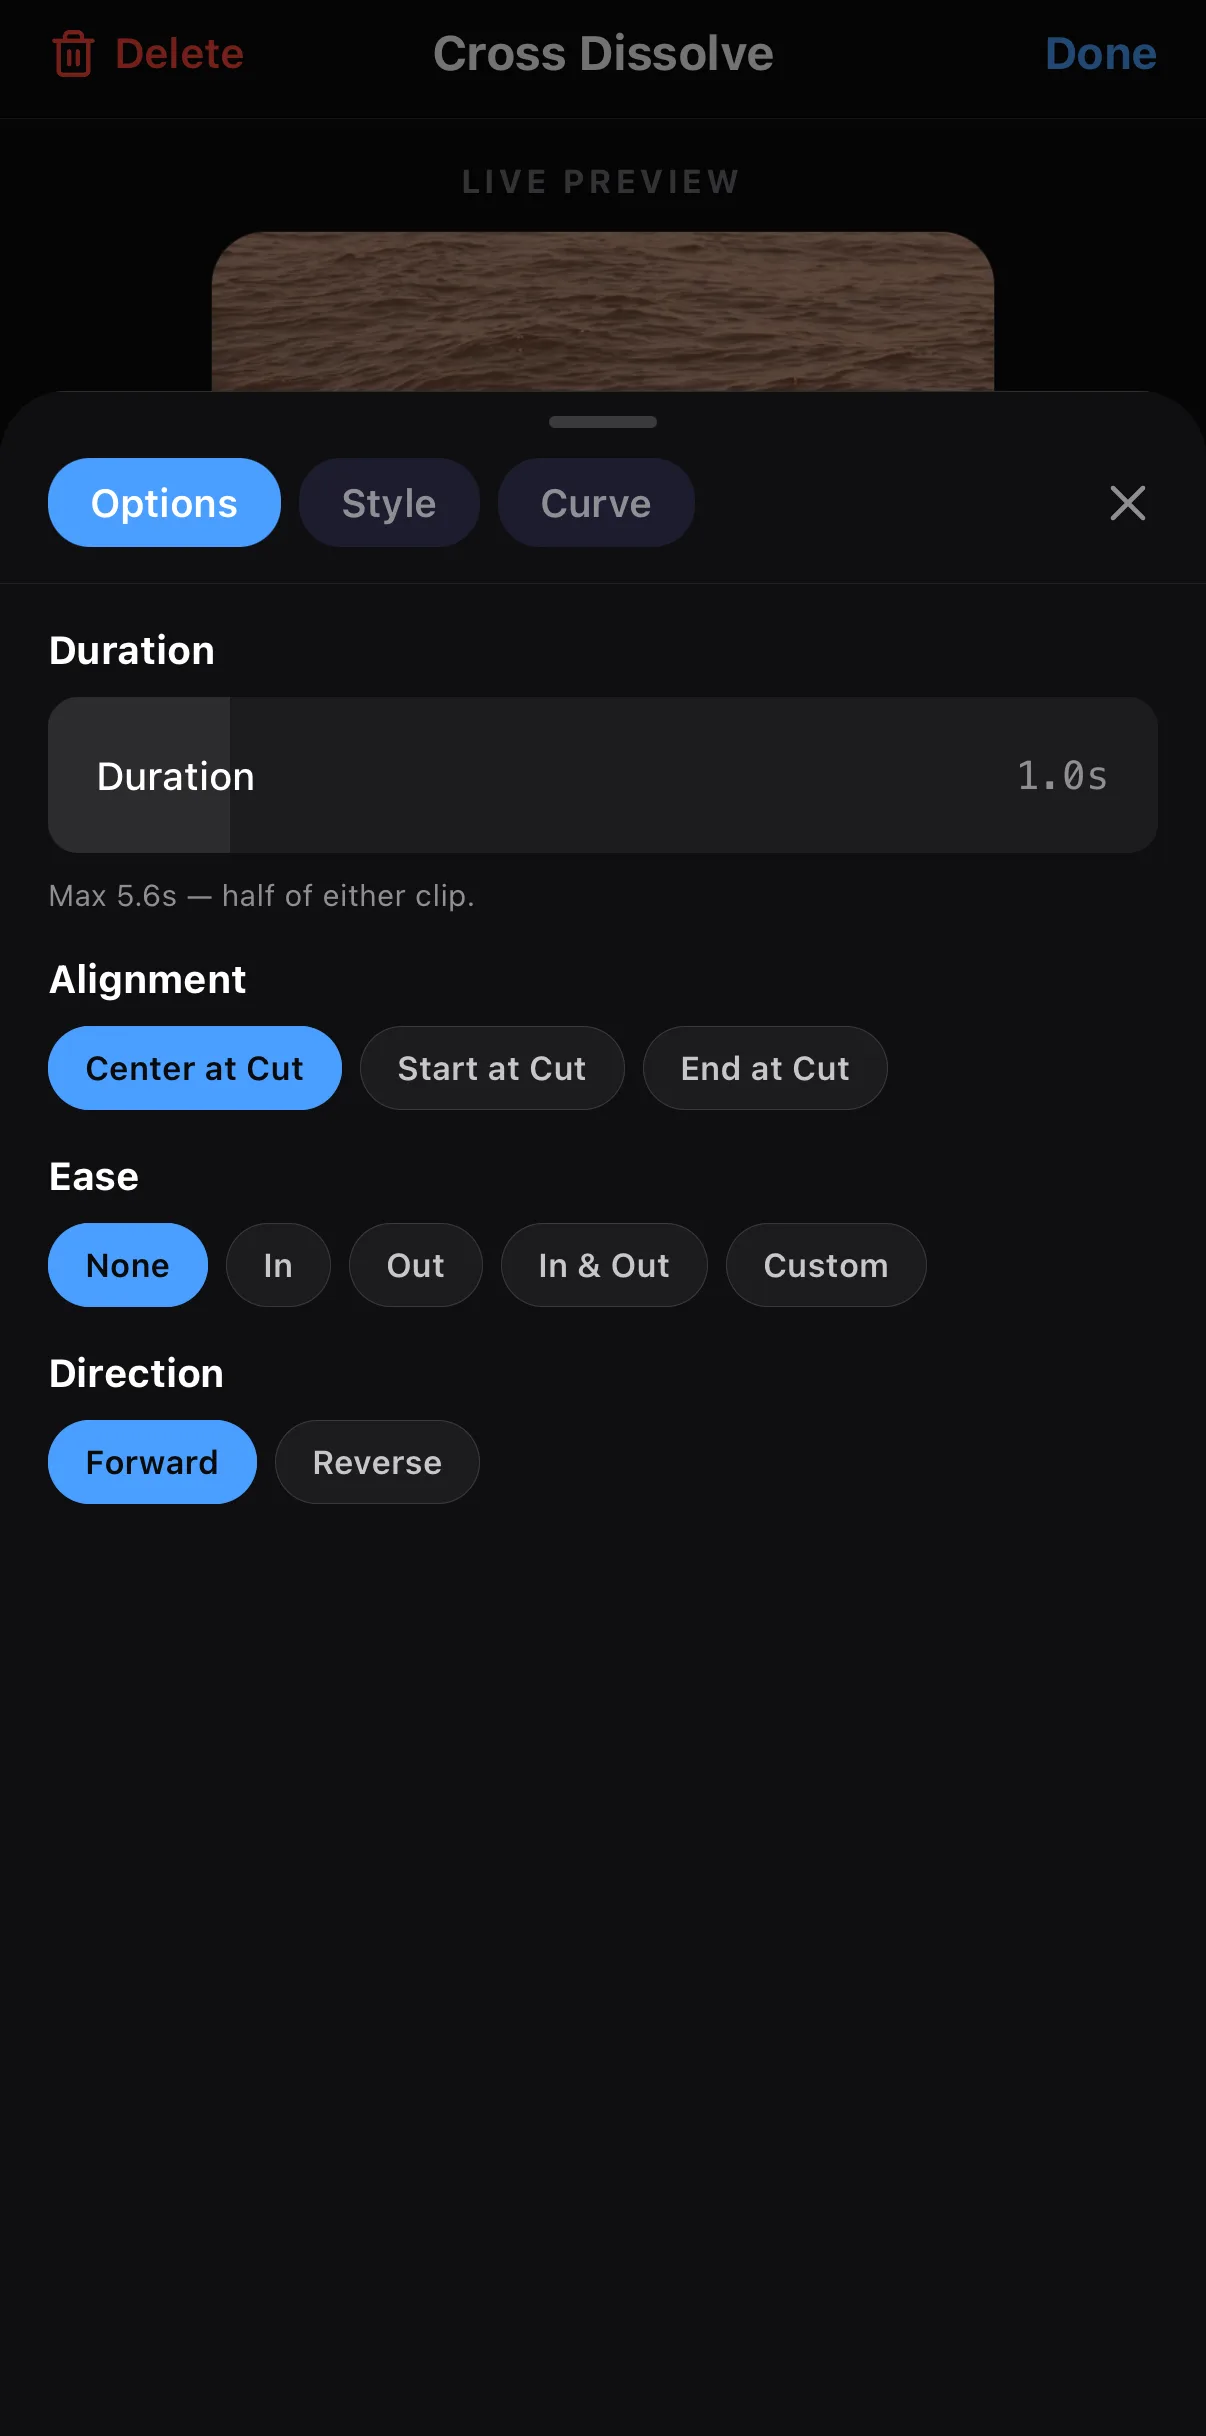 Duration — max half of either clip
Where it sits on the cut
Ease
Duration — max half of either clip
Where it sits on the cut
Ease
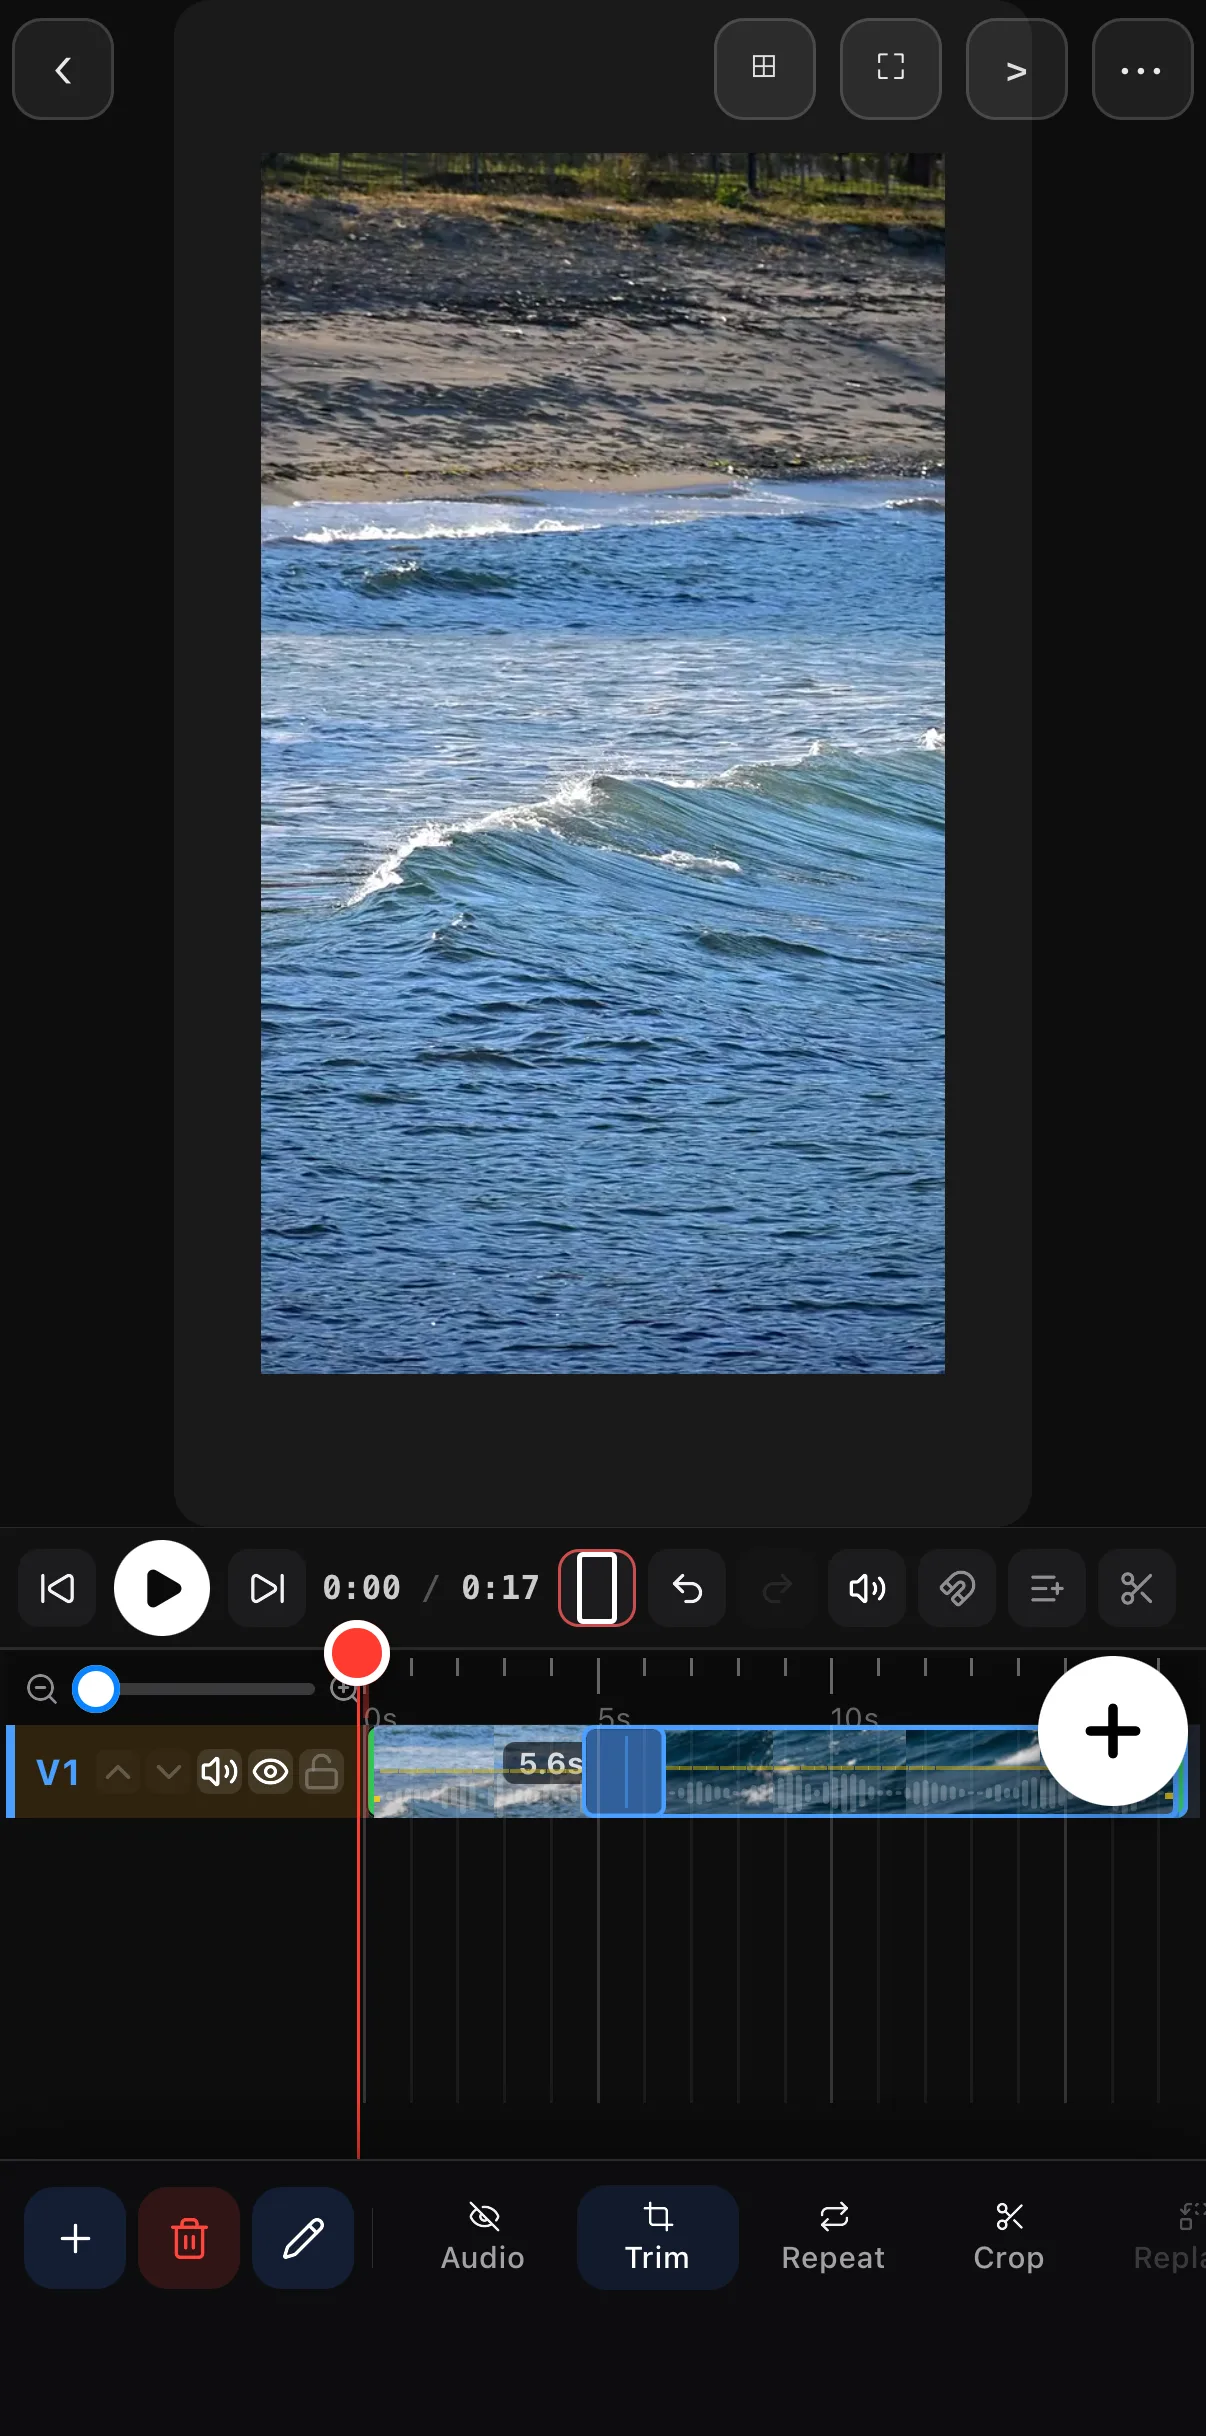 Transition set
Time it to the beat. A transition that completes on a beat feels musical and intentional. One that drifts off-beat feels sloppy. If your video has music, let the beat tell you when — and how fast — to transition.
Give one layer an intro or outro
When a layer has no neighbour — a title, a logo, a picture-in-picture inset, the very first clip — use a layer transition instead.
Select the layer and tap Edit
Tap it on the timeline, then tap the pinned pencil Edit button.
Tap Transition
On the transform toolbar (Opacity, Mask, Rotate, FX, Transition…) tap Transition.
Pick an Intro and an Outro
Switch between the Intro and Outro tabs. The families are Basic (fades, dips, flash, strobe), Motion, Light (leaks and flares) and Shaders. Set Duration and Intensity, then Done.
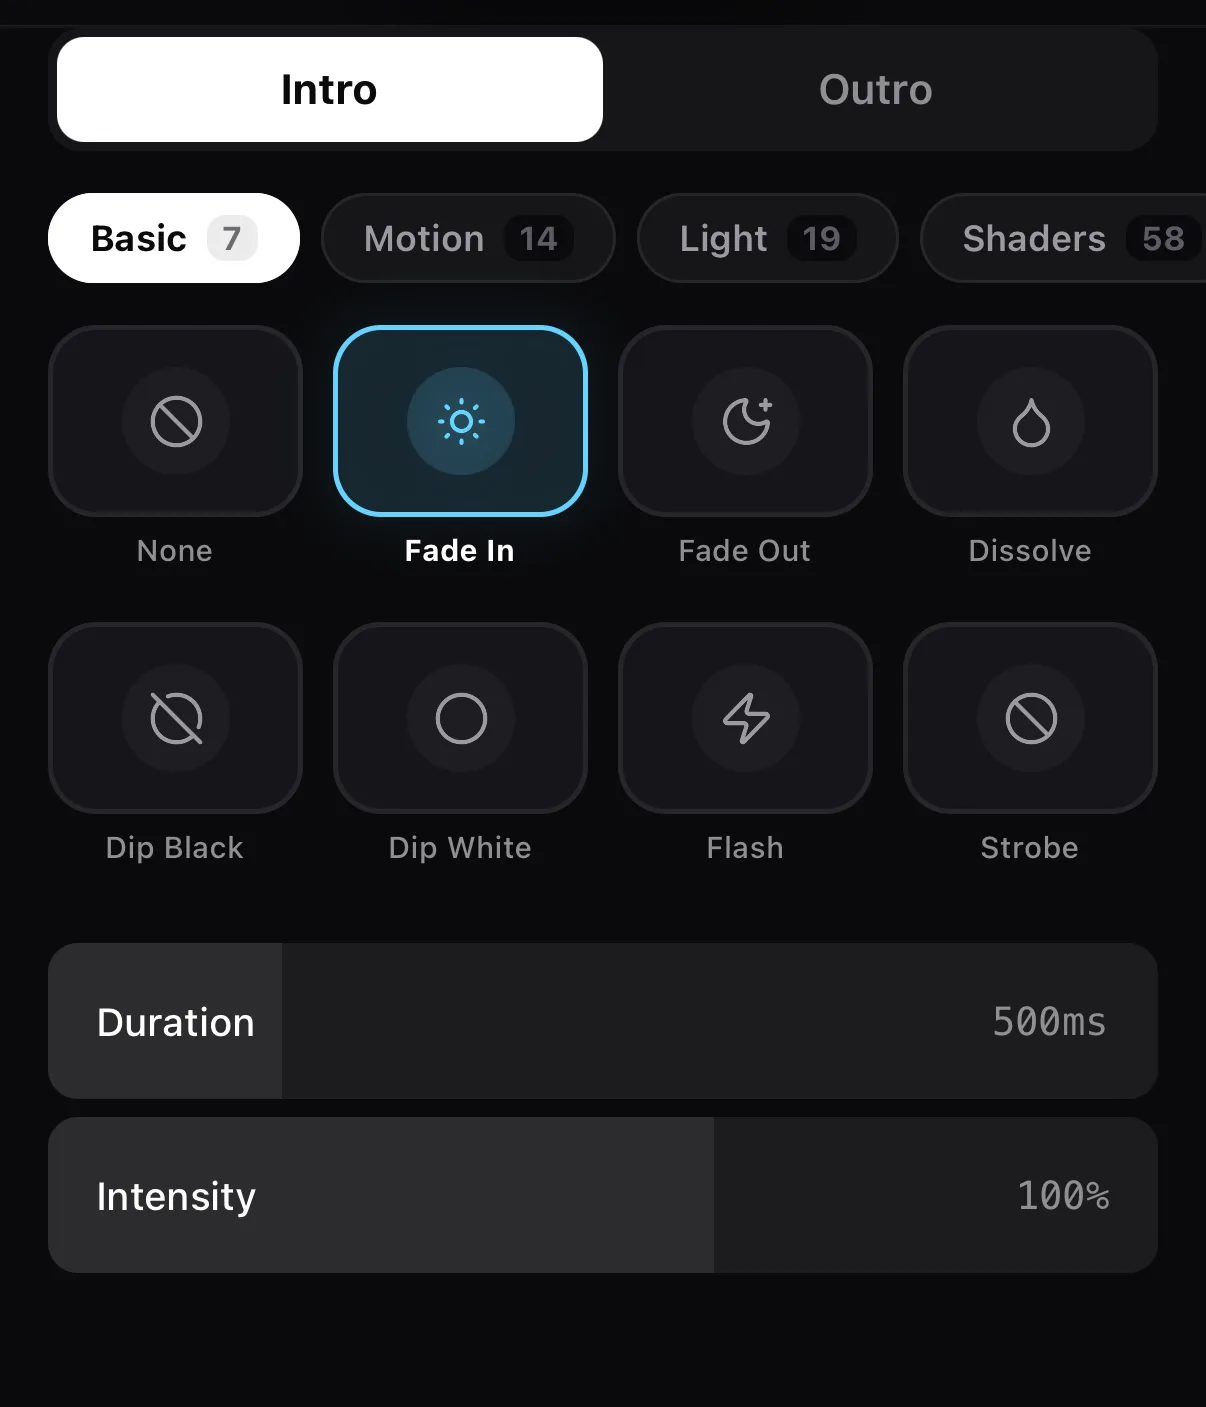 Intro / Outro
Basic 7 · Motion 14 · Light 19 · Shaders 58
Duration
Intro / Outro
Basic 7 · Motion 14 · Light 19 · Shaders 58
Duration
Transitions are one effect family
Transitions are one of the six families in the complete video effects guide — and they pair best with the others used sparingly. A clip with a filter, a beat-synced cut, and one well-timed wipe at the scene change will out-perform a clip drowning in effects every time.
Where to go next
- The full effects toolkit: video effects guide.
- Sync transitions to your track: add music & audio and edit to the beat.
- Precise motion control: keyframes & motion.
Transitions are about restraint and timing. Use them rarely, keep them short, land them on the beat — and they’ll read as polish instead of a preset.
Frequently asked questions
How do I add a transition between two clips?
Put the two clips next to each other on the same timeline row, then tap the small joiner button that appears on the cut between them. Pick a transition from the Dissolve, Wipe, Shader, Slide or Distort families, tap Customize to set its duration (0.3–0.5 s feels snappiest), and tap Done. It previews live before you commit.
What is the best transition for short videos?
A hard cut on the beat is the best 'transition' for most short videos. When you do want motion, a quick swipe, zoom or dissolve at a scene change works. Save flashy shader wipes (liquid, ink, tile) for deliberate moments, not every cut.
Why do my transitions look cheesy?
Usually they're too long, too frequent, or not on the beat. Shorten them, use them only at real scene changes, and time them to the music. A 0.3-second swipe on a beat reads as polish; a 1-second spin on every cut reads as a template.
Related guides
Add a transition that lands
Fades, wipes, zooms and shader transitions — all previewing live and timed to your cut. Open two clips and bridge them.
Get ExpoCut Browse all guides