How to Use Shapes, Masks & Overlays in Video
Shapes and masks are the design layer of video editing — the tools behind clean lower-thirds, spotlight reveals, shaped photo frames and composite effects. Here’s how to use them on your phone, with no design background required.
Shapes and masks are where video editing becomes design. They’re the tools behind clean lower-thirds, shaped photo frames, spotlight reveals and two-clip composites. They sound advanced — but on a phone they’re just a couple of taps. Here’s how to use them.
Shapes: the graphic building blocks
A shape layer is a graphic element — a rectangle, circle, line or custom form — that lives on its own track like any other layer. Use them for:
- Lower-thirds — a color bar behind a name or caption.
- Color blocks — backdrops that make text pop.
- Badges & dividers — small graphic accents.
- Progress bars & frames — UI-style overlays.
Because they’re layers, shapes animate with keyframes, take colors from your brand palette, and stack with everything else.
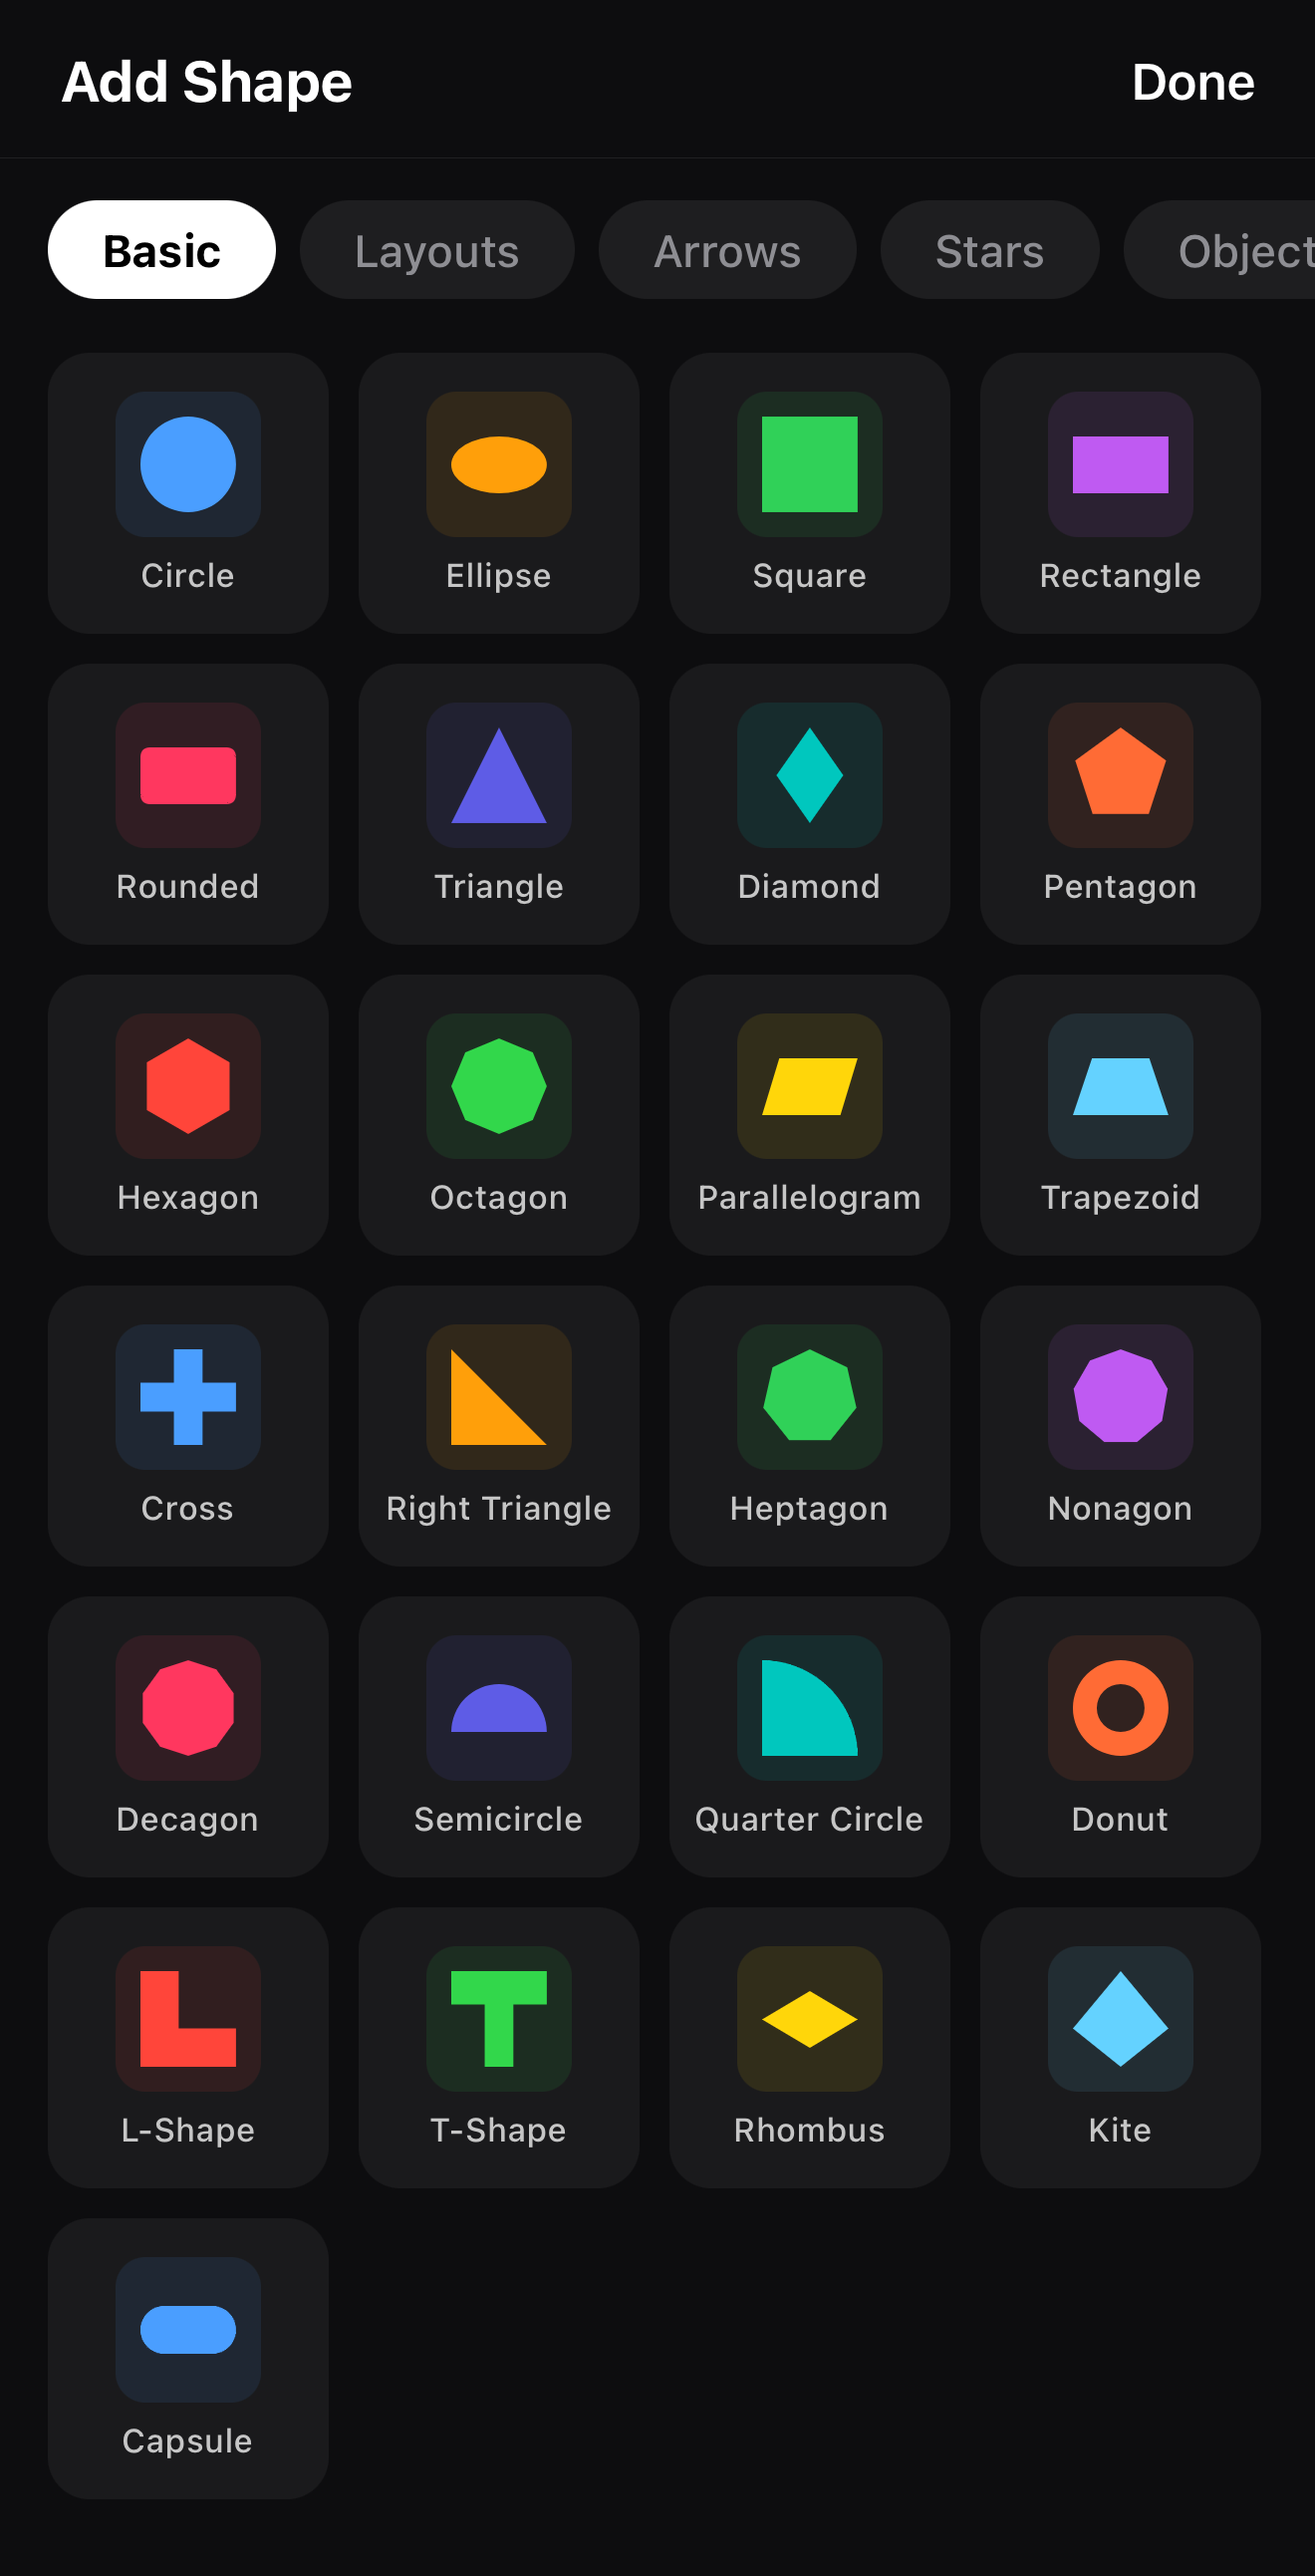 Basic, Layouts, Arrows, Stars & Objects
Masks: control what’s visible
A mask hides part of a layer based on a shape. The classic uses:
| Mask move | What you get |
|---|---|
| Circle / shape mask on a clip | Footage clipped into that shape — a framed photo or video |
| Mirror / linear mask | A soft reveal from one edge |
| Heart / star / triangle | Playful shaped frames |
| Mask + rotation | Animated wipes and spotlight reveals |
Apply a circle mask to a clip and only the circle shows — everything outside becomes transparent, revealing the layer beneath. That’s the foundation of compositing: stacking two clips and choosing what shows from each.
Mask = transparency, not deletion. A mask never harms your footage — it just controls visibility. Adjust or remove it any time. That’s why masking is safe to experiment with: you can’t break the clip.
A practical recipe: the framed reveal
Stack two layers
A background (color, blurred footage, or a shader) on the bottom, your subject clip on top.
Mask the top clip
Apply a circle or rounded-rectangle mask to the subject so it sits in a clean frame.
Animate it
Keyframe the mask’s scale or position for a reveal — the subject grows or slides into frame. See keyframes & motion.
Where to go next
- Animate shapes and masks: keyframes & motion.
- Combine with color and effects: video effects guide.
- Use shaders as mask backgrounds: shaders & generative backgrounds.
Shapes and masks turn an editor into a design tool. Start with a lower-third and a circle-masked clip — two small wins that immediately make a video look produced.
Frequently asked questions
What is a mask in video editing?
A mask defines which part of a layer is visible. Apply a circle mask to a clip and only the circle shows; everything outside it becomes transparent, revealing the layers below. Masks power shaped frames, spotlight reveals, and compositing two clips together.
How do I put a video inside a shape?
Add the video as a layer, then apply a shape mask (circle, heart, star, triangle or custom) to it. The footage is clipped to that shape. Position and scale it over a background layer for a framed, designed look.
What are shapes used for in video?
Shape layers create graphic elements — color blocks behind text, lower-third bars, progress bars, badges and dividers. They're the building blocks of clean, branded motion graphics, and they animate like any other layer with keyframes.
Design with shapes & masks
Shape layers, a full mask catalog, rotation and cinematic reveals — all on-device with live preview. Add a shape and start compositing.
Get ExpoCut Browse all guides