How to Use a Green Screen (Chroma Key) on Your Phone
Shot against a green screen? Chroma key gives the cleanest cut-out there is — crisp edges, even around hair and fast motion. Here’s how to key it on your phone, and how to shoot it so the key is easy.
Quick answer
To key a green screen in ExpoCut: put the background layer down first (image, stock clip or shader), add the green-screen clip above it, select the clip and tap Chroma Key on its toolbar (next to Remove BG). Switch Enable Chroma Key on, tap Pick from image and tap the green in the preview to sample the exact colour, then raise Similarity until the screen is gone, add a little Smoothness for soft edges and Spill Suppress to kill green fringing. Tap Done — the background shows through on the canvas and in the export.
- Order matters: background on the lower row (O1), green clip on top (V2).
- Chroma Key is on the video clip’s toolbar beside Remove BG and Subject Blur; it opens a full-screen panel with a live matte preview.
- Use Pick from image — the eyedropper samples the real screen colour (#21952F here), which keys far cleaner than the default #00FF00.
- Similarity = how much of the colour to remove; Smoothness = edge softness; Spill Suppress = desaturates leftover green on hair and edges.
- Crop the clip to the screen area first so studio lights and walls never enter the key.
Do it now → Green screen & chroma key on mobile
A green screen is still the gold standard for putting yourself somewhere else — it gives the cleanest edges of any technique. ExpoCut keys it on-device: pick the color, and your subject lands on any background you like.
Step 1 — Add the clip and a background
Put a background layer down first
An image, a stock video, or a generative scene — whatever your subject should stand in front of.
Add your green-screen clip on top
It lands on a row above the background (V2 over O1), covering it for now. If the shot includes studio walls or lights, Crop it to the screen area.
Open Chroma Key and pick the color
Select the clip, tap Chroma Key, switch it on, then Pick from image and tap the green in the preview. That colour turns transparent and the background shows through.
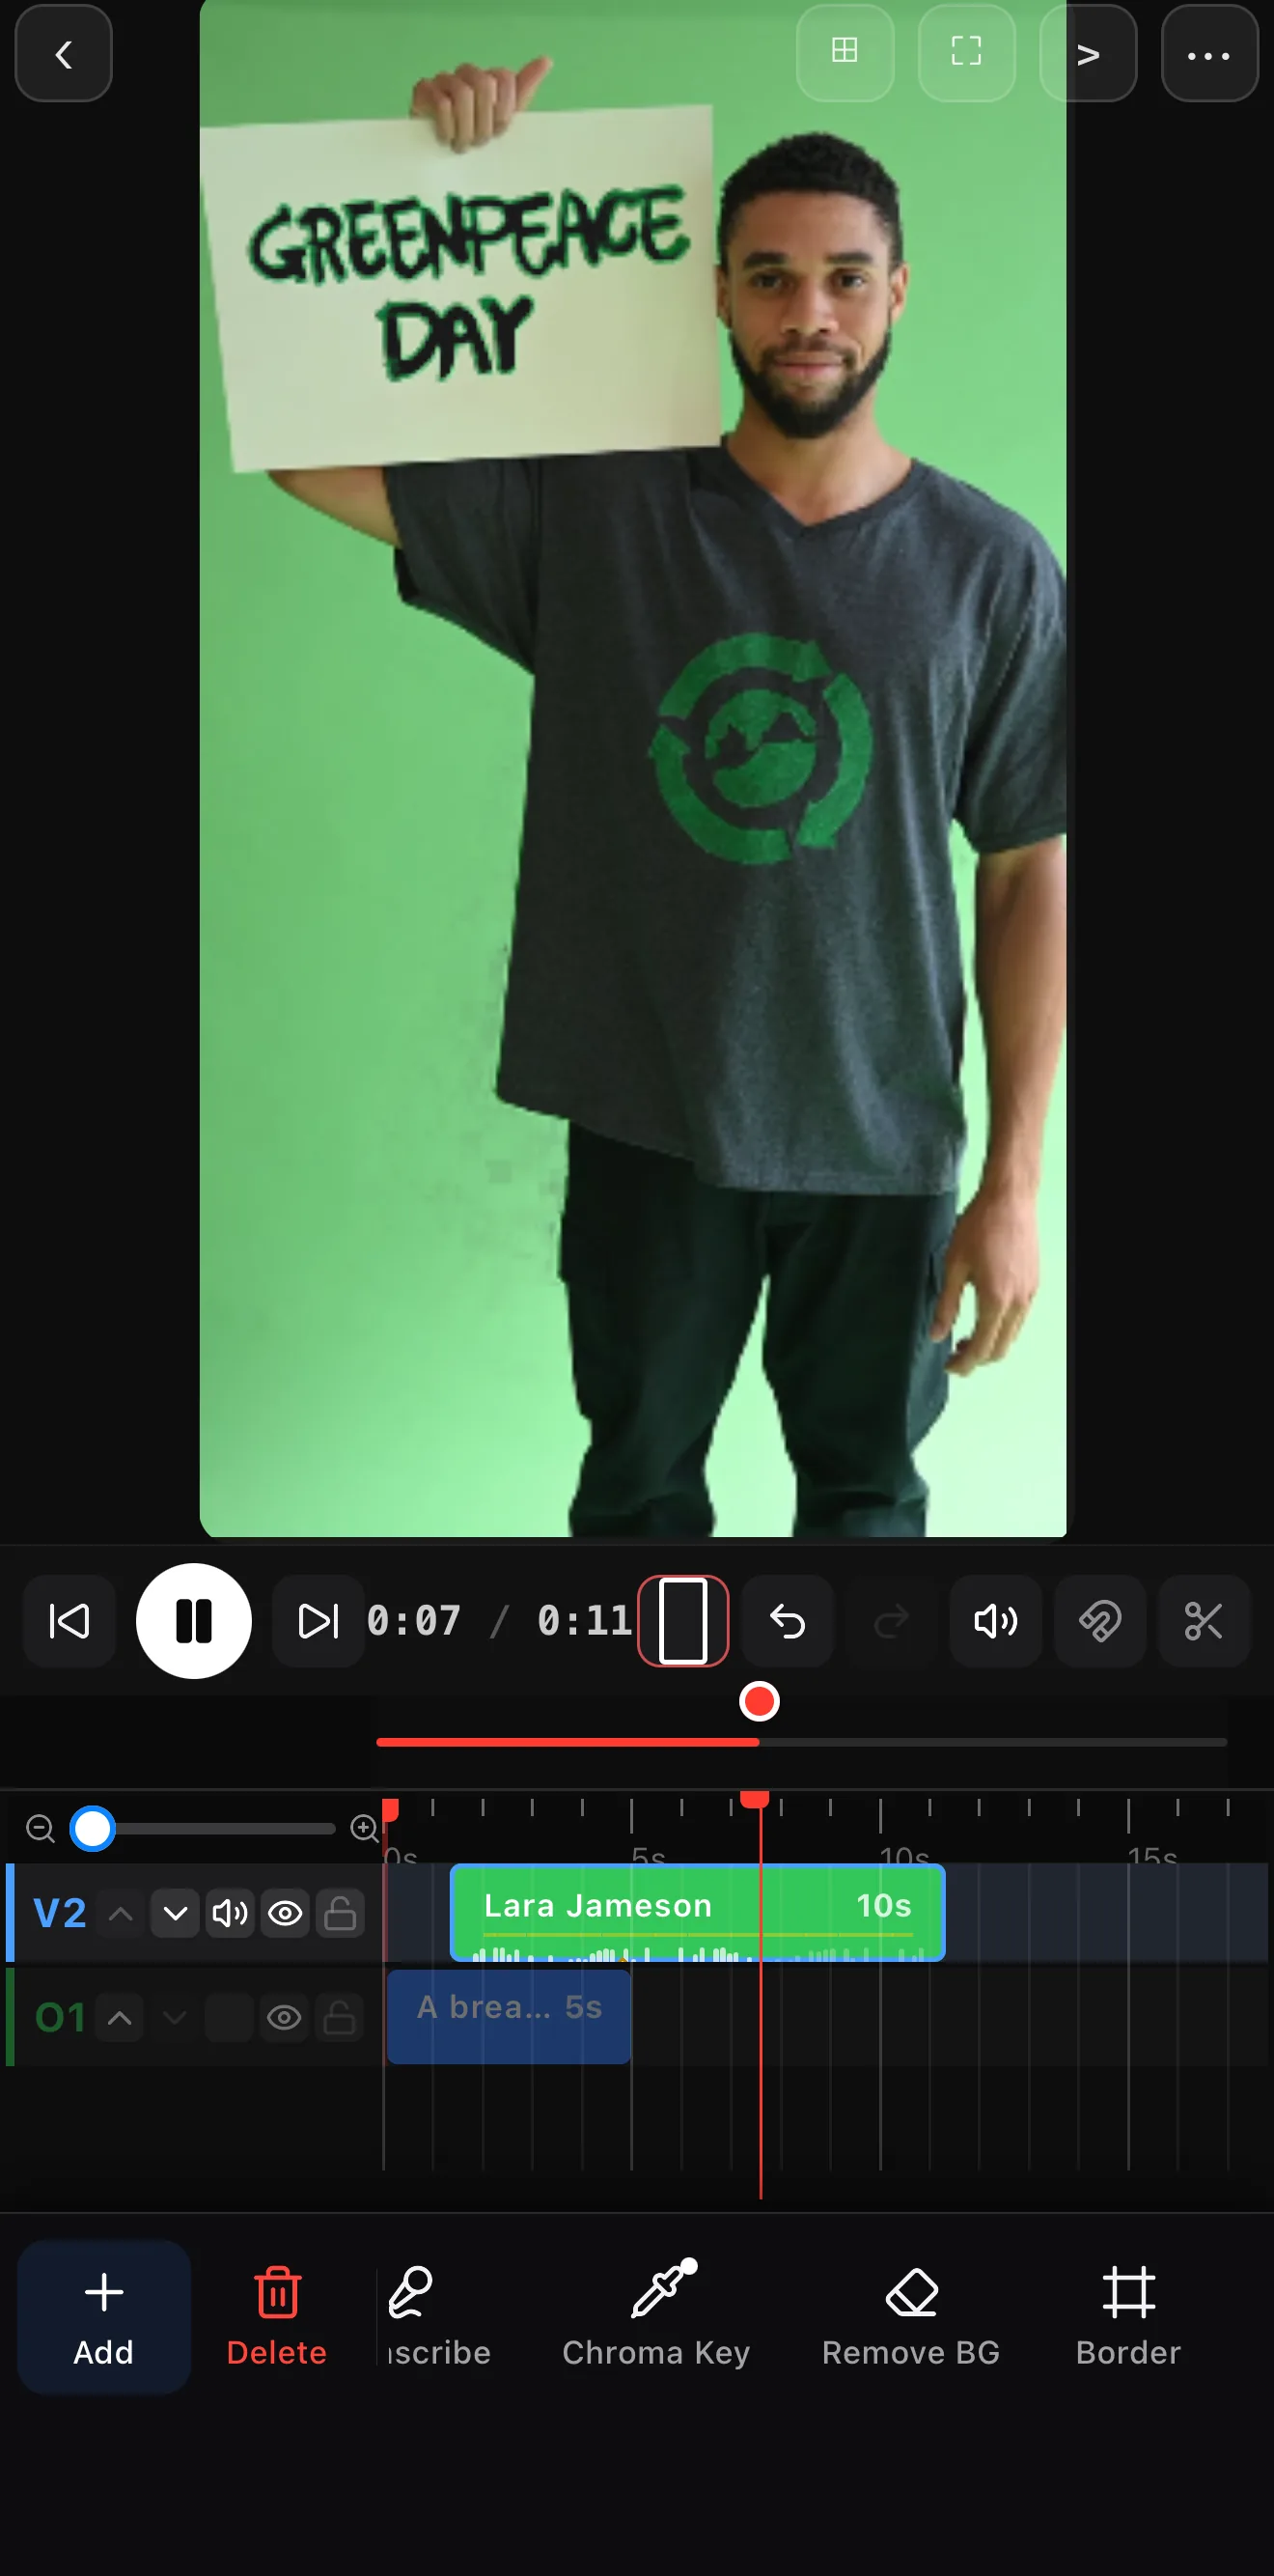 Green clip on V2 · background below on O1
Chroma Key
Green clip on V2 · background below on O1
Chroma Key
Step 2 — Tune the key
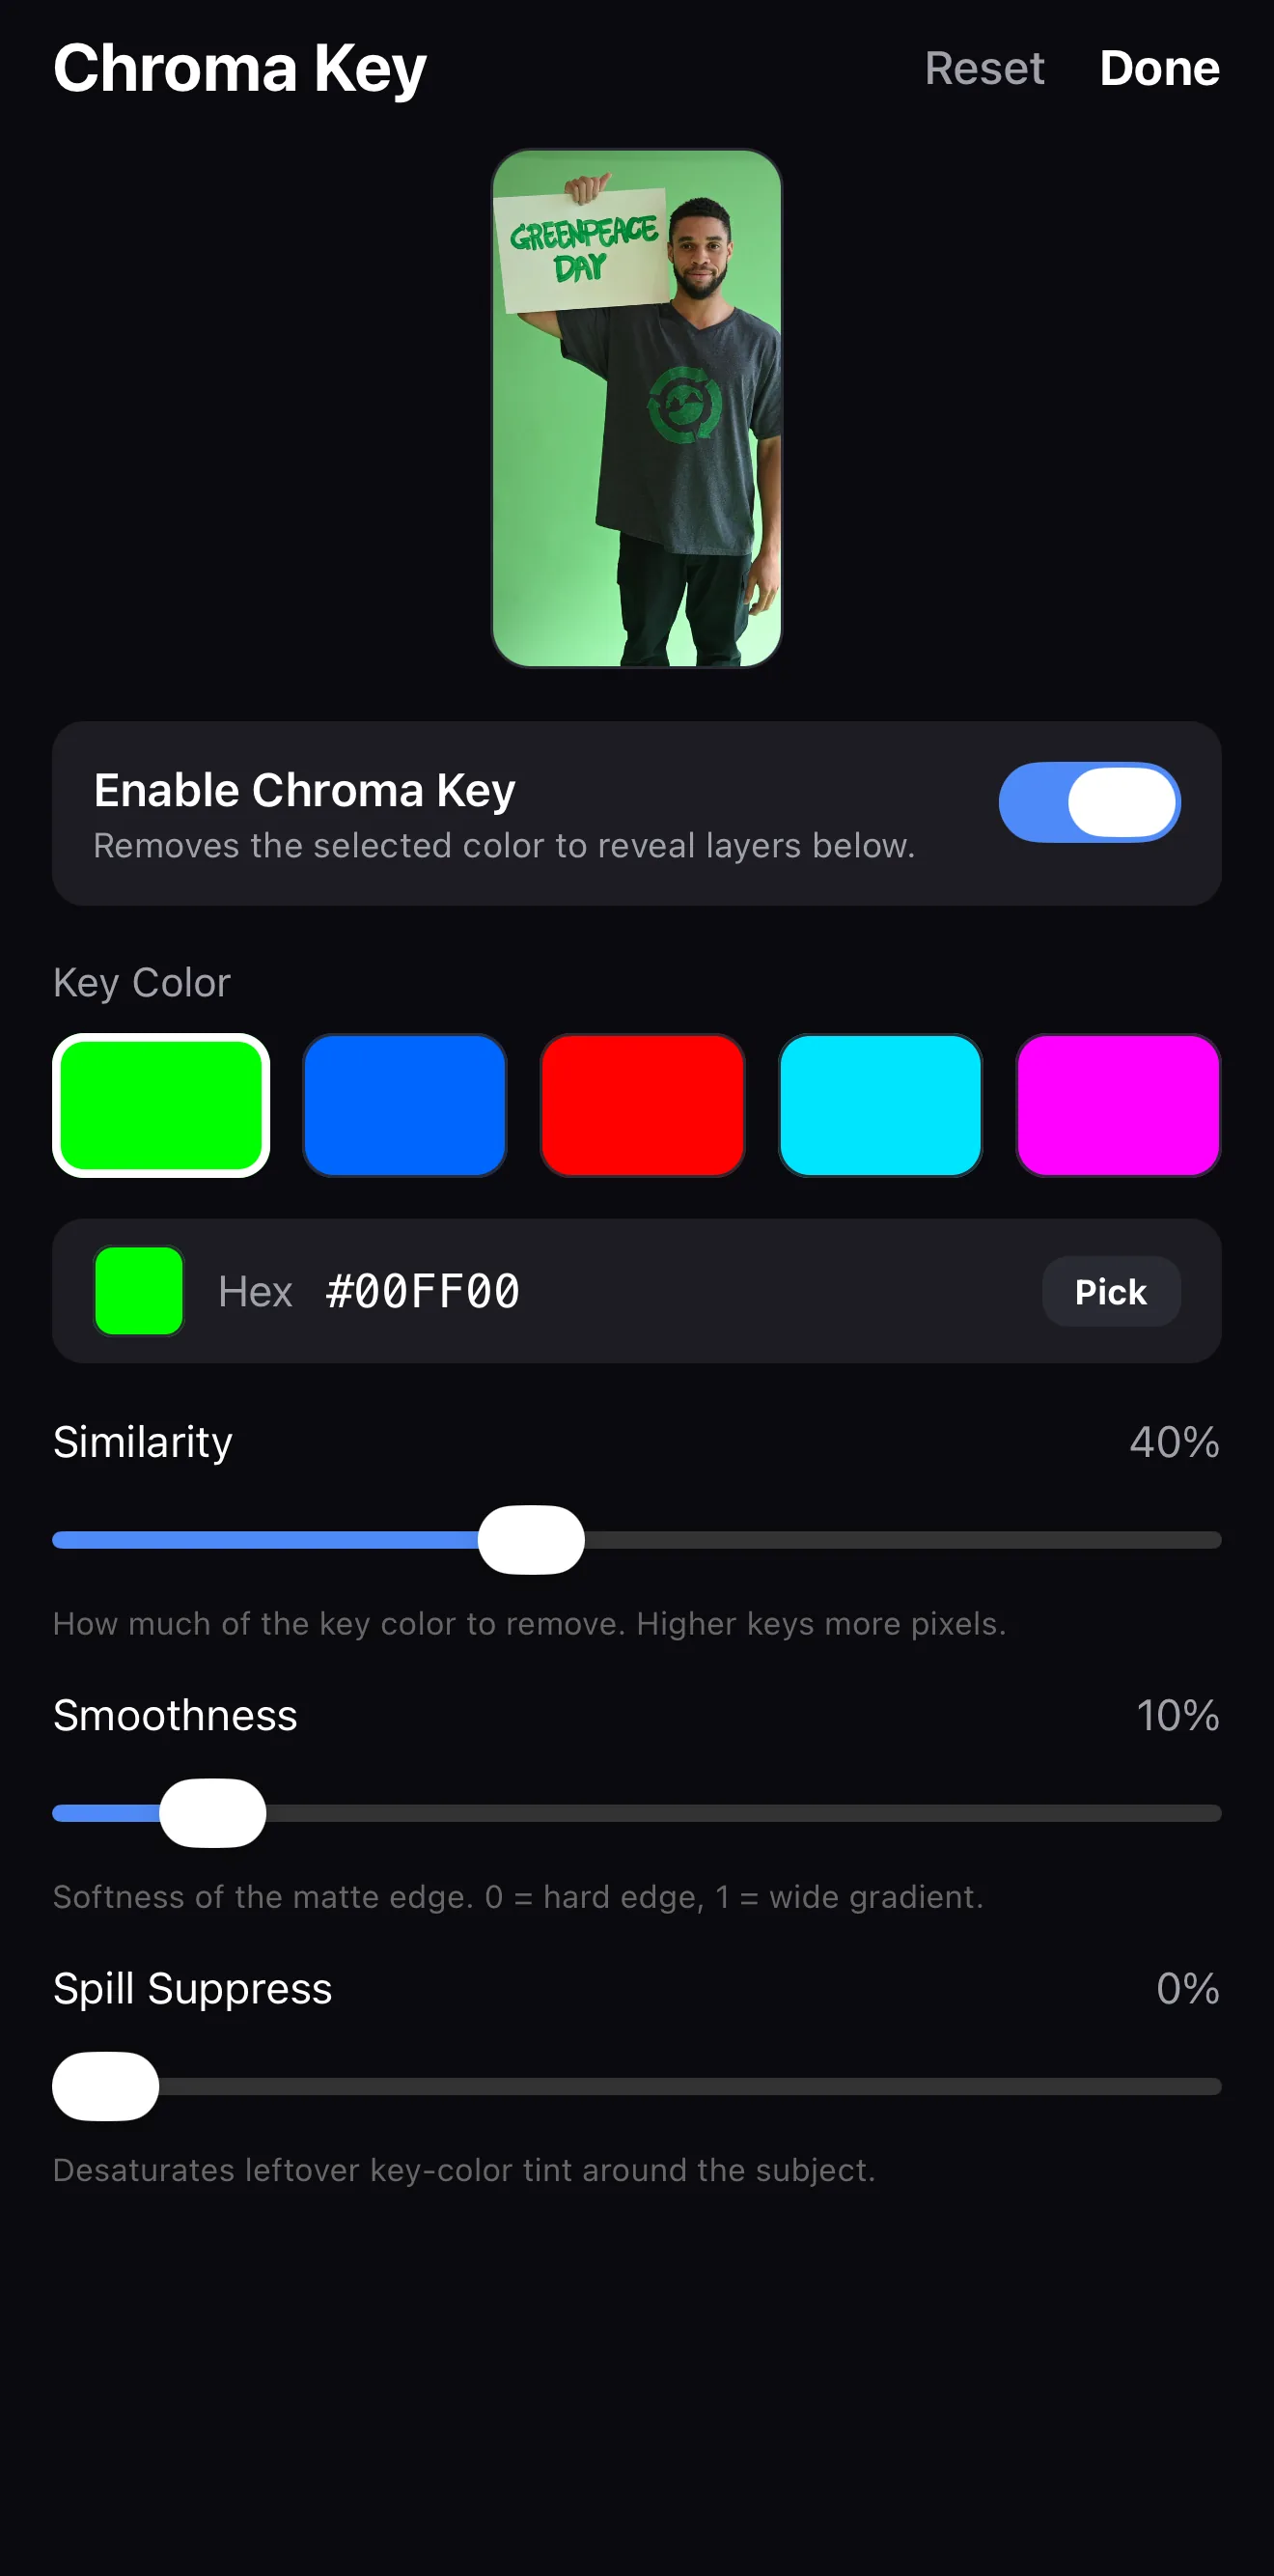 Live matte preview
Pick from image — tap the green in the preview
Similarity · Smoothness · Spill Suppress
Live matte preview
Pick from image — tap the green in the preview
Similarity · Smoothness · Spill Suppress
A first key is rarely perfect. Raise Similarity so:
- All the green disappears (push it up until the background is gone), but
- The subject’s edges stay intact (don’t push so far that hair or edges get eaten).
The sweet spot is the smallest amount of keying that fully removes the screen. Add a little Spill Suppress to neutralise any green that lingers on edges.
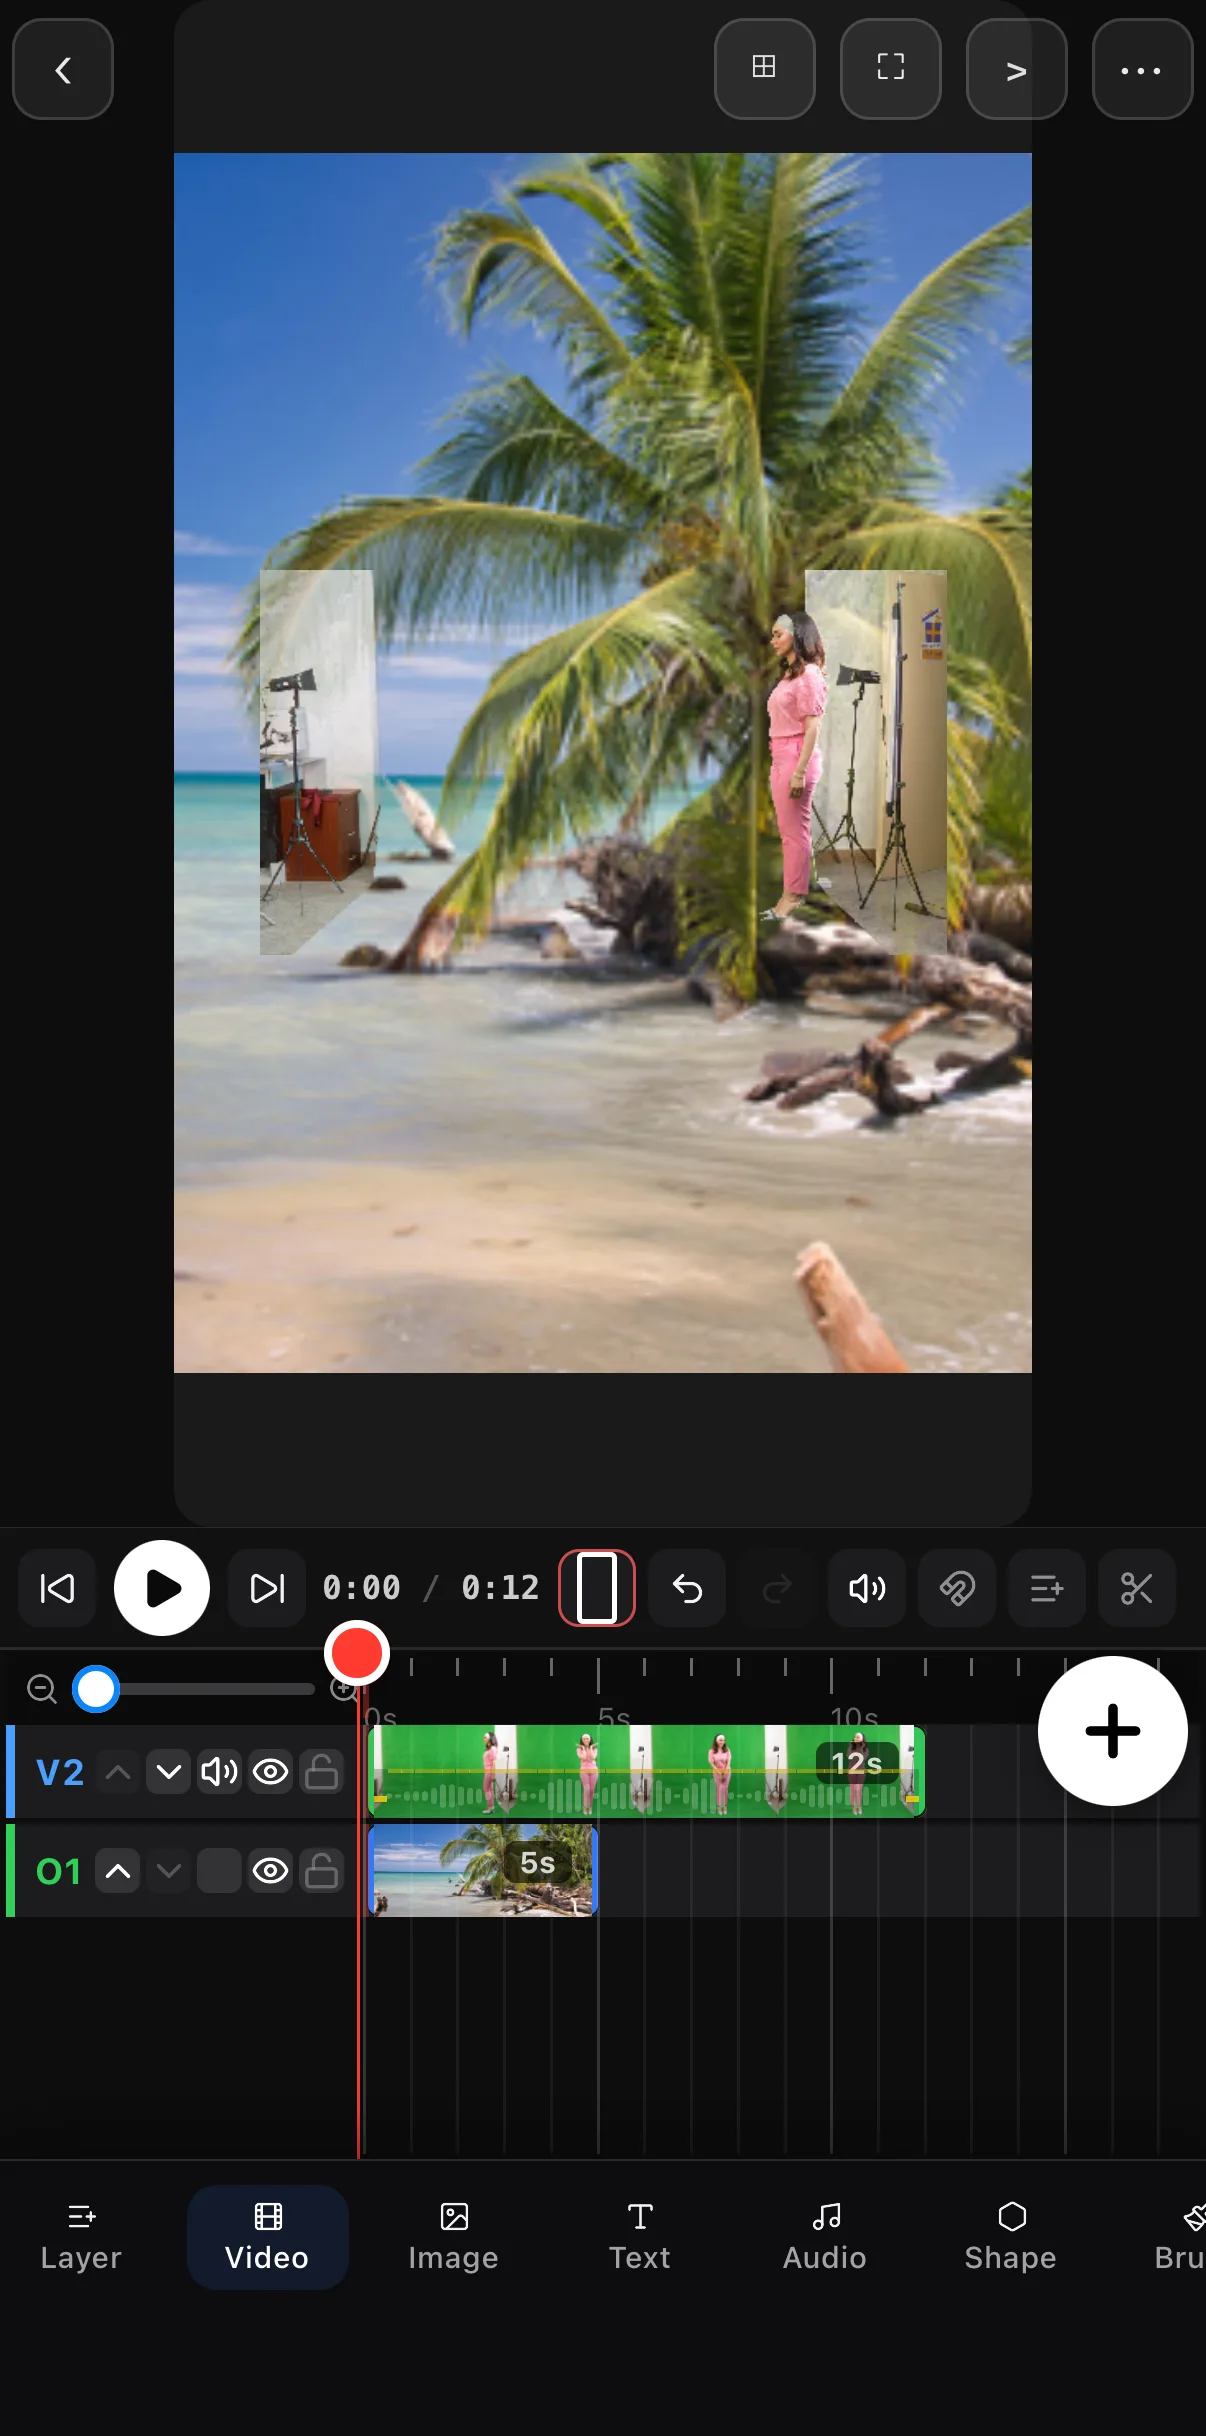 Green gone — the beach shows through
Crop the studio edges next
Green gone — the beach shows through
Crop the studio edges next
Chroma key or auto-remove? Use chroma key when you filmed on a green/blue screen — crisper edges. Use automatic background removal when you shot on a normal backdrop.
Shoot it so the key is easy
Most “bad keys” are bad footage. On set:
- Light the screen evenly — no shadows or hot spots on the green.
- Step forward — keep your subject a couple of feet off the screen so green doesn’t spill onto them.
- Don’t wear green (or blue, if it’s a blue screen).
- Avoid motion blur — more light and a steadier shot mean cleaner edges.
Step 3 — Sell it
Match your subject to the new scene with a light grade, and add a touch of background blur for depth. A subject that shares the scene’s color and focus reads as genuinely “there.”
Where to go next
- No green screen? remove the background automatically.
- Build the backdrop: generative backgrounds & shaders.
- Blend subject and scene: color grading on your phone.
Light it flat, stand forward, key the color, and grade to match — that’s a clean green-screen composite, made on a phone.
Frequently asked questions
How do I remove a green screen from a video?
Add your green-screen clip, select it, open Chroma Key, and pick the green as the key color. ExpoCut makes that color transparent so whatever layer you put underneath shows through. Tune the threshold until the edges are clean.
Green screen vs. automatic background removal — which is better?
If you actually filmed on a green/blue screen, chroma key wins — it gives crisper edges, especially around hair and fast movement. If you shot on a normal background, use automatic background removal instead. Both are on the clip's tools.
Why does my key look rough around the edges?
Usually uneven lighting or green spill. Light the screen evenly (no shadows), keep your subject a step or two in front of it so green doesn't bounce onto them, and avoid wearing anything green. Then fine-tune the key threshold.
Related guides
Key it clean
Drop a green or blue screen and put your subject anywhere. Crisp chroma keying — even around hair and motion — right on your phone.
Get ExpoCut Browse all guides