How to Use Filters & LUTs in ExpoCut (Find Your Look in One Tap)
A single filter is the fastest way to make a clip feel intentional instead of accidental. ExpoCut ships with more than a hundred curated looks — film, Instagram, VSCO-style, cinematic, vintage and more — and applying one is a two-tap job. Here’s exactly how, screen by screen.
Color is mood. The same beach clip can feel like a sun-bleached memory, a moody film still, or a punchy social post — and the only thing that changes is the filter. In the next few minutes you’ll learn exactly where filters live in ExpoCut, how to browse them by category, and how to tune them so they feel like yours.
The one-tap idea behind filters
A filter remaps every color in your clip to a new palette in real time. ExpoCut bundles 100+ curated looks organised into families — Instagram, VSCO-style, Cinematic, Vintage, Duotone, Portrait, Landscape and more — plus the option to import your own professional .cube LUTs. Whichever you pick, the workflow is identical: open the panel, tap a look, slide the intensity. That’s it.
Preview = export. The look you see in the filter preview is the exact look that renders into your final file. ExpoCut’s editor and exporter share one color engine, so there are no surprises when you hit export.
Step 1 — Open the Filters panel
Filters live in the transform toolbar, which appears when you focus a clip.
Select your clip
Tap the video or image clip you want to grade so it’s selected.
Enter transform mode
Double-tap the clip on the canvas. The toolbar along the bottom switches to the transform tools: Opacity, Rotate, FX, Transition, Filters, and Mask.
Tap Filters
Tap Filters to open the full Filters & LUTs browser.
 Tap Filters
Step 2 — Browse looks by category
The browser puts a big live preview at the top and a row of category tabs underneath. Tap a category, then swipe the thumbnails to audition looks — the preview updates instantly so you can see each one on your footage.

Tip: start with a family, not a specific filter. Decide whether you want warm-and-nostalgic (Vintage), clean-and-punchy (Instagram), or graded-and-filmic (Cinematic) — then audition within that family. It’s far faster than scrolling all 100+.
Step 3 — See the difference
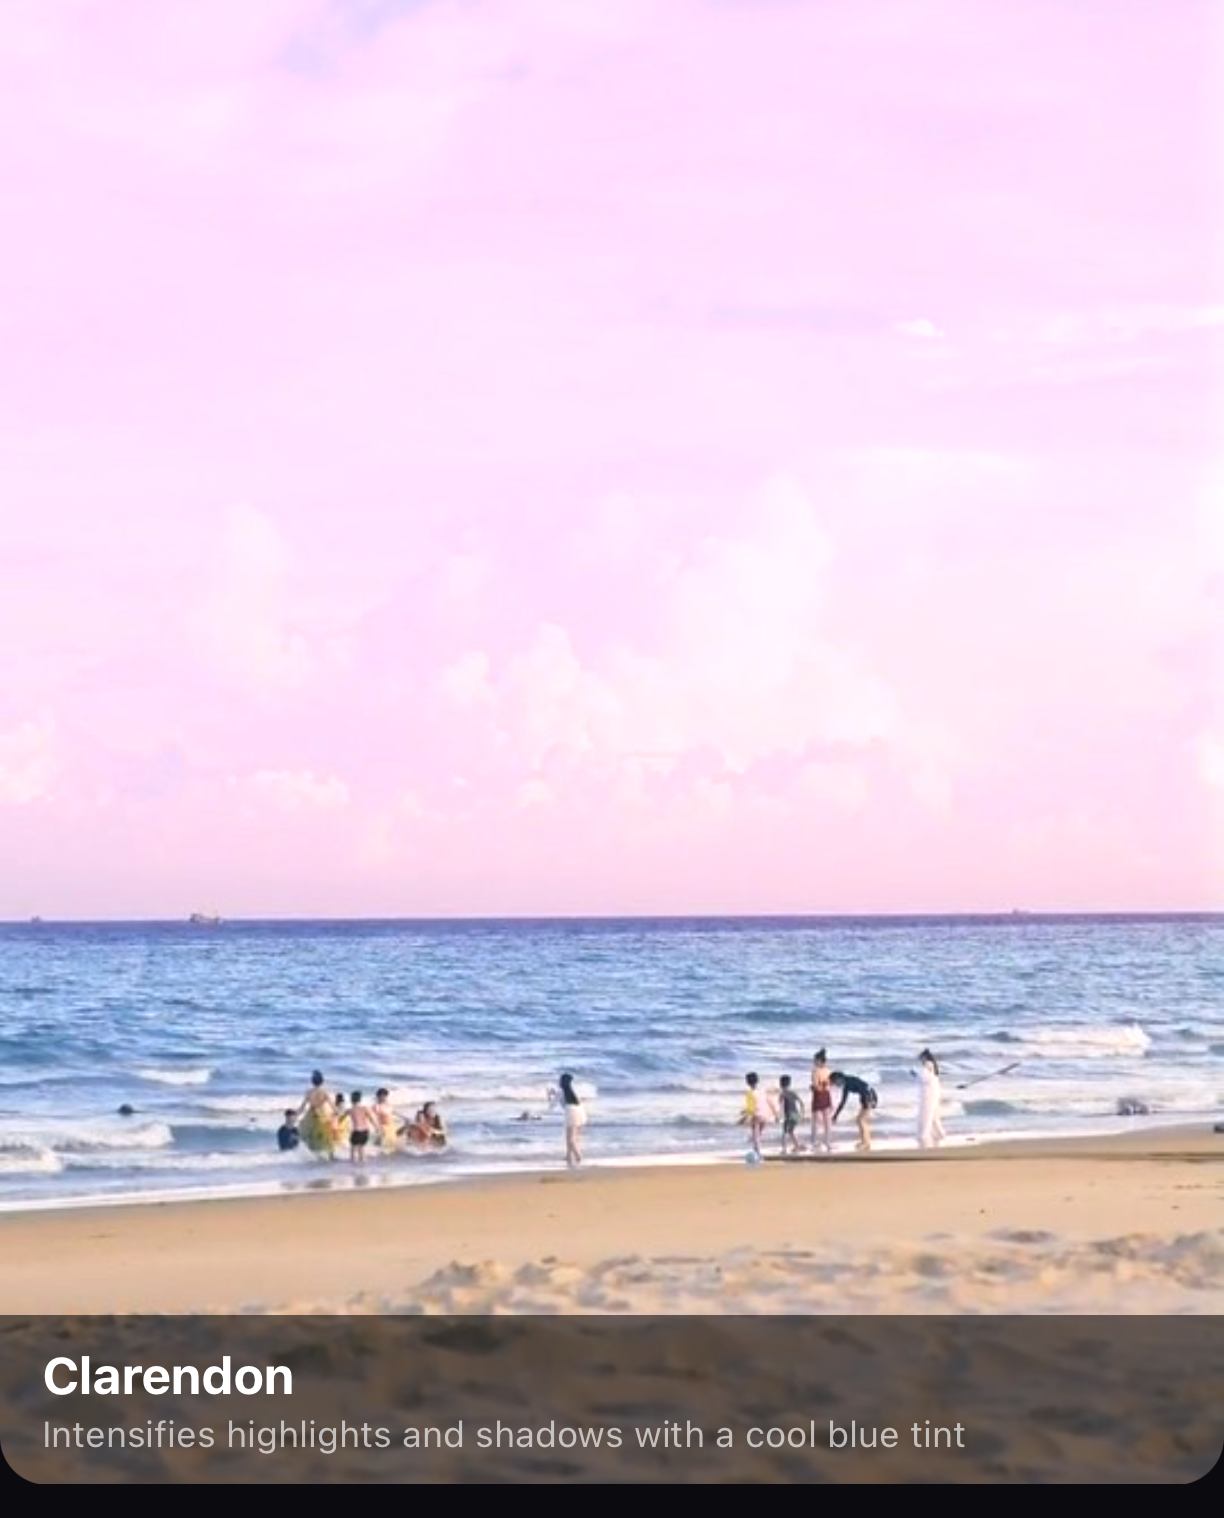
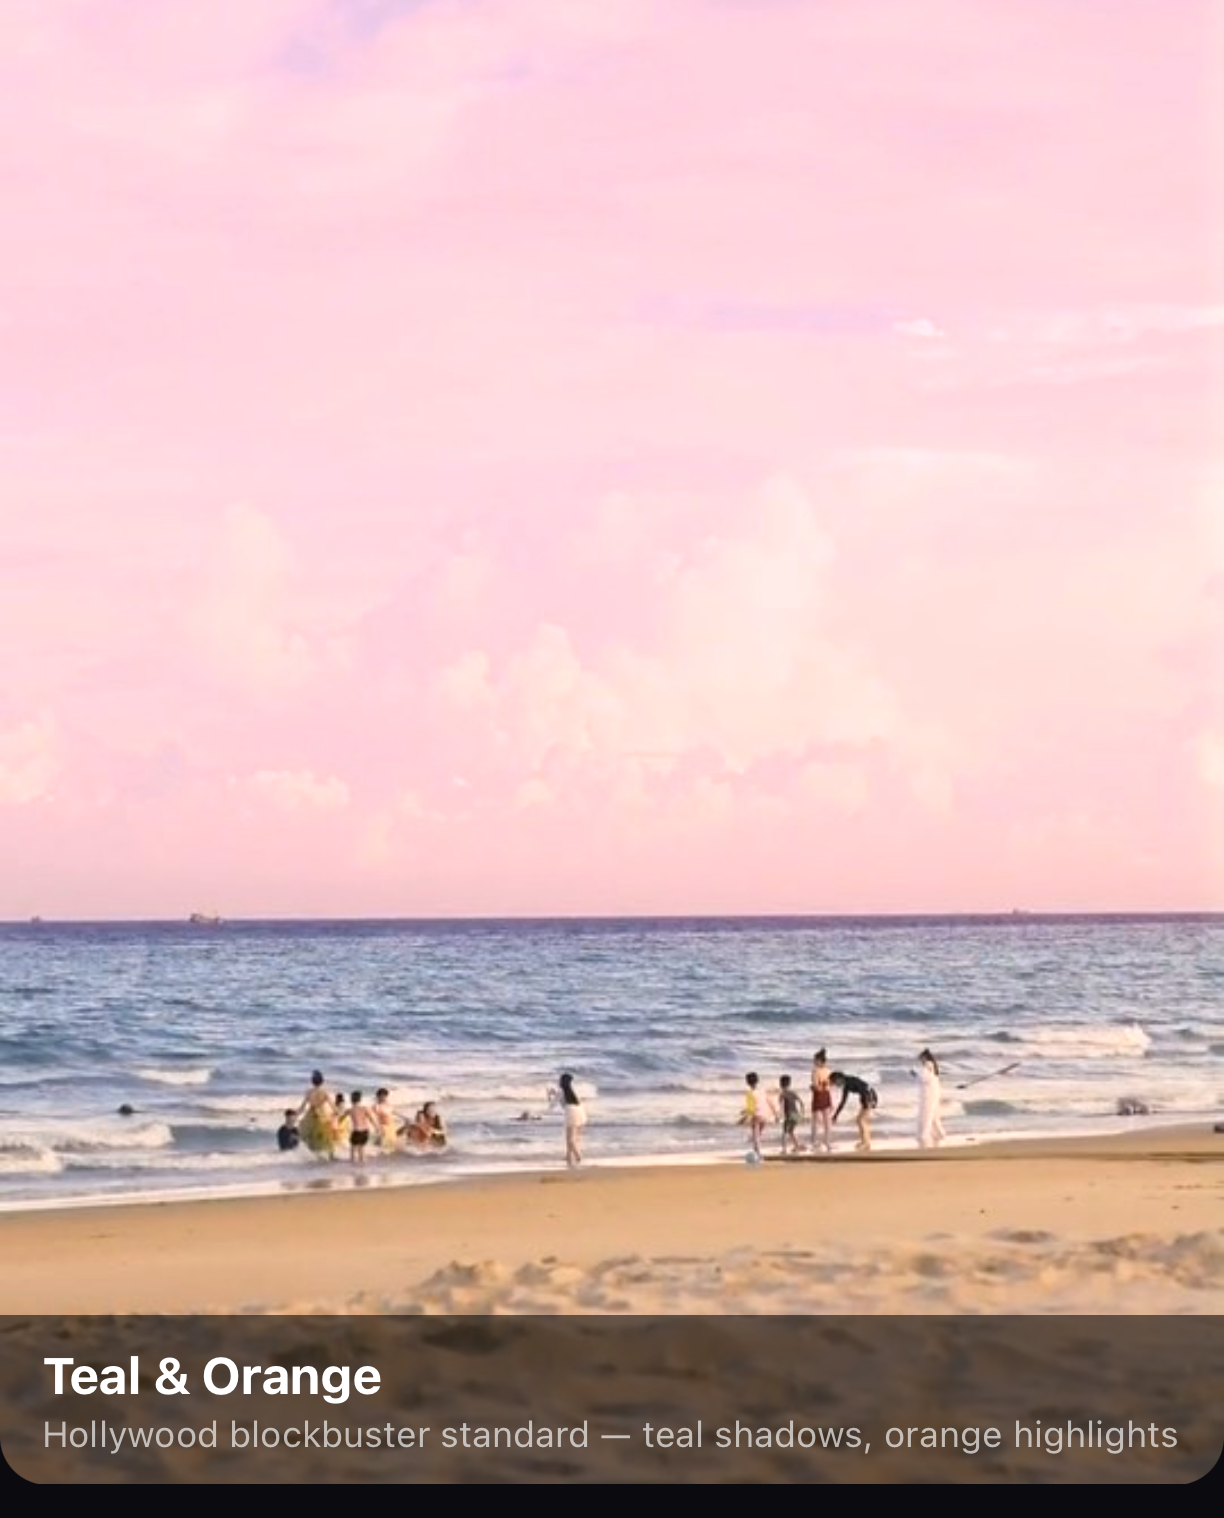
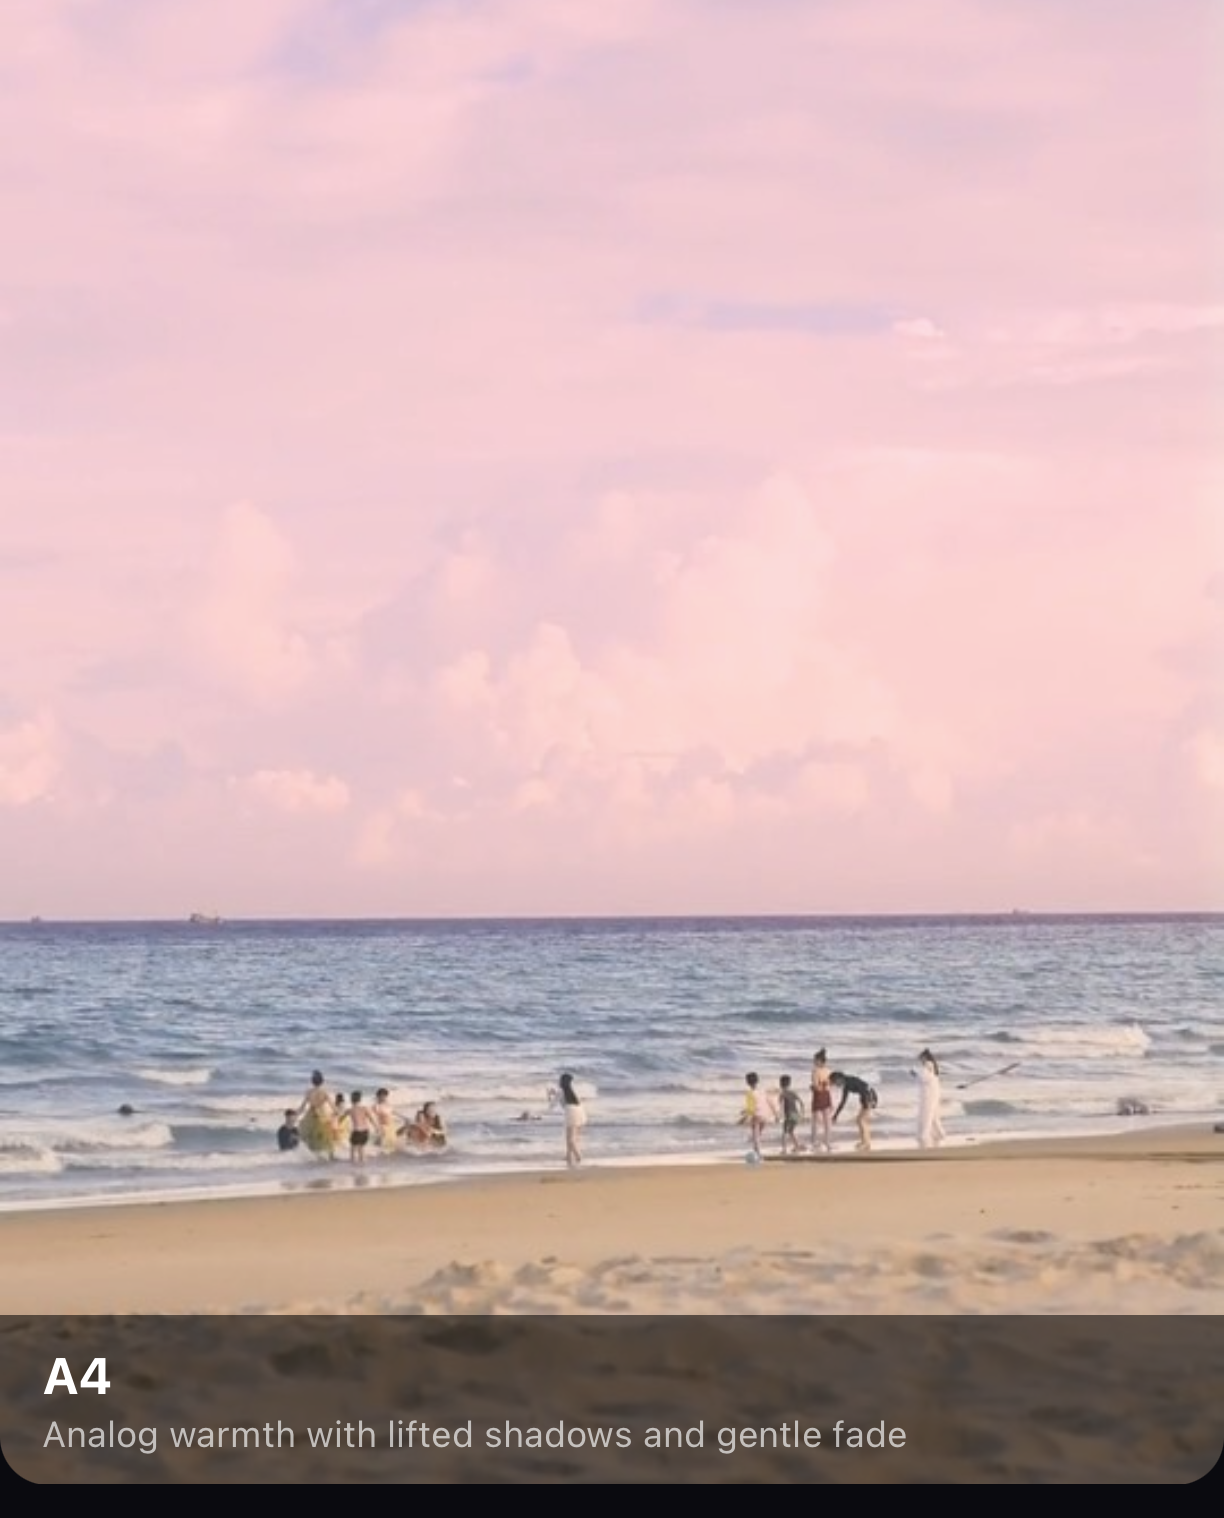
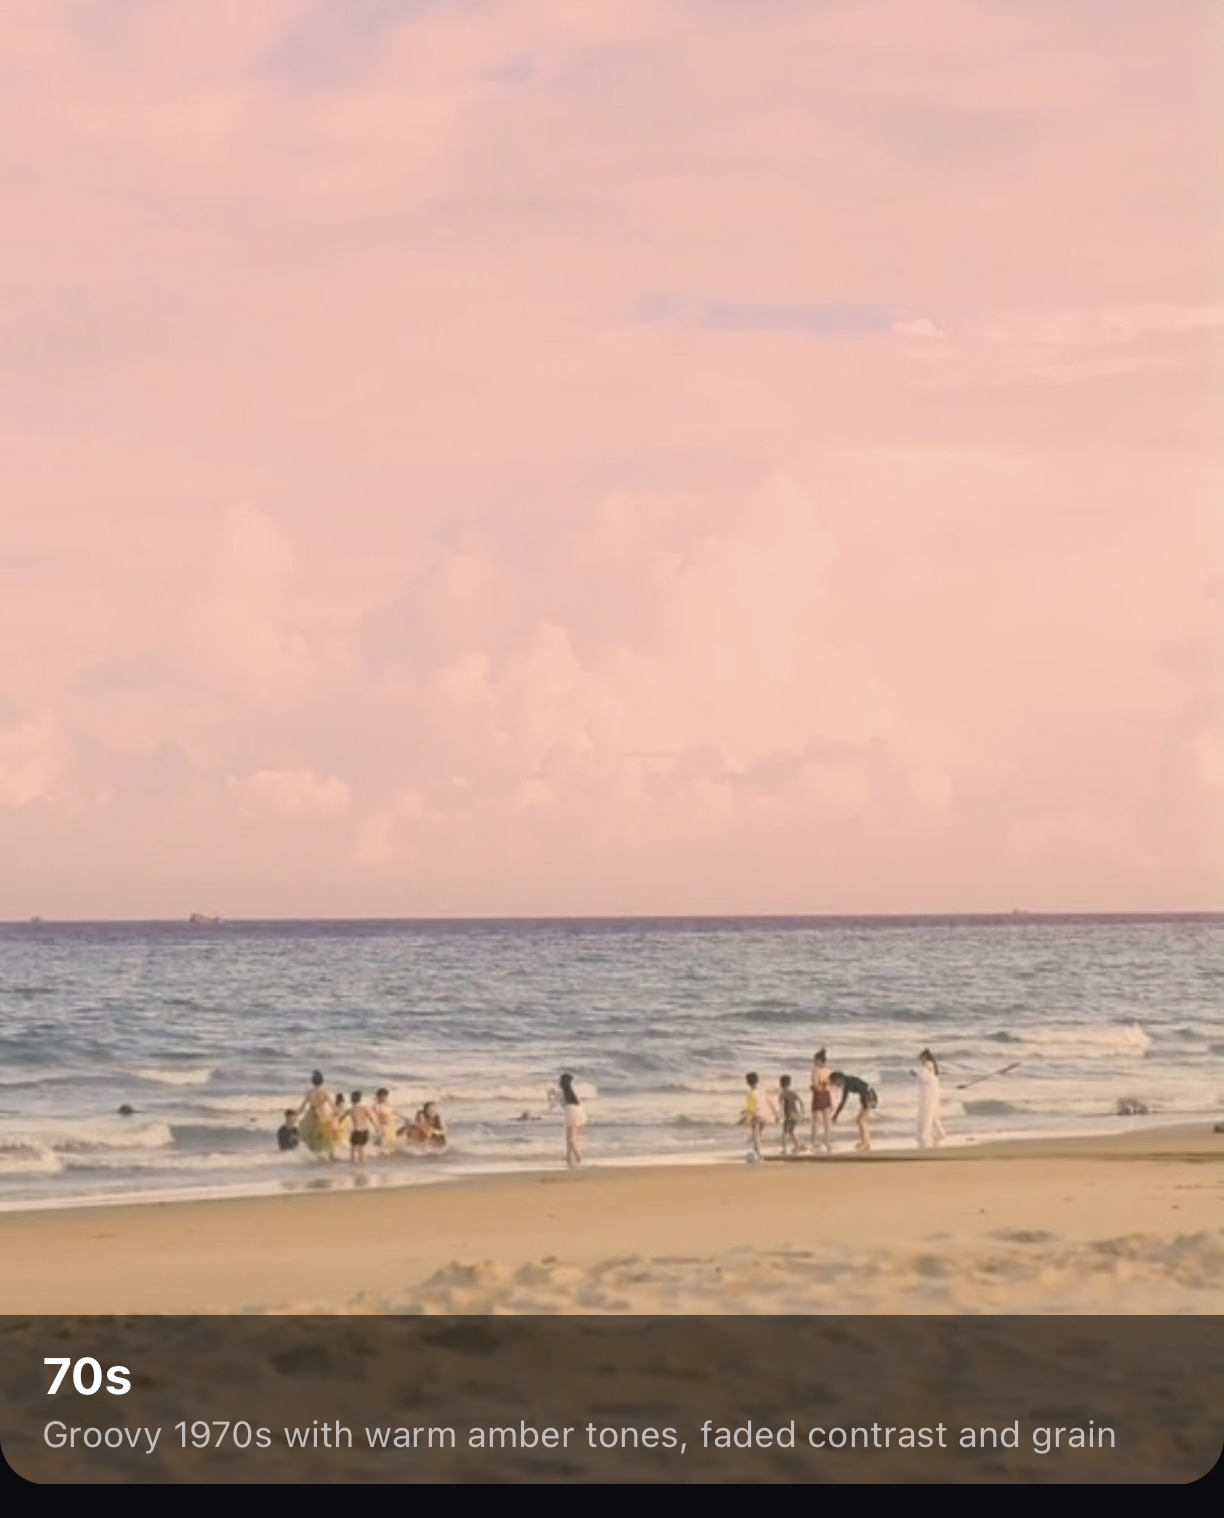
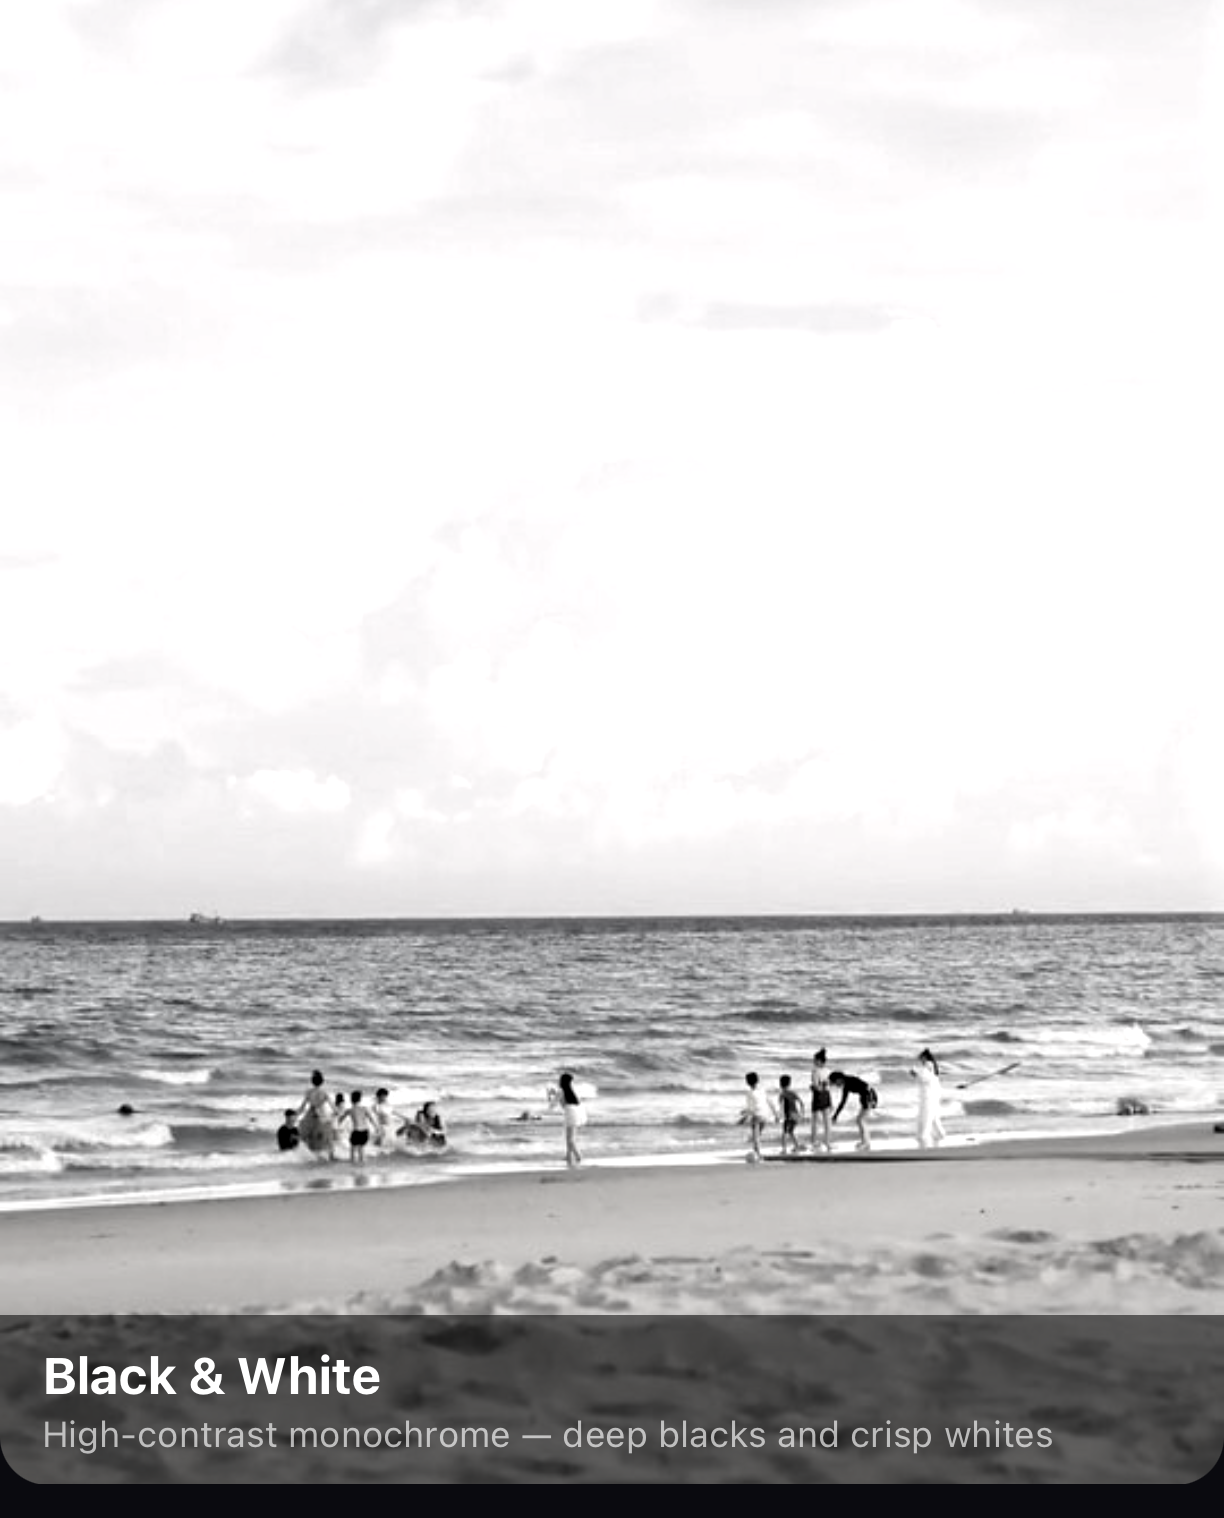
Here’s the same beach clip with no filter, then five looks from five different families. Notice how each one changes the feeling of the shot without touching the footage itself.
Step 4 — Dial in the intensity
A filter at 100% is a statement. A filter at 50% is a grade. The Intensity slider blends the look back toward your original footage, so you can keep the character of a filter while toning down its heaviest moves.
Apply your look
Tap the filter you want. It applies at full strength (100%) so you can see its full character.
Pull it back
Drag the Intensity slider down. Somewhere between 40% and 70% is where most looks feel polished rather than overpowering.
Commit
Tap Done. The look is now baked onto that clip — and it’ll render out exactly as previewed.
| You want it to feel… | Reach for this family |
|---|---|
| Clean & punchy for social | Instagram (Clarendon, Juno, Gingham) |
| Cinematic & graded | Cinematic (Teal & Orange, Blockbuster, Film Noir) |
| Warm, faded, editorial | VSCO-style (A4, A6, C1) |
| Nostalgic & retro | Vintage (70s, 80s Retro, Polaroid) |
| Bold & graphic | Duotone (Black & White, Black & Red) |
| Your own studio LUT | LUT tab → import a .cube file |
Consistency is the secret. A reel where every clip wears the same filter family feels designed. A reel where every clip wears a different filter feels random. Pick a look, commit to it, and let it tie your whole video together.
Where to go next
A filter sets the overall mood in one tap. When you’re ready for finer control:
- Go frame-accurate with manual color grading — exposure, contrast, saturation and white balance.
- Animate the look by keyframing filter intensity so a clip blooms from flat to graded.
- Bring your own professional
.cubeLUTs from Resole or Premiere straight into the LUT tab.
But for 90% of videos, the right filter at the right intensity is all the color work you’ll ever need.
Frequently asked questions
What's the difference between a filter and a LUT?
They do the same job — remap your colors to a new look — and ExpoCut treats them the same way. A LUT (look-up table) is the format Hollywood colorists use; ExpoCut bakes every built-in filter into the same engine and even lets you import your own .cube LUT files. From your side, you just tap a thumbnail and slide the intensity.
Will a filter change how my video exports?
Yes — and that's the point. What you see in the preview is exactly what renders out, because the editor and the export pipeline share one color engine. The filter is baked into the final file at full quality.
Can I make a filter more subtle?
Absolutely. Every filter has an Intensity slider from 0–100%. Drop it to 40–60% when a look feels too heavy — subtle grading almost always reads as more professional than a maxed-out filter.
Can I use a different filter on each clip?
Yes. Filters are per-layer, so each clip can carry its own look. For a consistent feel across a whole video, though, pick one filter family and apply it to every clip.
Got a look in mind?
Open any clip, tap Filters, and swipe until something clicks. Your footage is one tap away from cinematic.
Get ExpoCut Browse more guides