How to Add Effects to a Video (Every Effect Explained)
Effects are how a plain clip becomes something people stop scrolling for. But ‘add an effect’ covers a dozen very different things. This guide breaks down every category of video effect, explains when each one works, and links to a hands-on walkthrough for the ones you’ll use most.
Quick answer
ExpoCut’s effects fall into six families and all live one tap from a selected clip: tap the pencil Edit button and the transform toolbar holds Filters (100+ colour looks), LUTs (3D grades), FX (61 motion presets plus seven parametric engines with 100+ one-tap Looks and a 35-filter blur & bokeh suite), Transition (Intro/Outro), Light (grade regions) and Camera (moves). Every tile previews on your own footage; apply one, then pull its Intensity down to 40–70 % so it reads as intentional.
- Six families: filters & looks, colour grading, transitions, motion, text animation, overlays & generative.
- FX = Presets (Entrance · Exit · Motion · Style · Glitch) + Filters (Looks · Warp & Distort · Retro · Sketch · Light · Cartoon · Flicker · Custom).
- Picking a Look of the same engine swaps it in place; up to four engines stack per clip.
- Subtle wins — intensity 40–70 % and one look per video.
“Add an effect” sounds like one action, but it covers a dozen very different crafts — color, motion, texture, animation, distortion. Knowing which effect solves which problem is the difference between a video that looks designed and one that looks busy. Here’s every category of video effect, what it’s for, and how to add it on your phone.
The six families of video effects
Almost every effect you’ll ever use belongs to one of these:
| Family | What it changes | Use it to… |
|---|---|---|
| Filters & looks | Color palette | Set mood instantly (film, vintage, clean-social) |
| Color grading | Exposure, contrast, hue | Match shots, fix flat footage, build a signature look |
| Transitions | The cut between clips | Bridge scenes with motion |
| Motion effects | Position, scale, speed | Add energy — zoom, shake, slow-mo |
| Text & title animation | How words appear | Grab attention in the first second |
| Overlays & generative | Texture and atmosphere | Light leaks, grain, shaders, animated backgrounds |
The rest of this guide takes them one at a time. If you’ve never added an effect before, start with the first-video walkthrough, then come back.
1. Filters & looks — the one-tap mood
A filter remaps every color in your clip to a curated palette. It’s the fastest, highest-impact effect you can add: one tap turns flat phone footage into something that feels film, vintage, or clean-and-social. Pull the intensity down to 40–70% so it reads as grading, not a gimmick, and use the same filter on every clip for a cohesive look.
This is a deep topic with its own complete walkthrough: How to Use Filters & LUTs — 100+ looks across film, Instagram, VSCO, cinematic, vintage and duotone families.
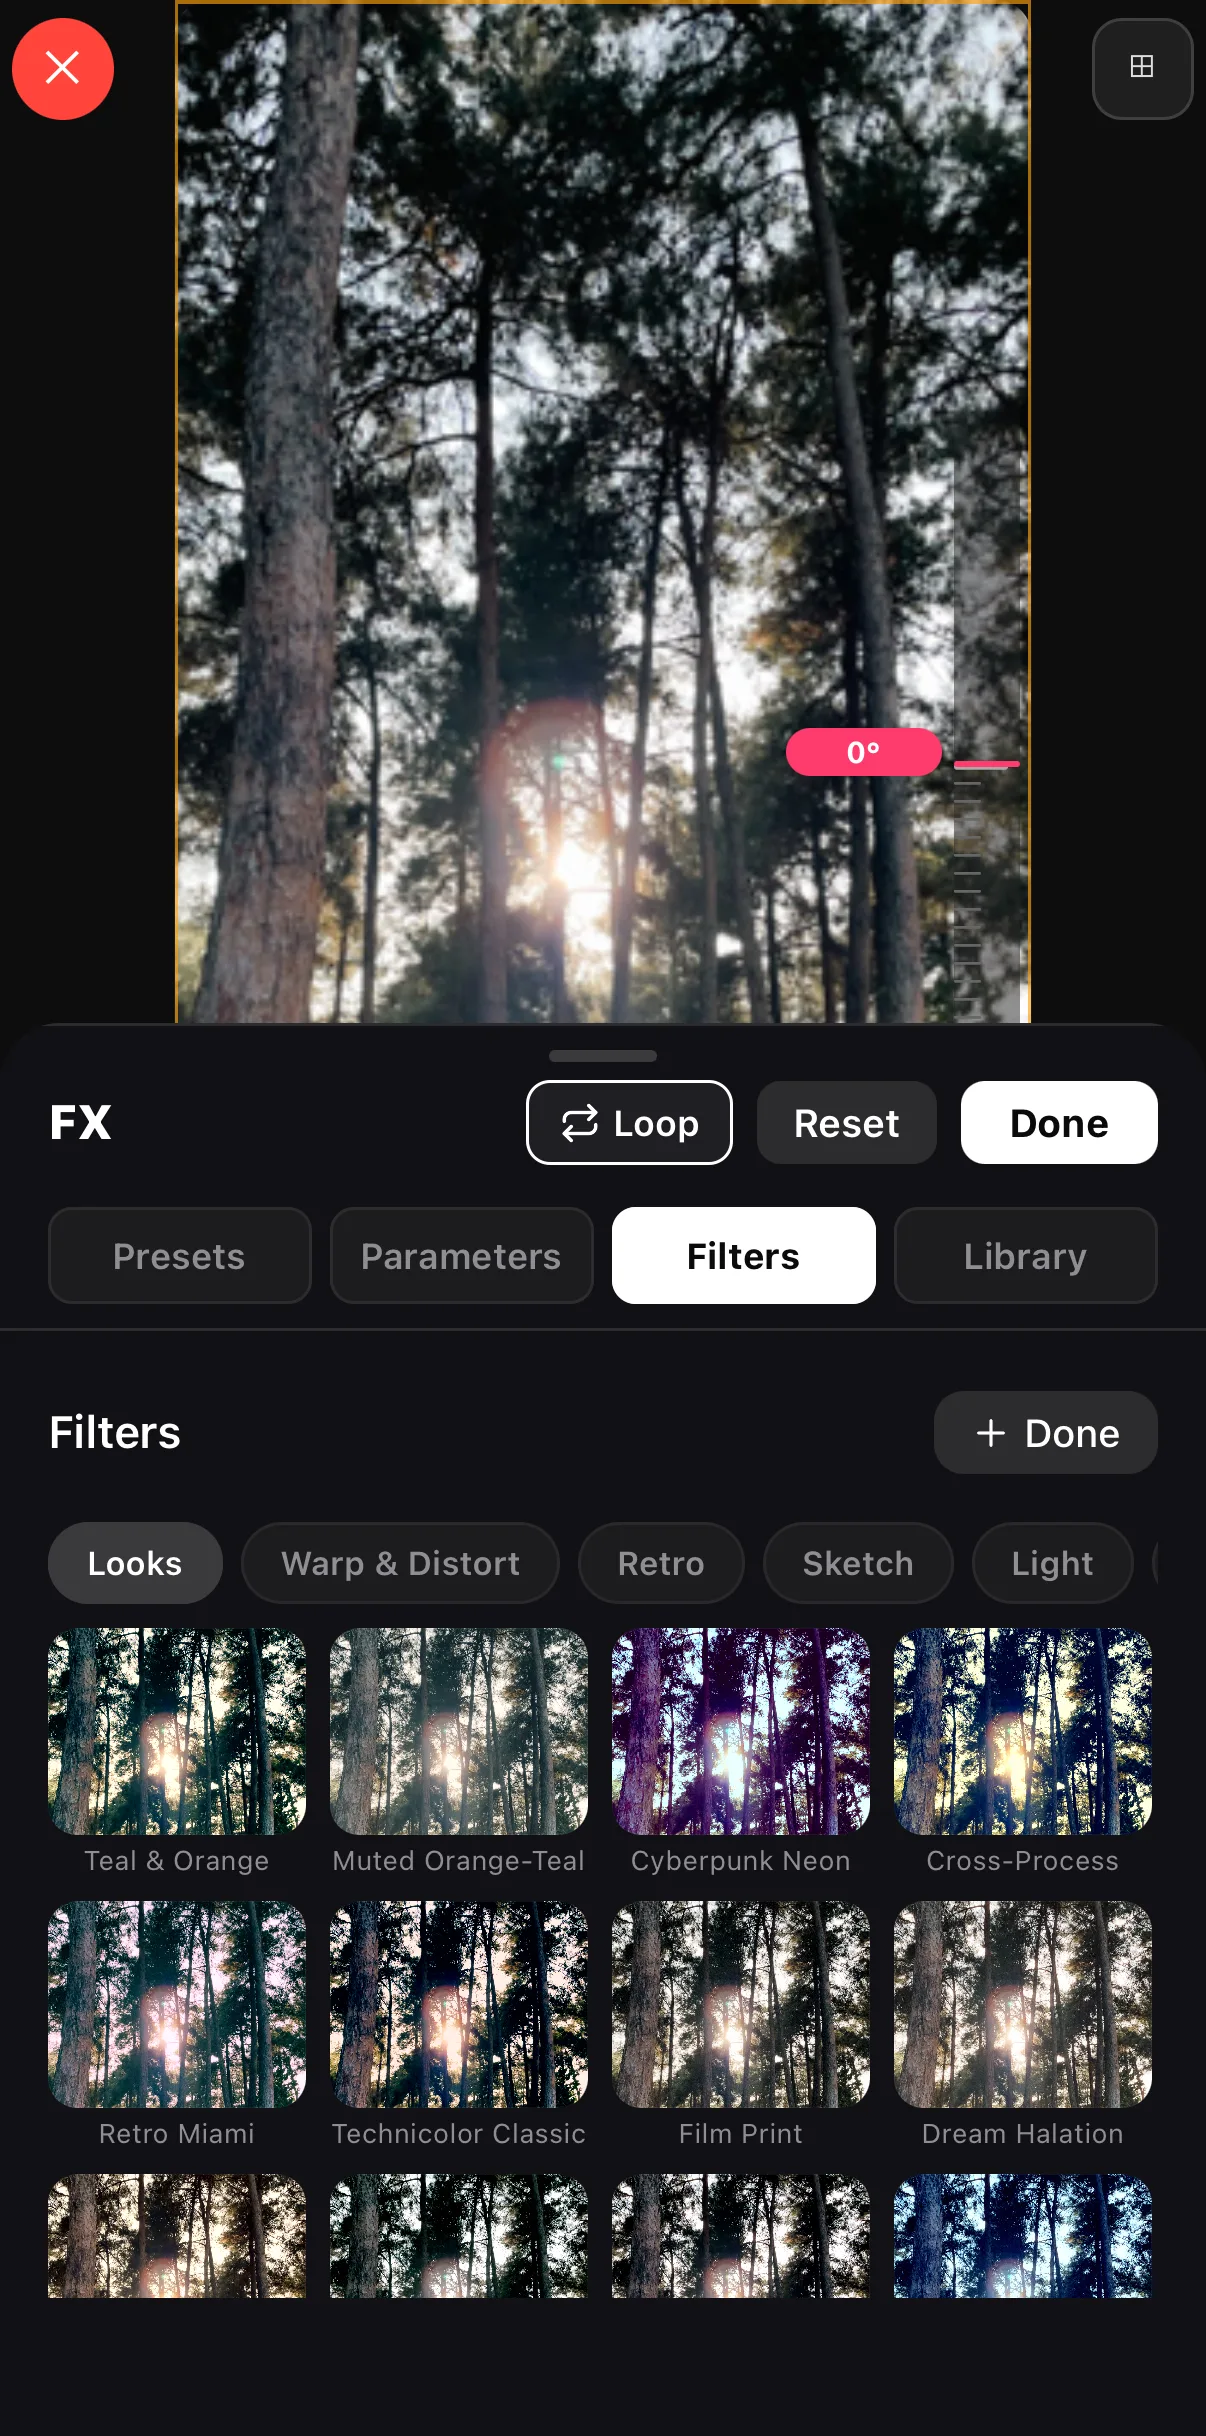 Looks · Warp & Distort · Retro · Sketch · Light · Cartoon · Flicker · Custom
One-tap Looks on your own frame
Looks · Warp & Distort · Retro · Sketch · Light · Cartoon · Flicker · Custom
One-tap Looks on your own frame
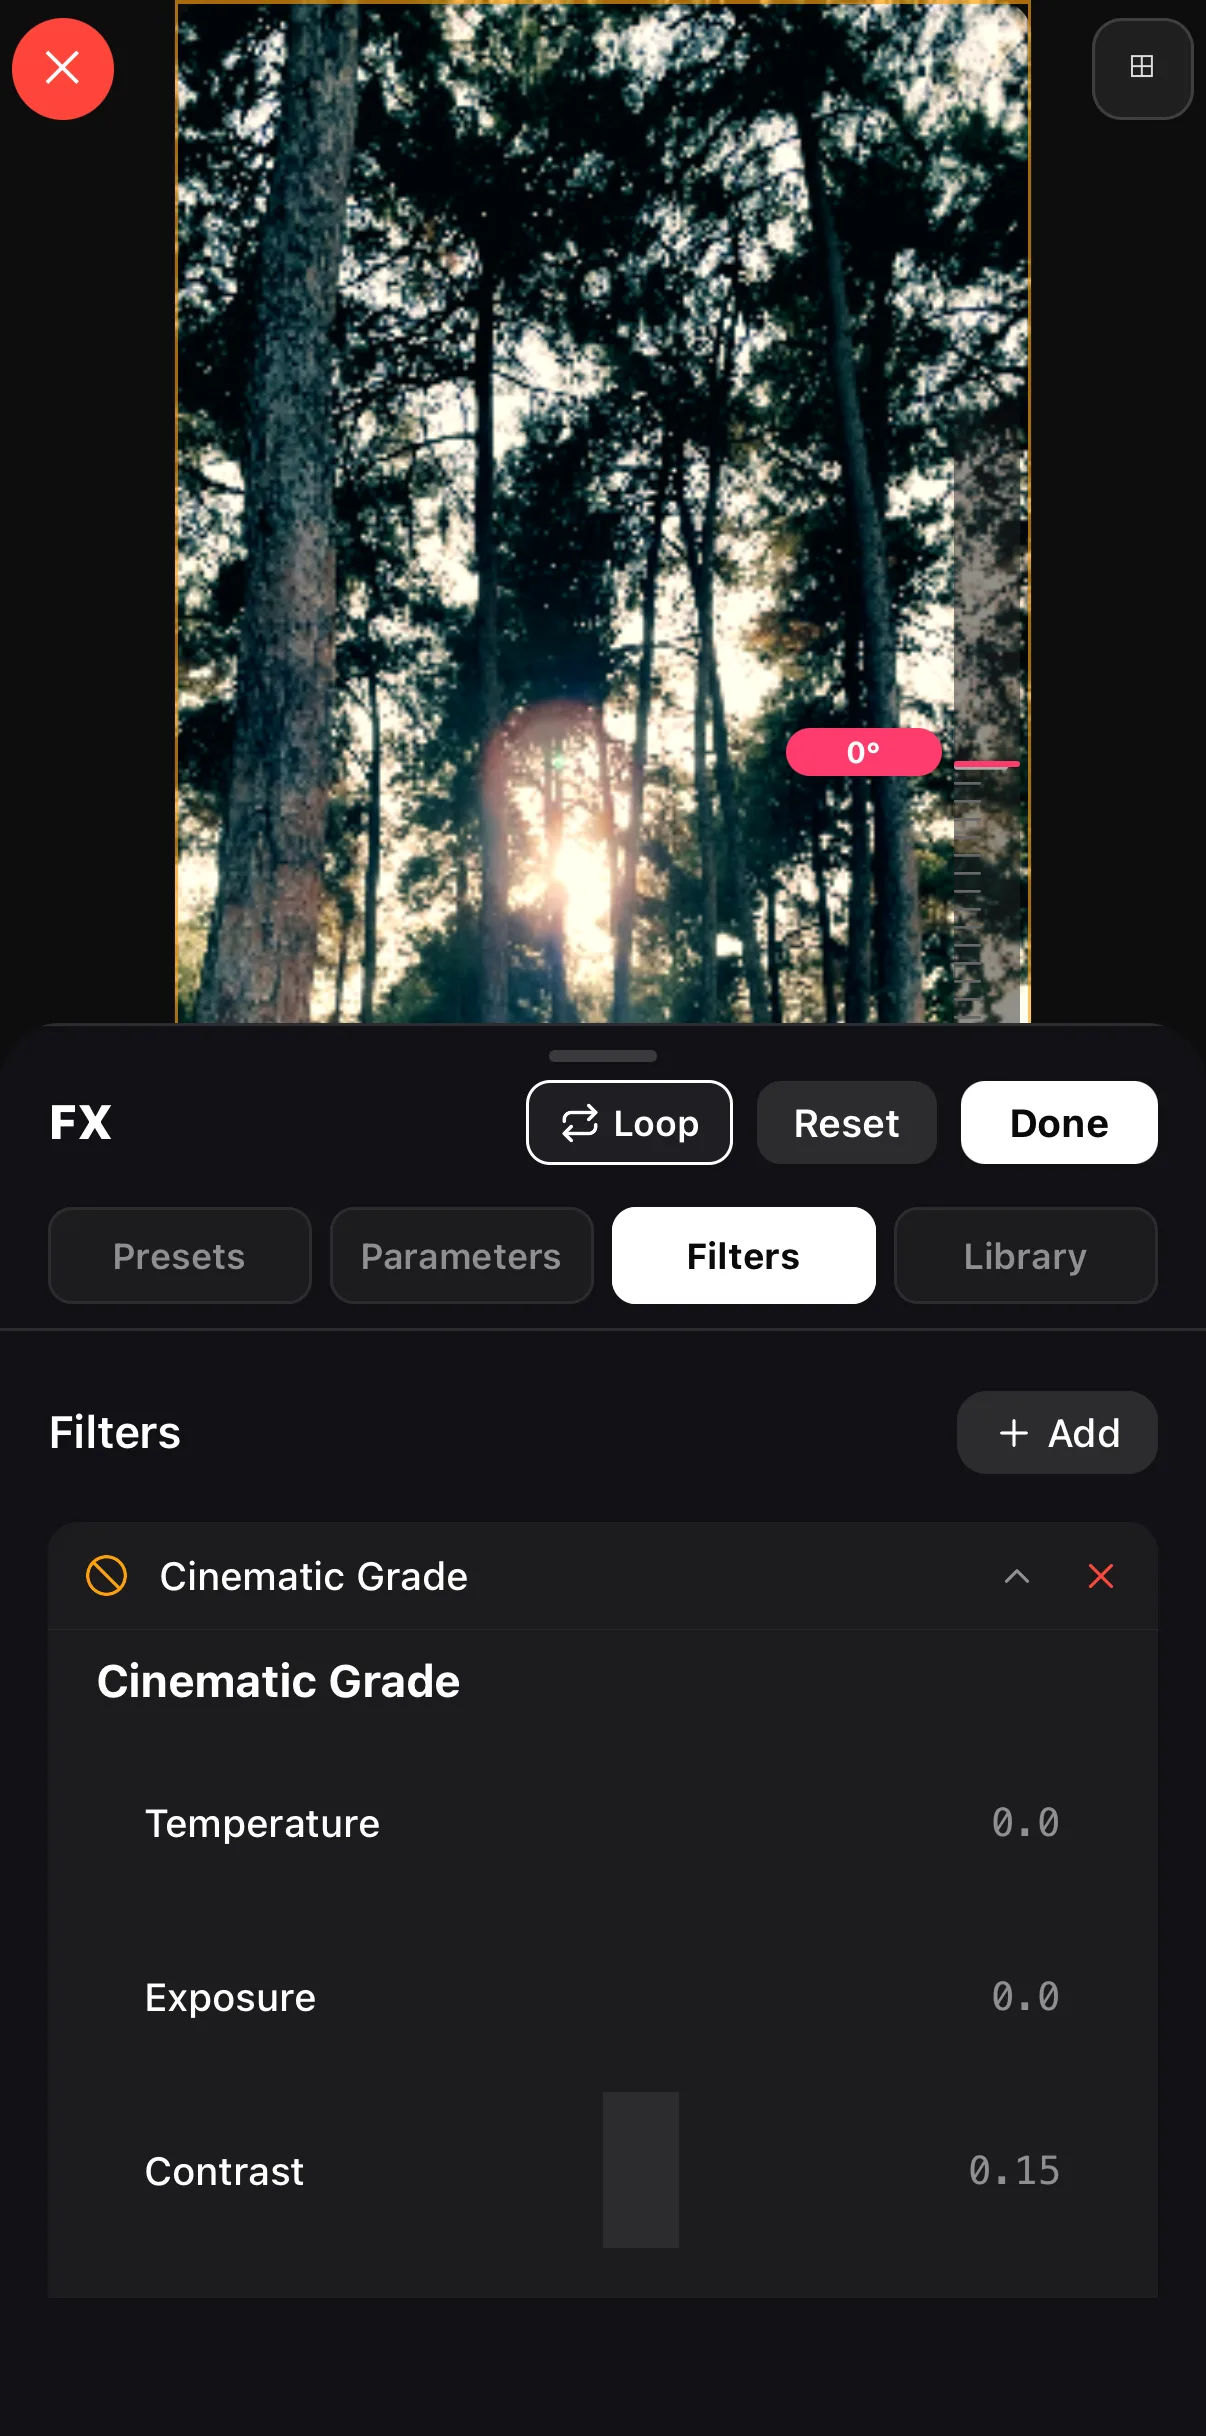 The canvas updates live
The applied engine
Its parameters
The canvas updates live
The applied engine
Its parameters
Where filters are one-tap, grading is hands-on: exposure, contrast, saturation, white balance, highlights and shadows, and pro LUTs. Use it to match two shots that don’t quite agree, rescue a flat phone profile, or craft a look no preset gives you. You can even keyframe a grade so a clip blooms from flat to cinematic over a few seconds (see motion, below).
3. Transitions — the cut, with motion
A hard cut is clean and usually best. A transition adds flavor between two clips — tap the joiner on the cut for a dissolve, wipe, slide, distort or shader-driven liquid and tile wipe, or give a single layer an Intro / Outro from the transform toolbar. The rule: use them sparingly and on the beat. A wipe on every cut gets tiring fast; one well-timed transition at a scene change lands.
4. Motion effects — energy and pacing
Motion is what makes short-form feel alive:
- Zoom / Ken Burns — a slow push or pull adds life to a static shot.
- Shake / camera move — a punch of handheld energy on a beat, or a real virtual-camera move from Cam Move (88 presets with depth parallax).
- Speed ramps — slow-motion for emphasis, speed-up to compress time.
- Keyframed transforms — animate position, scale and rotation precisely.
All of these are built on keyframes — the system that animates any property over time. It’s the most powerful effect tool you have once you’re past the basics.
5. Text & title animation
Text is an effect too. A title that animates in — fade, typewriter, word-by-word, scale-up — grabs attention far better than one that pops in flat. Pair an entrance animation with a clean font and a subtle shadow or backdrop, and your first second does its job: telling viewers what they’re watching before they scroll.
6. Overlays & generative effects
The atmosphere layer:
- Light leaks & bokeh — warm, organic flares laid over footage (the Light Leak button in the bottom bar), plus lens, path and radial blurs from the 35-filter blur & bokeh suite.
- Film grain & dust — texture that makes digital footage feel shot on film; dust, snow, firefly and light-orb overlays render as generative layers.
- Generative shaders — animated backgrounds (nebula, aurora, rain-on-glass) rendered in real time, perfect behind text or as standalone B-roll.
These sit on their own layers above or below your footage, with blend modes and opacity to taste.
How to actually add an effect (the workflow)
On a modern mobile editor the flow is the same for any effect:
Select the clip
Tap the clip you want to affect on the timeline.
Open the right panel
Tap the pinned Edit button (or drag the corner grip) to reveal the transform toolbar, then choose Filters, FX, Transition, or tap Keyframes on the clip toolbar for motion.
Pick and preview
Tap an effect — it previews live on your footage. Audition a few.
Dial it in
Lower the intensity (or shorten a transition’s duration) until it feels intentional, then tap Done. Preview equals export — what you see renders into the final file.
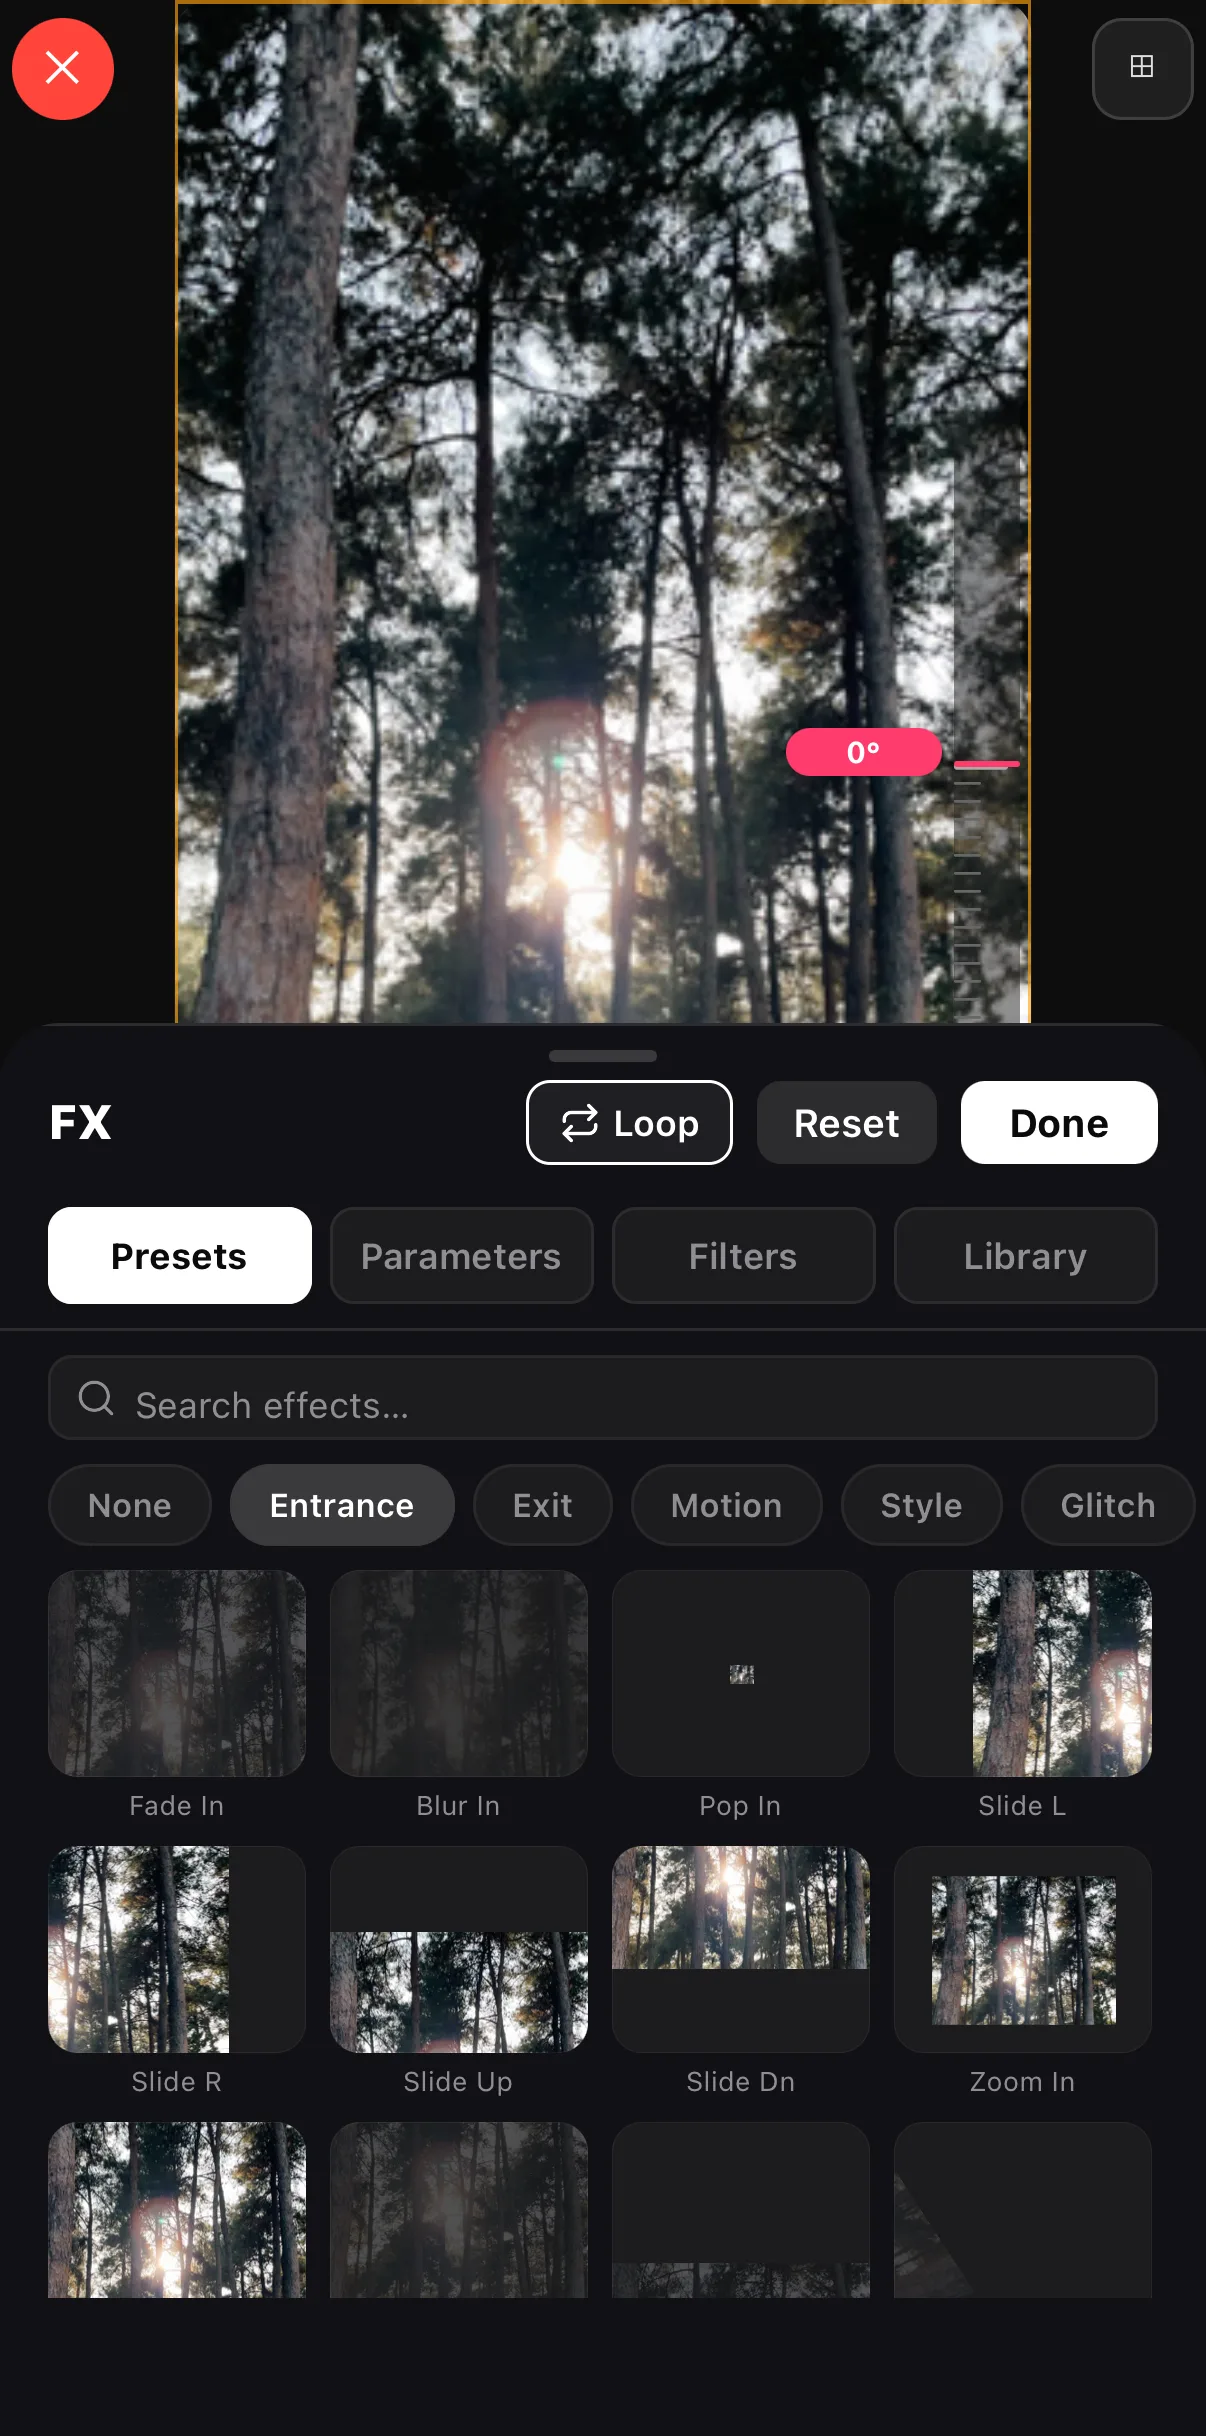 Presets · Parameters · Filters · Library
Entrance · Exit · Motion · Style · Glitch
Every tile animates on your frame
Presets · Parameters · Filters · Library
Entrance · Exit · Motion · Style · Glitch
Every tile animates on your frame
The taste rule: one filter everywhere, one or two motion/transition accents on key moments. That’s it. The most common mistake isn’t using too few effects — it’s using too many. Restraint is the effect.
Where to go next
Pick the effect family your next video needs:
- Color first — the fastest win: Filters & LUTs guide.
- The full editing context — how effects fit into a whole edit: Mobile video editor guide.
- Making lots of effect-heavy videos? — Video automation and templates let you reuse a look across a whole series.
Effects aren’t about doing more — they’re about doing the right one. Learn the six families, reach for one at a time, and your videos will look deliberate every time.
Frequently asked questions
What are the main types of video effects?
Video effects fall into a few families: filters and color grading (change the palette), transitions (bridge two clips), motion effects (zoom, shake, speed ramps), text and title animation, overlays (light leaks, grain, bokeh), and generative effects (shaders, animated backgrounds). Most 'wow' edits combine two or three of these, used sparingly.
How do I add an effect to a video on my phone?
Select the clip, open the effects or filters panel, tap the effect you want, and adjust its intensity. On ExpoCut you select a clip and tap Edit to reveal the transform toolbar, then pick Filters, FX, or a Transition. Everything previews live before you commit.
What's the difference between a filter and an effect?
A filter remaps colors to a curated look (one tap, whole-clip). An effect is broader — it can add motion, texture, distortion or animation. Filters are a subset of effects focused purely on color.
How many effects should I use in one video?
Fewer than you think. One consistent filter across all clips, plus one or two motion or transition accents on key moments, usually beats a different effect on every cut. Restraint reads as intentional; piling on effects reads as amateur.
Related guides
Add your first effect
Filters, motion, transitions, shaders — every effect previews live and renders on-device. Open a clip and start experimenting.
Get ExpoCut Browse all guides