Blend Modes Explained (Overlays That Actually Look Good)
Blend modes are the secret behind every glowing overlay, dust pass, and double-exposure you’ve ever scrolled past. Once you know which mode drops black and which drops white, you can composite anything.
That glowing light leak, the drifting dust, the double-exposure portrait — none of them use opacity. They use blend modes: a rule for how a layer mixes with what’s beneath it. Learn three modes and you can composite almost any overlay.
The three you’ll use most
| Mode | Drops… | Use it for |
|---|---|---|
| Screen | black | Light leaks, flares, dust, sparks, smoke — anything bright on black |
| Multiply | white | Shadows, ink, paper textures, logos on white |
| Overlay | mid-grey (boosts contrast) | Grungy textures, color washes, double exposures |
The trick is matching the overlay’s background to the mode: a bright overlay on a black background wants Screen; a dark overlay on a white background wants Multiply.
Step 1 — Stack the overlay
Put your footage on the bottom
Your main clip is the base.
Add the overlay on top
A light leak, a dust clip, smoke, or a texture — on a layer above.
Let it blend
Bright overlays on a black background blend with Screen; dark overlays on white blend with Multiply. ExpoCut’s light-leak library is built around this — every preset is a bright glow on black, so it drops its black and melts into the footage the instant you add it.
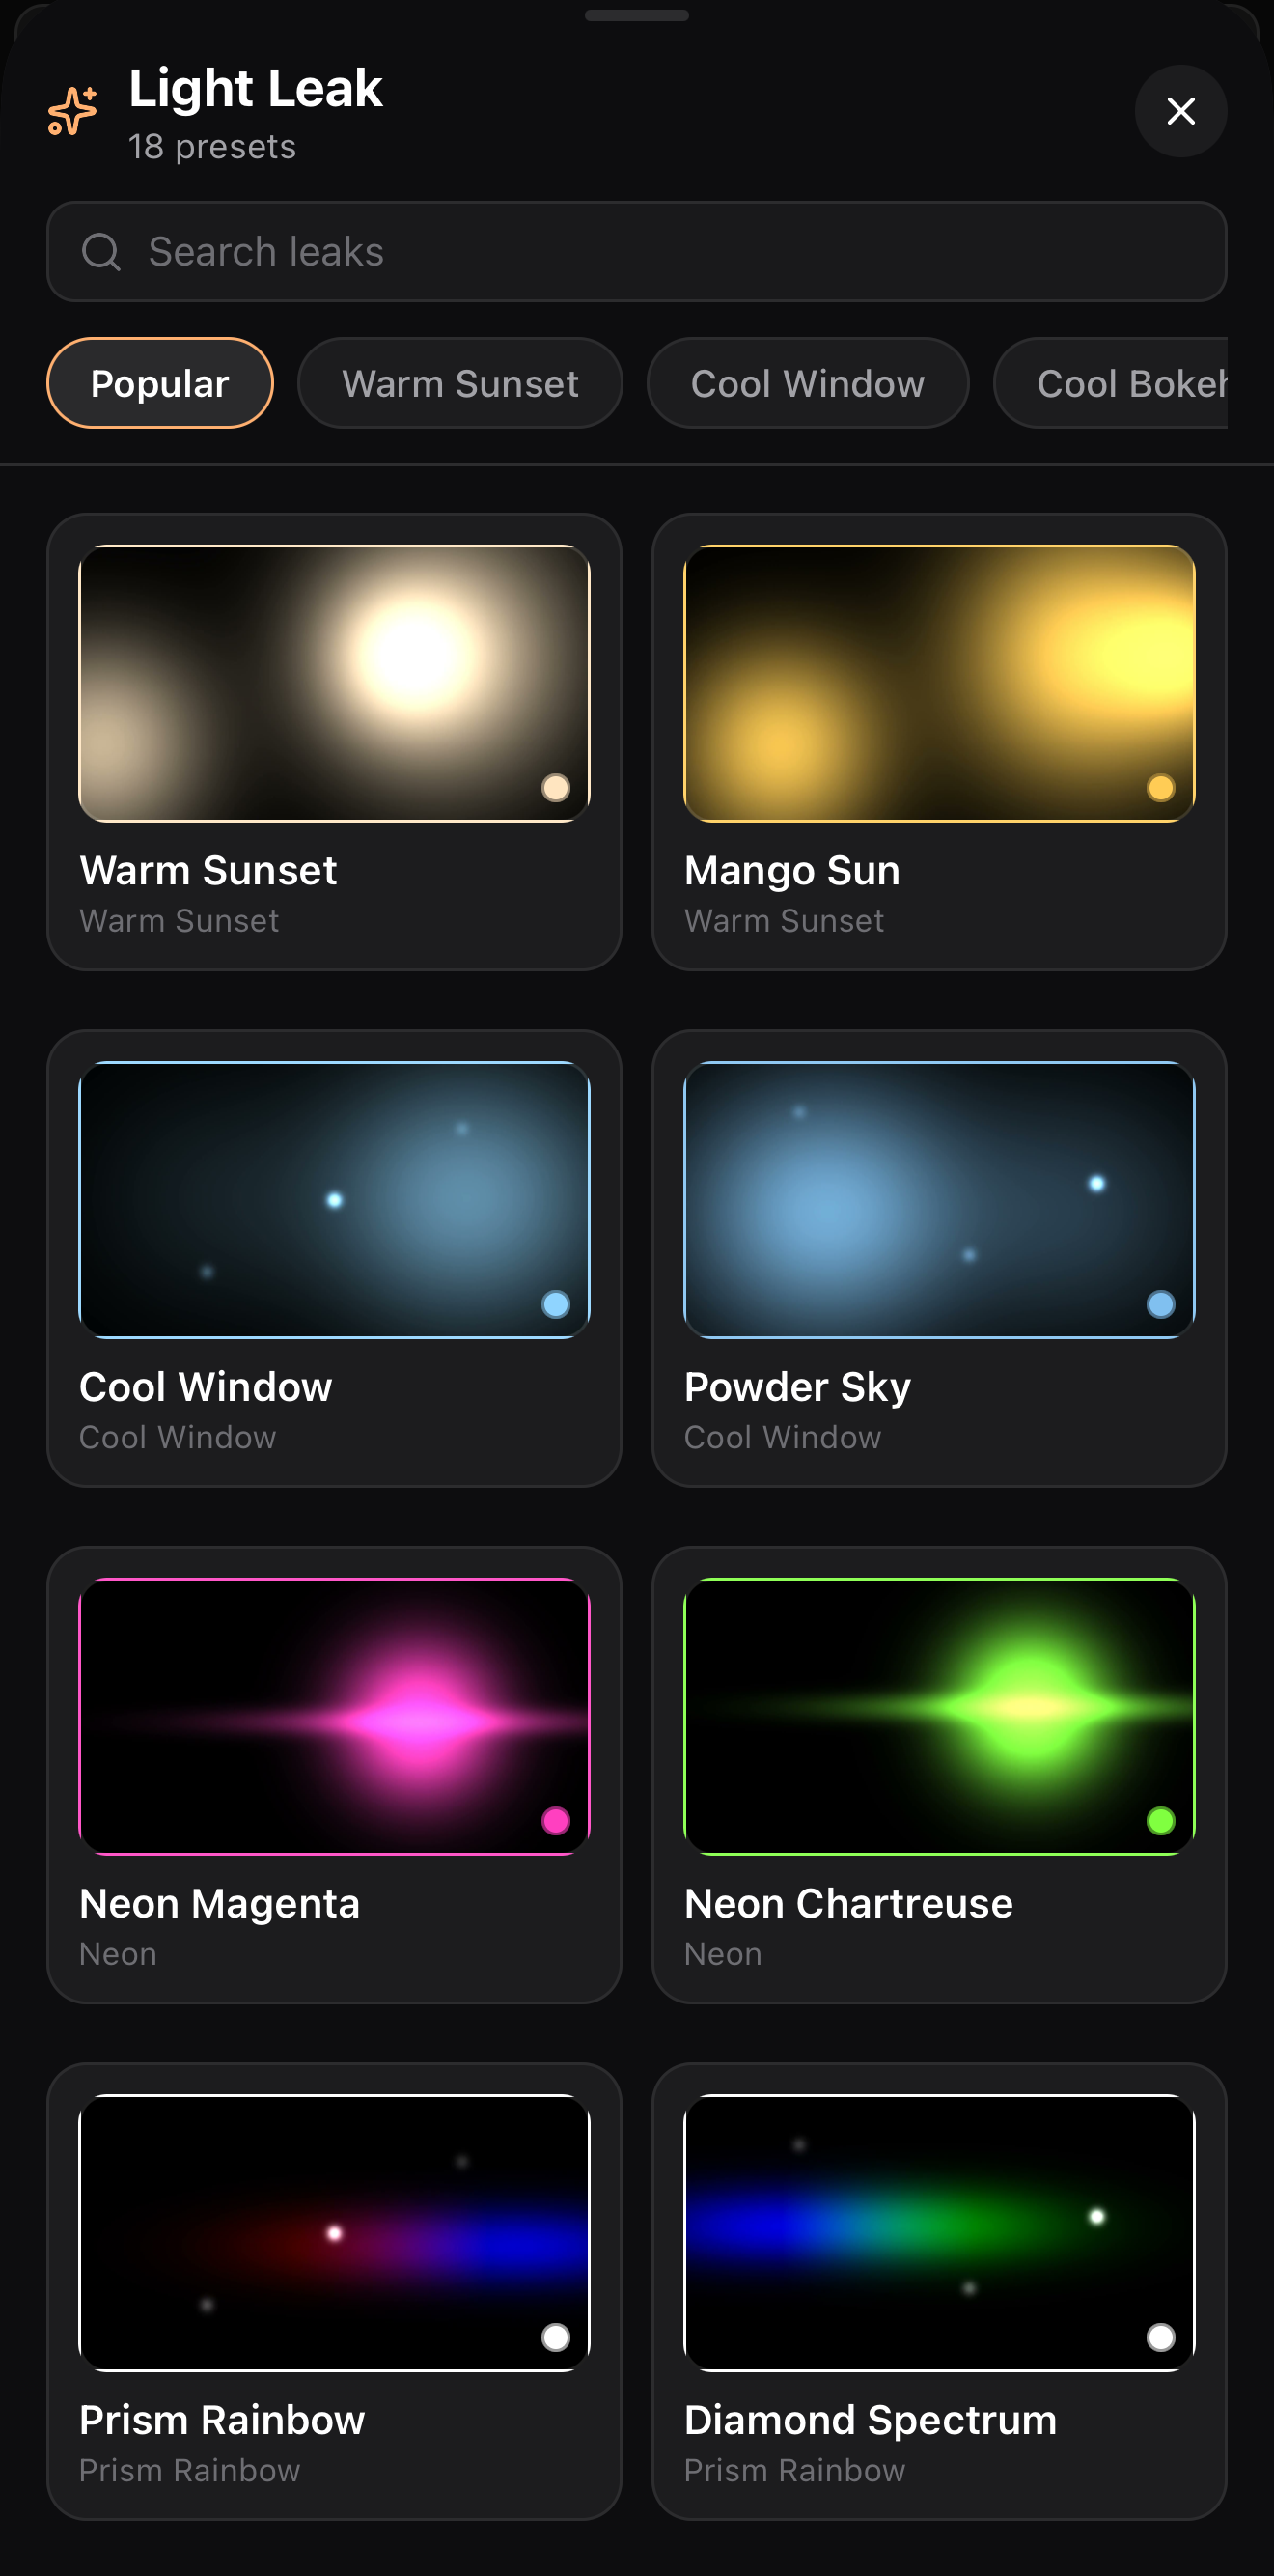 18 ready-made overlays
Every leak is bright-on-black — perfect for a Screen blend
18 ready-made overlays
Every leak is bright-on-black — perfect for a Screen blend
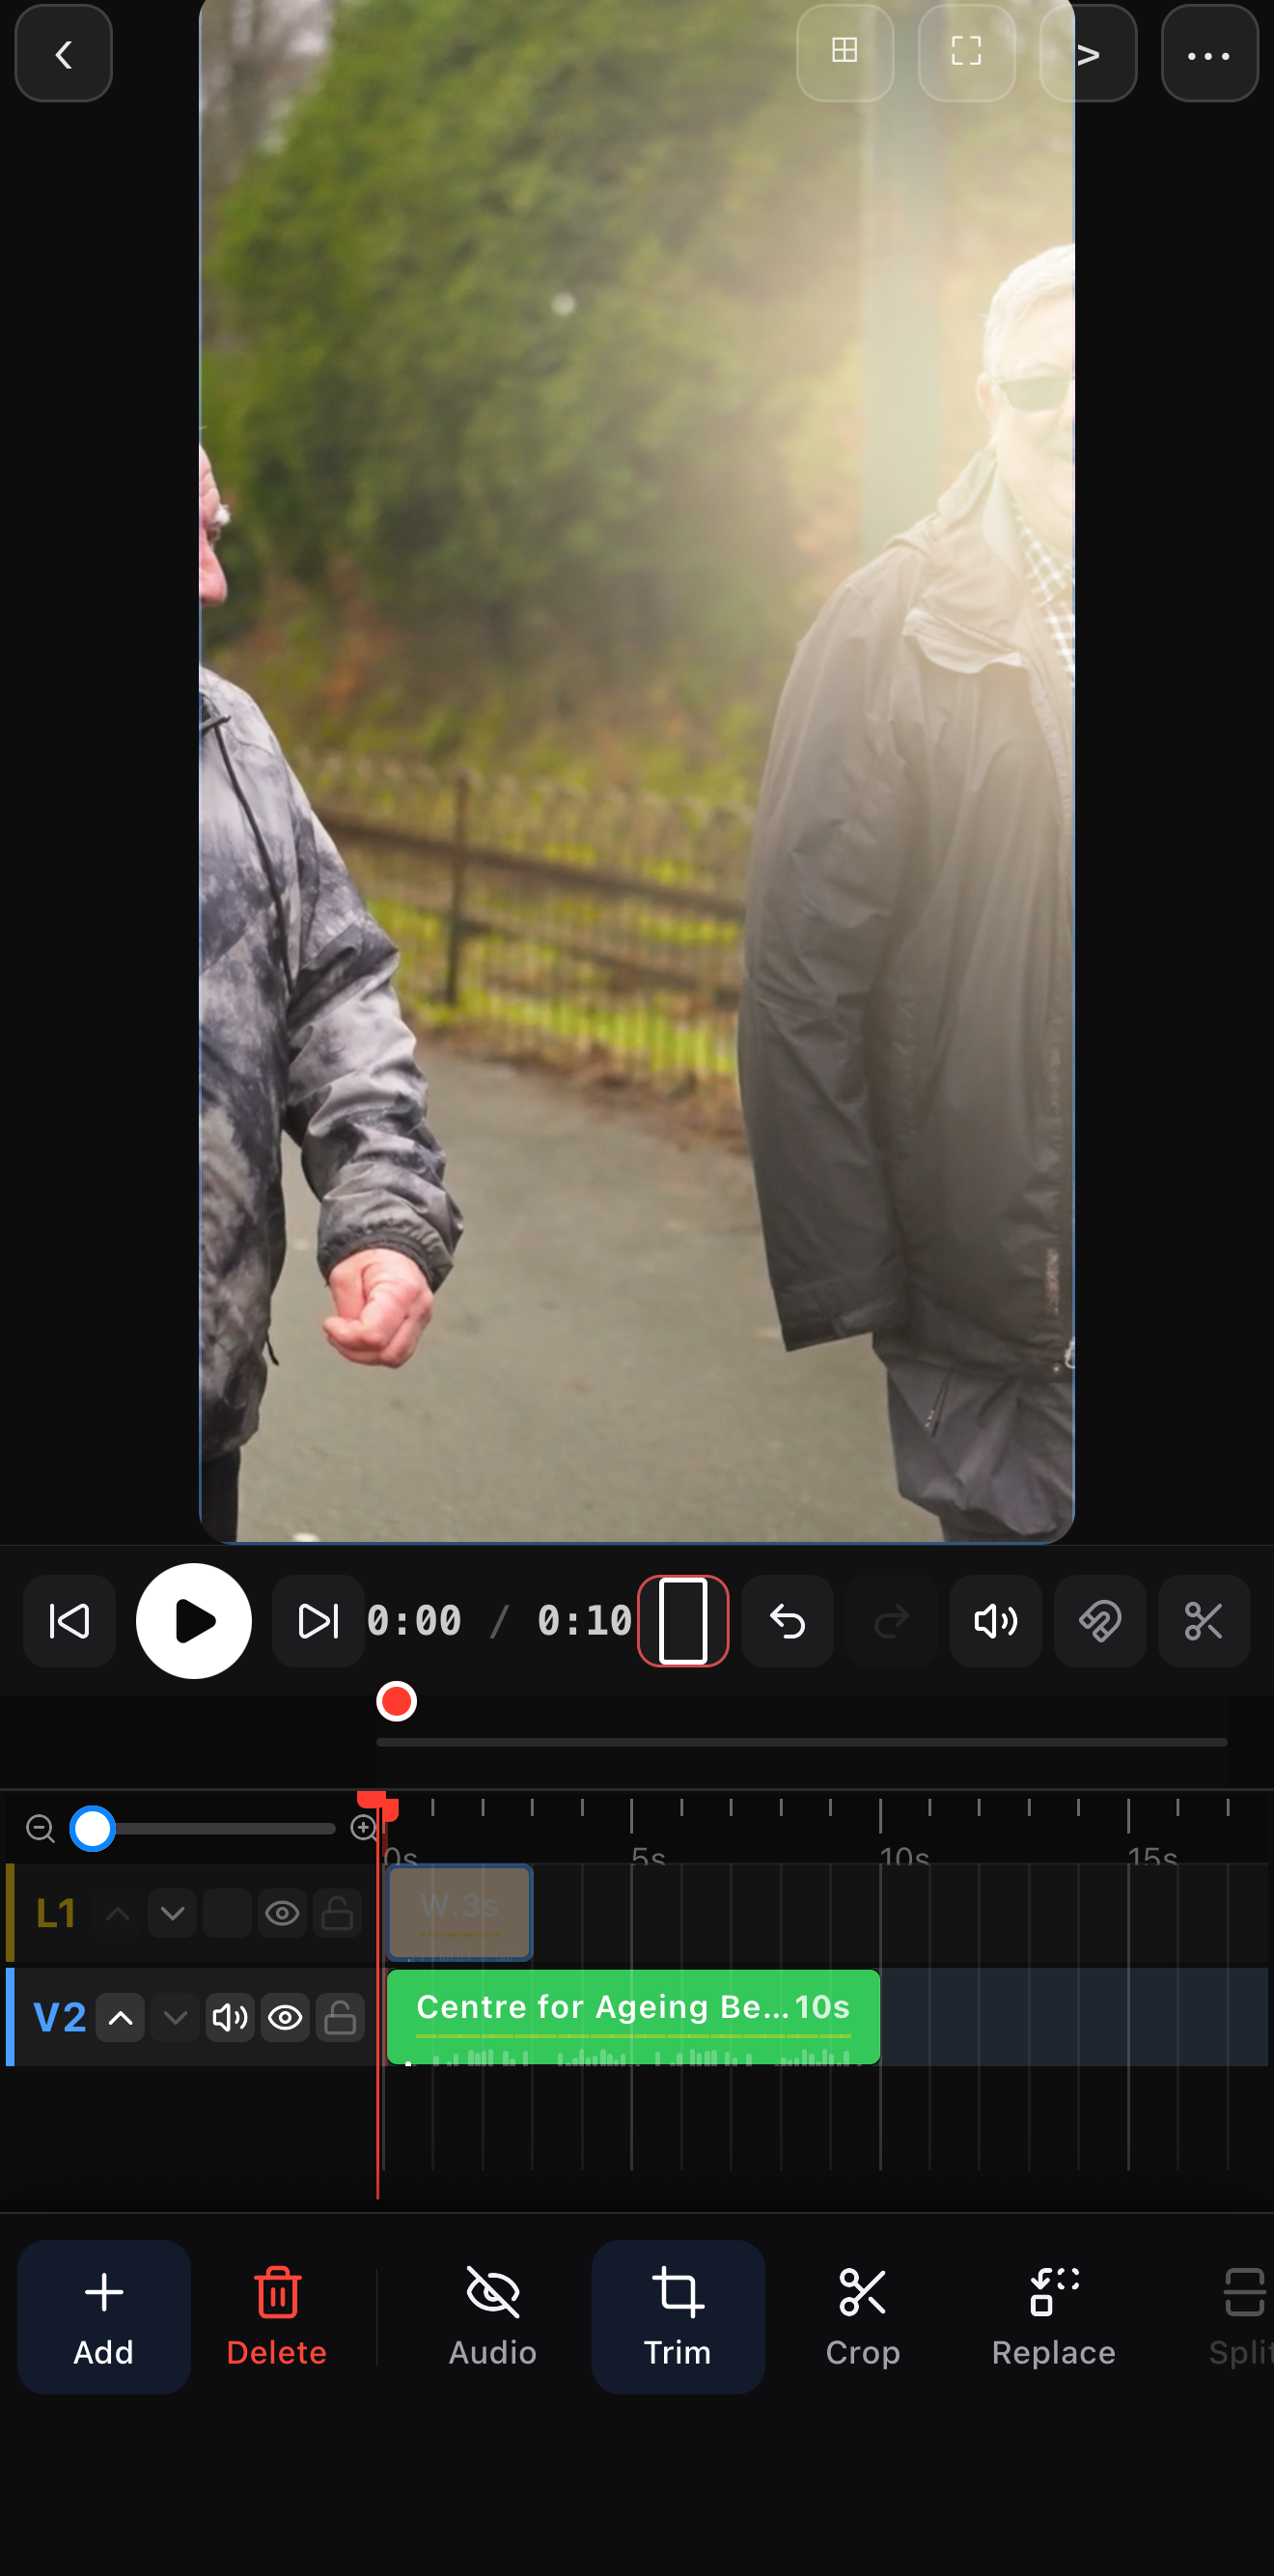 The leak’s black drops away — only the warm glow blends in
Overlay layer sits above the footage on the timeline
The leak’s black drops away — only the warm glow blends in
Overlay layer sits above the footage on the timeline
Step 2 — Refine it
- Opacity dials the strength down if it’s too much.
- Color grade the overlay to match your scene’s temperature.
- Mask it to keep the effect off faces or a specific area.
A few recipes
- Warm leak intro: light-leak clip → Screen → fade it out after the first second.
- Double exposure: a portrait base + a landscape on top → Screen or Overlay → mask the edges.
- Grunge texture: a paper/scratch texture → Overlay at low opacity → instant analog feel.
Where to go next
- Where overlays come from: generative backgrounds, shaders & light leaks.
- Confine an effect to a region: shapes, masks & overlays.
- Match the colors: color grading on your phone.
Stop stacking opaque rectangles. Pick the right blend mode and your overlays will live inside the shot — which is exactly where they should be.
Frequently asked questions
What does the Screen blend mode do?
Screen drops the black in a layer and keeps the bright parts, so it's perfect for glowing overlays — light leaks, lens flares, dust, sparks, smoke on black. Drop the overlay on a layer above your footage and set it to Screen.
What's the difference between Screen and Multiply?
Screen hides black and shows light (good for glows on a black background). Multiply hides white and shows dark (good for shadows, ink, and textures on a white background). Overlay does both — it boosts contrast and is great for grungy textures and color washes.
Why does my overlay look like it's sitting on top of the video?
It's probably in Normal mode. Switch it to Screen (for bright overlays) or Multiply (for dark ones) so the overlay blends into the footage instead of covering it as an opaque rectangle.
Composite like a pro
Screen, Multiply, Overlay and more — blend light leaks, dust and textures into your footage so they belong in the shot. Master the overlay.
Get ExpoCut Browse all guides