How to Add Picture-in-Picture (PiP) to a Video on Your Phone
Picture-in-picture is the format behind every reaction, every webcam-over-gameplay, every ‘here’s me explaining this screen.’ It’s just a small video layer on top — here’s how to do it cleanly.
Picture-in-picture is everywhere — reaction videos, gameplay with a facecam, tutorials with the presenter in a corner. The good news: it’s not a special mode, it’s just a smaller video layer sitting on top of a bigger one.
Step 1 — Stack two videos
Add your main (background) clip
The screen recording, the gameplay, or the scene you’re reacting to.
Add a second video on top
Your webcam or reaction clip lands on a layer above. New layers sit in front, so it’s already on top.
Scale it down and place it
Shrink the top layer and drag it into a corner where it won’t cover anything important.
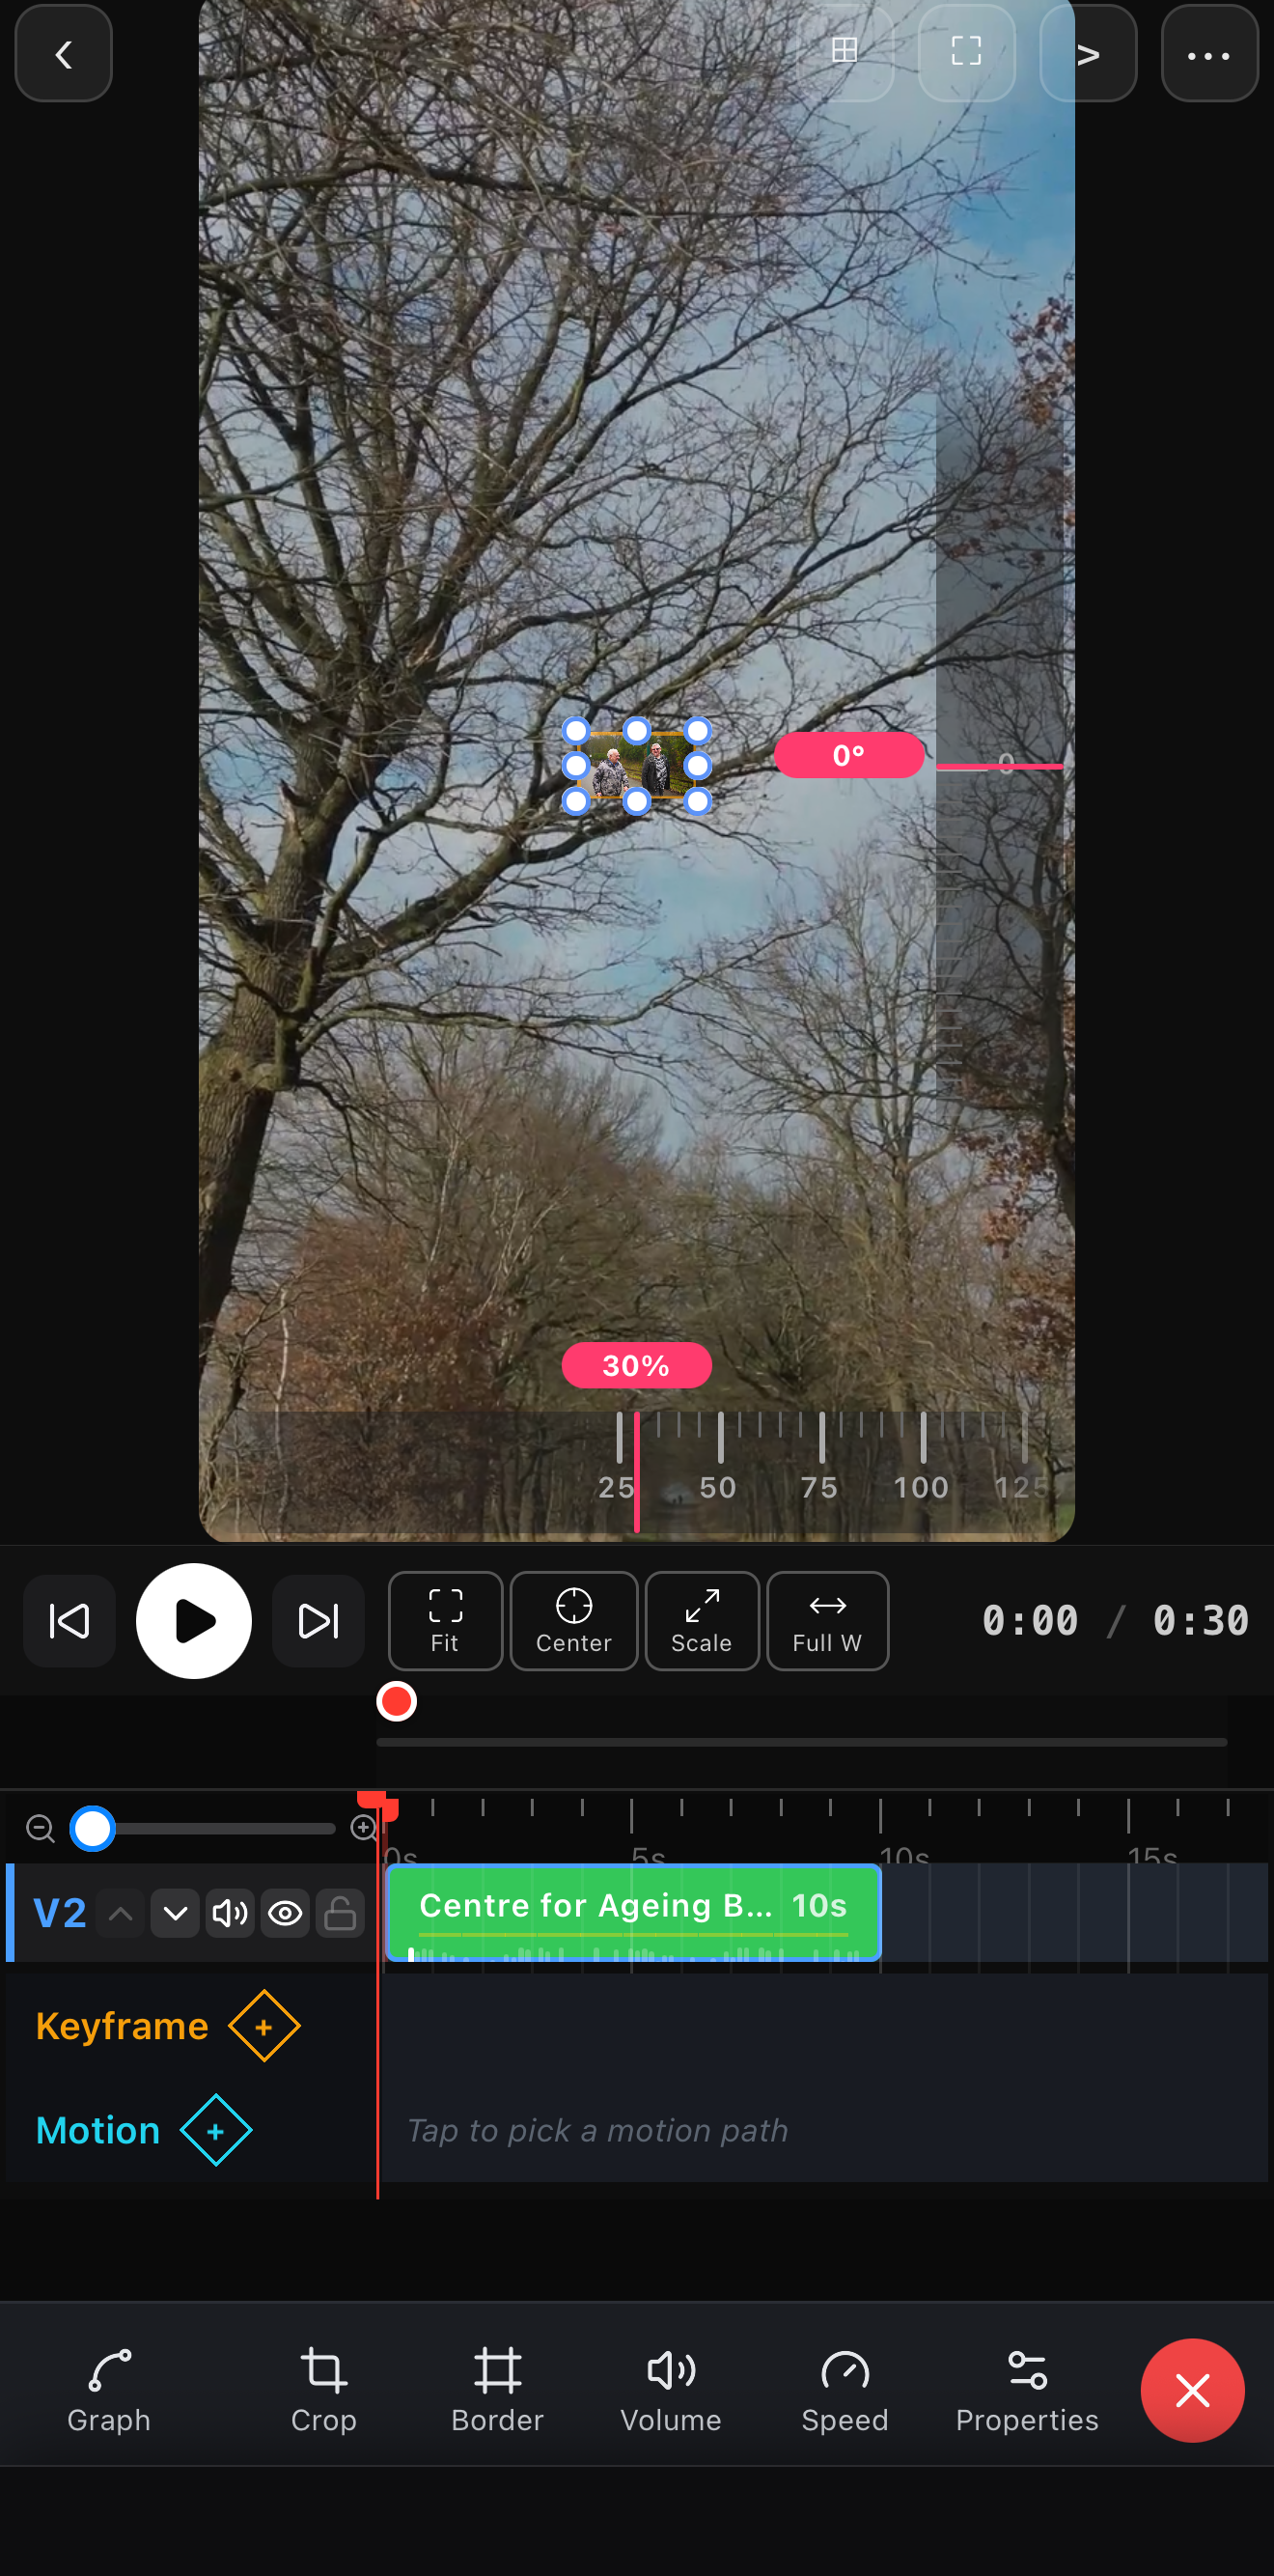 Drag the corner handles (or use Scale) to shrink the inset
The live scale readout — here 30%
Drag the corner handles (or use Scale) to shrink the inset
The live scale readout — here 30%
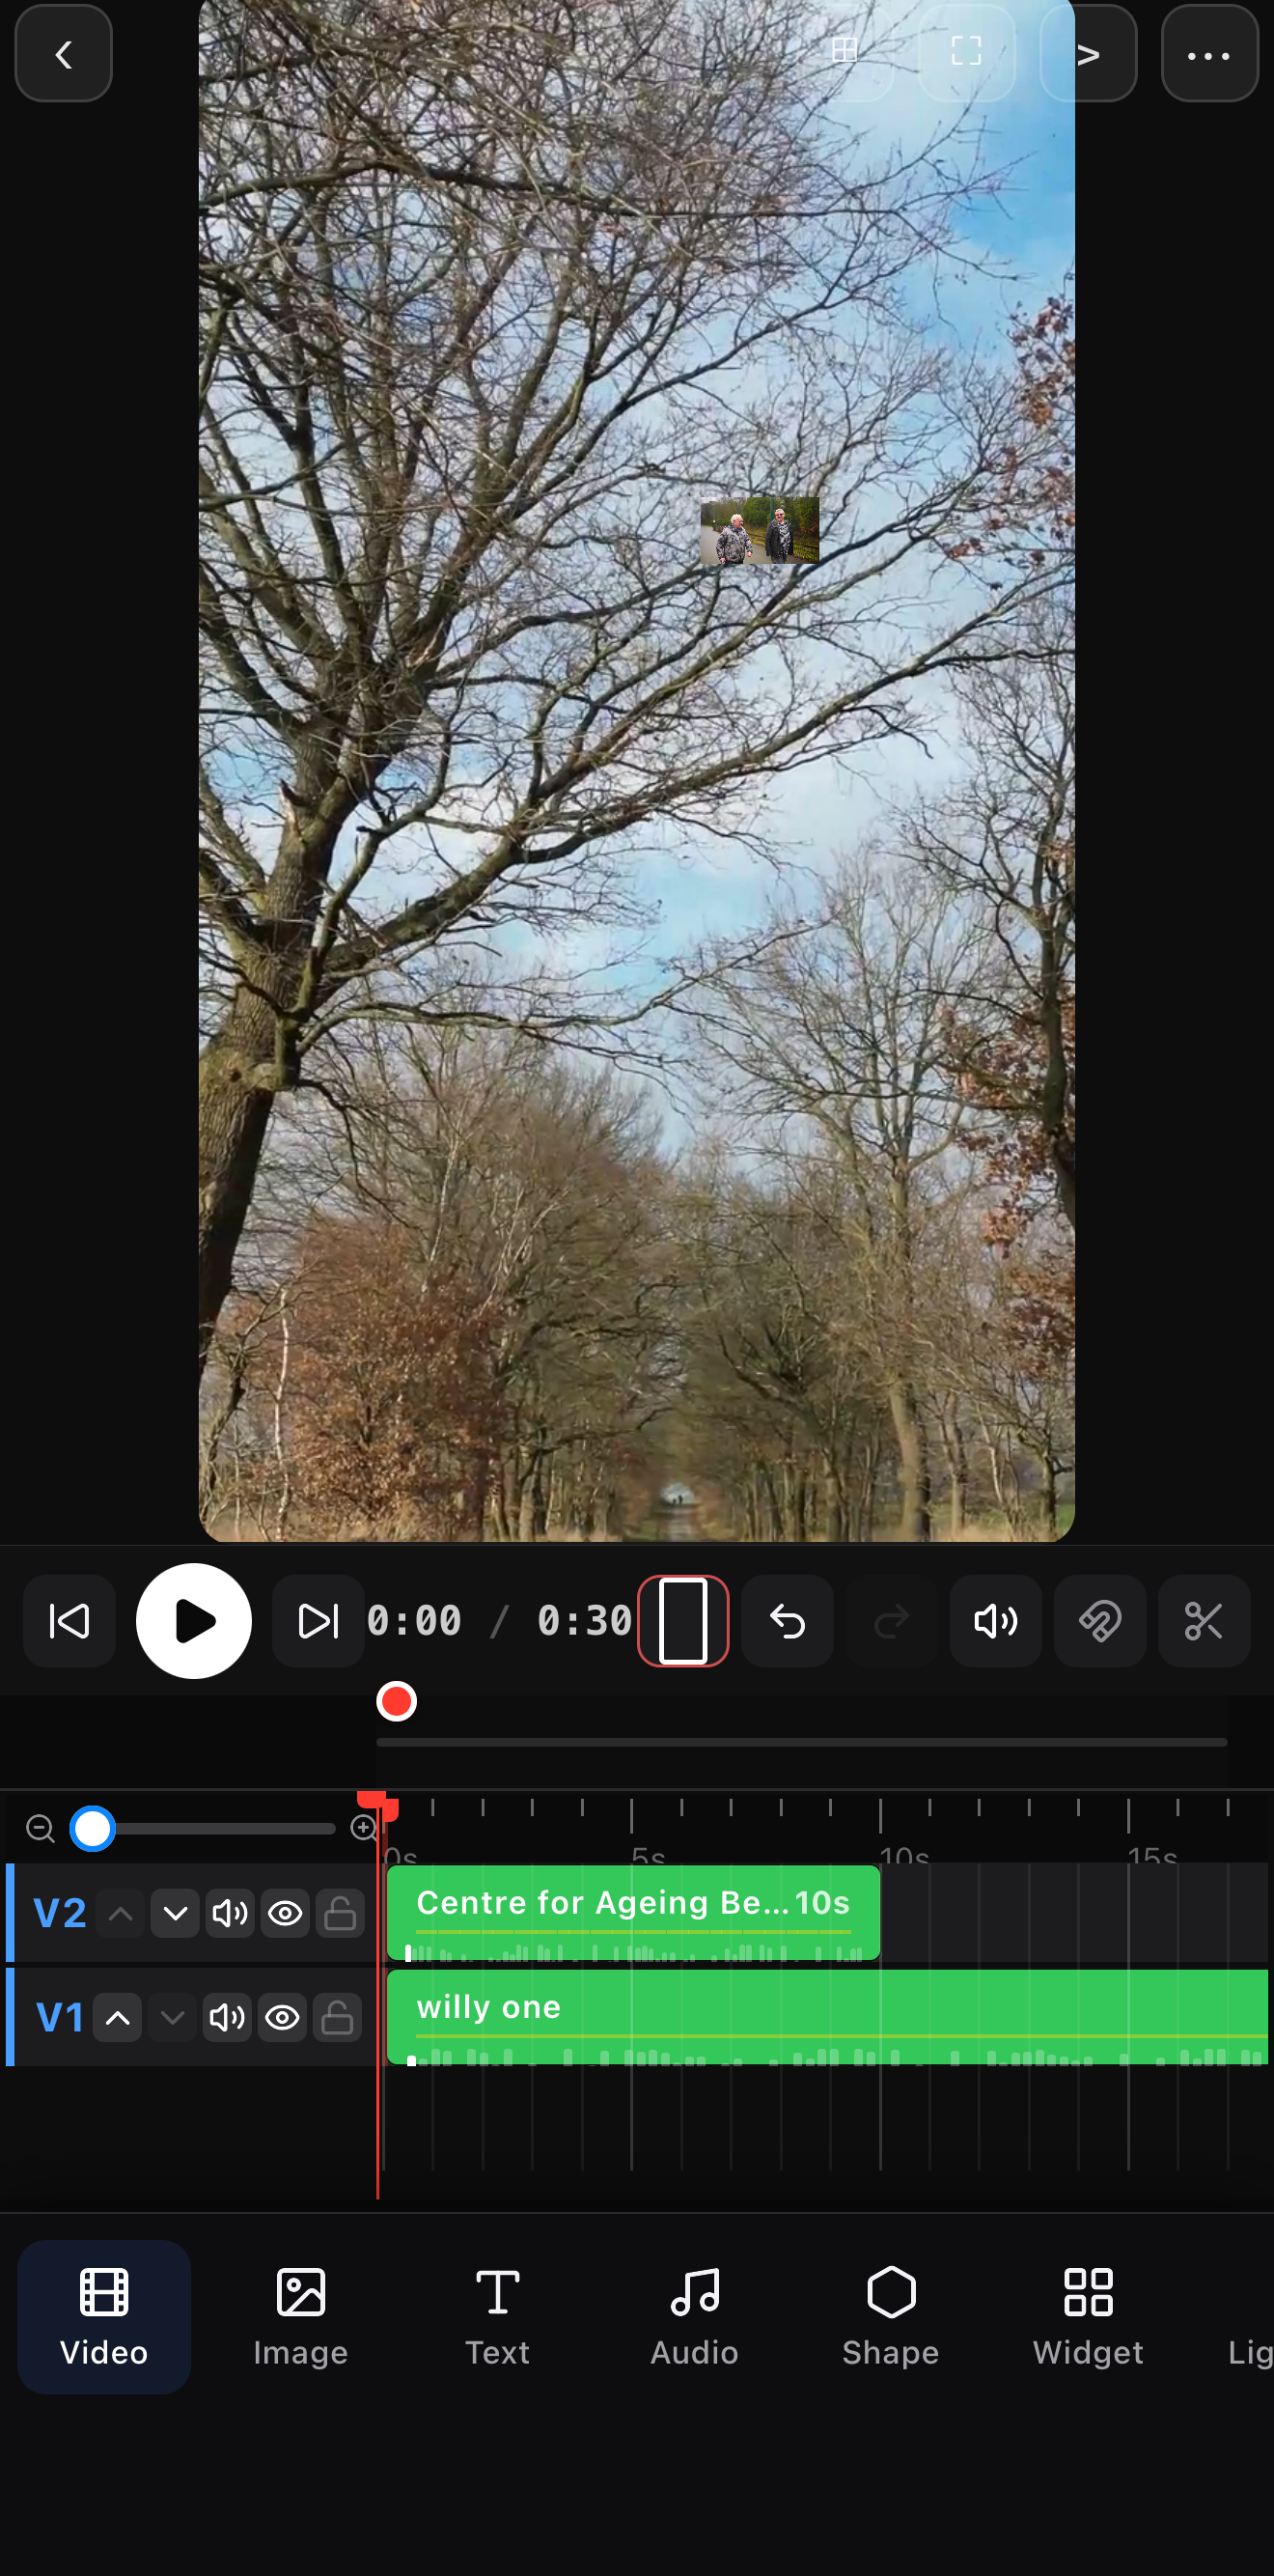 The inset, scaled down over the base clip
Inset (V2) rides its own track above the base (V1)
The inset, scaled down over the base clip
Inset (V2) rides its own track above the base (V1)
Step 2 — Make the PiP look intentional
A raw inset looks like a mistake; a styled one looks designed:
- Round the corners with a mask, or go full circle with an ellipse for a “bubble cam.”
- Add a border or soft glow so it separates cleanly from the background.
- Pick a consistent corner and keep it there the whole video.
Don’t cover the action. On a screen recording, put the PiP over dead space (a margin, the sky, a blank corner) — never over the thing you’re pointing at.
Step 3 — Animate it in (optional)
A PiP that slides or pops in feels more produced. Keyframe it scaling up from the corner, or have it appear only when you start talking and tuck away when you don’t.
Common PiP layouts
| Use | Setup |
|---|---|
| Reaction | Source big, you small in a corner (or a circle cam) |
| Tutorial | Screen recording base, presenter inset |
| Commentary | Gameplay base, facecam bottom-corner |
| Explainer | A photo/map base, talking head inset |
Where to go next
- Round or shape the inset: shapes, masks & overlays.
- Multiple insets / panels: split screen & collage.
- Animate the bubble: keyframes & motion paths.
One layer, scaled and placed — that’s all picture-in-picture is. Style it, keep it consistent, and your reactions and tutorials instantly look the part.
Frequently asked questions
How do I put a small video over a big one?
Add your main clip, then add a second video on a layer above it, scale that layer down, and drag it into a corner. The smaller video plays on top of the larger one — that's picture-in-picture. Round the corners or add a border to make it pop.
How do I make a webcam-over-screen-recording video?
Put the screen recording as your base layer and your webcam clip on top as a small PiP in a corner. Position it where it won't cover anything important, and it reads as a classic commentary/tutorial layout.
Can I make the PiP a circle?
Yes — mask the PiP layer with an ellipse for a round 'bubble cam,' a common reaction look. You can also add a border or soft glow around it.
Two videos, one on top
Reactions, webcam-over-gameplay, tutorials — picture-in-picture is a small layer away. Scale, place, round the corners, done.
Get ExpoCut Browse all guides