How to Blur Part of a Video (Faces, Plates & Backgrounds)
Sometimes you need to hide something — a face, a plate, a brand — and sometimes you want to blur a background for that ‘real camera’ depth. Same tool, two jobs. Here’s how to blur exactly the part you want.
Quick answer
To hide a face or plate: select the clip, tap Edit ▸ FX, open the Filters tab, tap + Add, swipe to the Custom tab and pick Censor — a pixelated (or blurred) rectangle you position with Center X / Y, size with Width / Height and soften with Feather; keyframe the centre to follow a moving subject. To blur the background and keep the person sharp, tap Subject Blur on the clip’s toolbar (an Elite tool). Box, Gaussian, Lens, Path, Surface and Radial blurs sit in the same Custom list.
- Subject Blur and Remove BG are on the clip toolbar; every other blur is under FX ▸ Filters ▸ Add ▸ Custom.
- For privacy, use a mosaic with a large Cell Size and make the region bigger than the subject.
- A blur fill replaces black bars with a blurred, zoomed copy of the clip.
Blur has two jobs: hide something you don’t want seen, and add depth that makes footage feel cinematic. The trick to both is the same — confine the blur to exactly the region you mean, and leave the rest crisp. ExpoCut has a 35-filter blur & bokeh suite for the first job and a one-tap Subject Blur for the second.
Where the blur tools live
There are two entry points, and it helps to know which is which:
- Subject Blur and Remove BG sit on the clip’s own toolbar — the row that appears when you tap a clip. They’re the AI tools: they find the person and work around them.
- Every other blur — Gaussian, Box, Lens, Path, Surface, Radial, Directional, Frosted Glass, Pixelate, Censor and the rest — lives under Edit ▸ FX ▸ Filters ▸ Add ▸ Custom. These are shader filters you stack on the clip and tune with sliders.
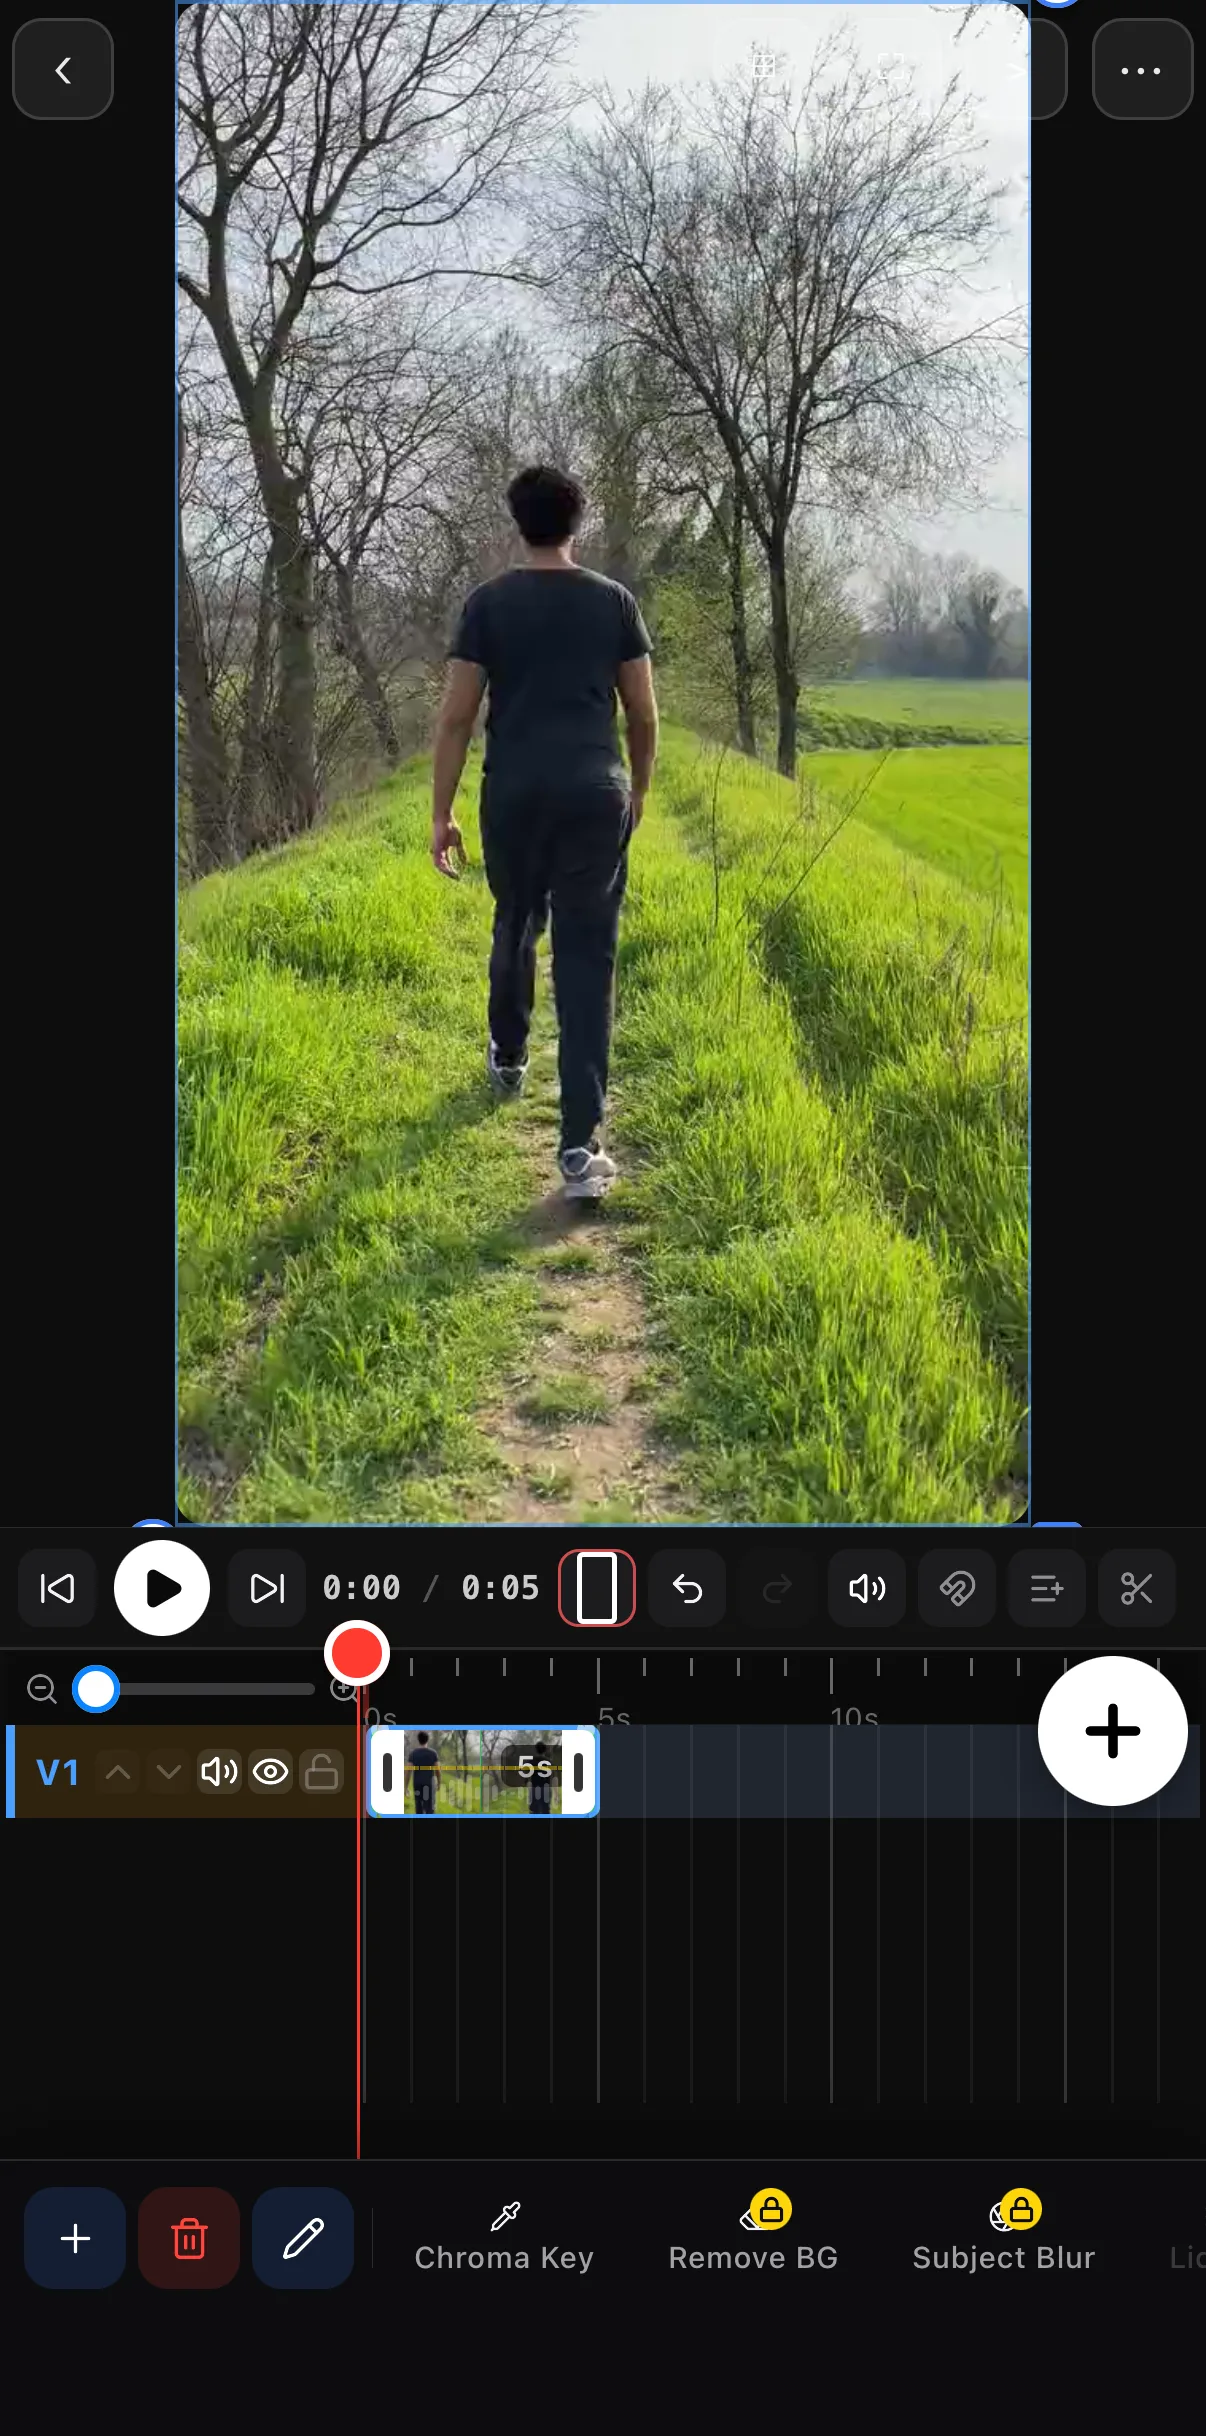 Remove BG
Subject Blur
Remove BG
Subject Blur
Step 1 — Censor a moving region (face, plate, logo)
Open the filter catalog
Tap the clip, tap the pinned pencil Edit button, then FX on the transform toolbar. In the FX sheet switch to the Filters tab and tap + Add.
Pick Censor
The catalog opens on Looks; swipe the tabs to Custom — that’s the full filter list, every tile rendered on your own frame. Scroll to Censor (in the blur rows, next to Clarity, Dehaze and Channel Blur) and tap it.
Place and size it
Censor is a rectangle you position with Center X / Center Y, size with Width / Height, and soften with Feather. Pixelate switches between a mosaic and a smooth blur; Cell Size sets how coarse the mosaic is. Up to three regions per filter.
Keyframe it to follow
As the subject moves, tap Keyframes on the clip toolbar and set Center X / Y at a few points in time so the censor tracks the face. For anything more than a slow drift, use a mask with tracking instead.
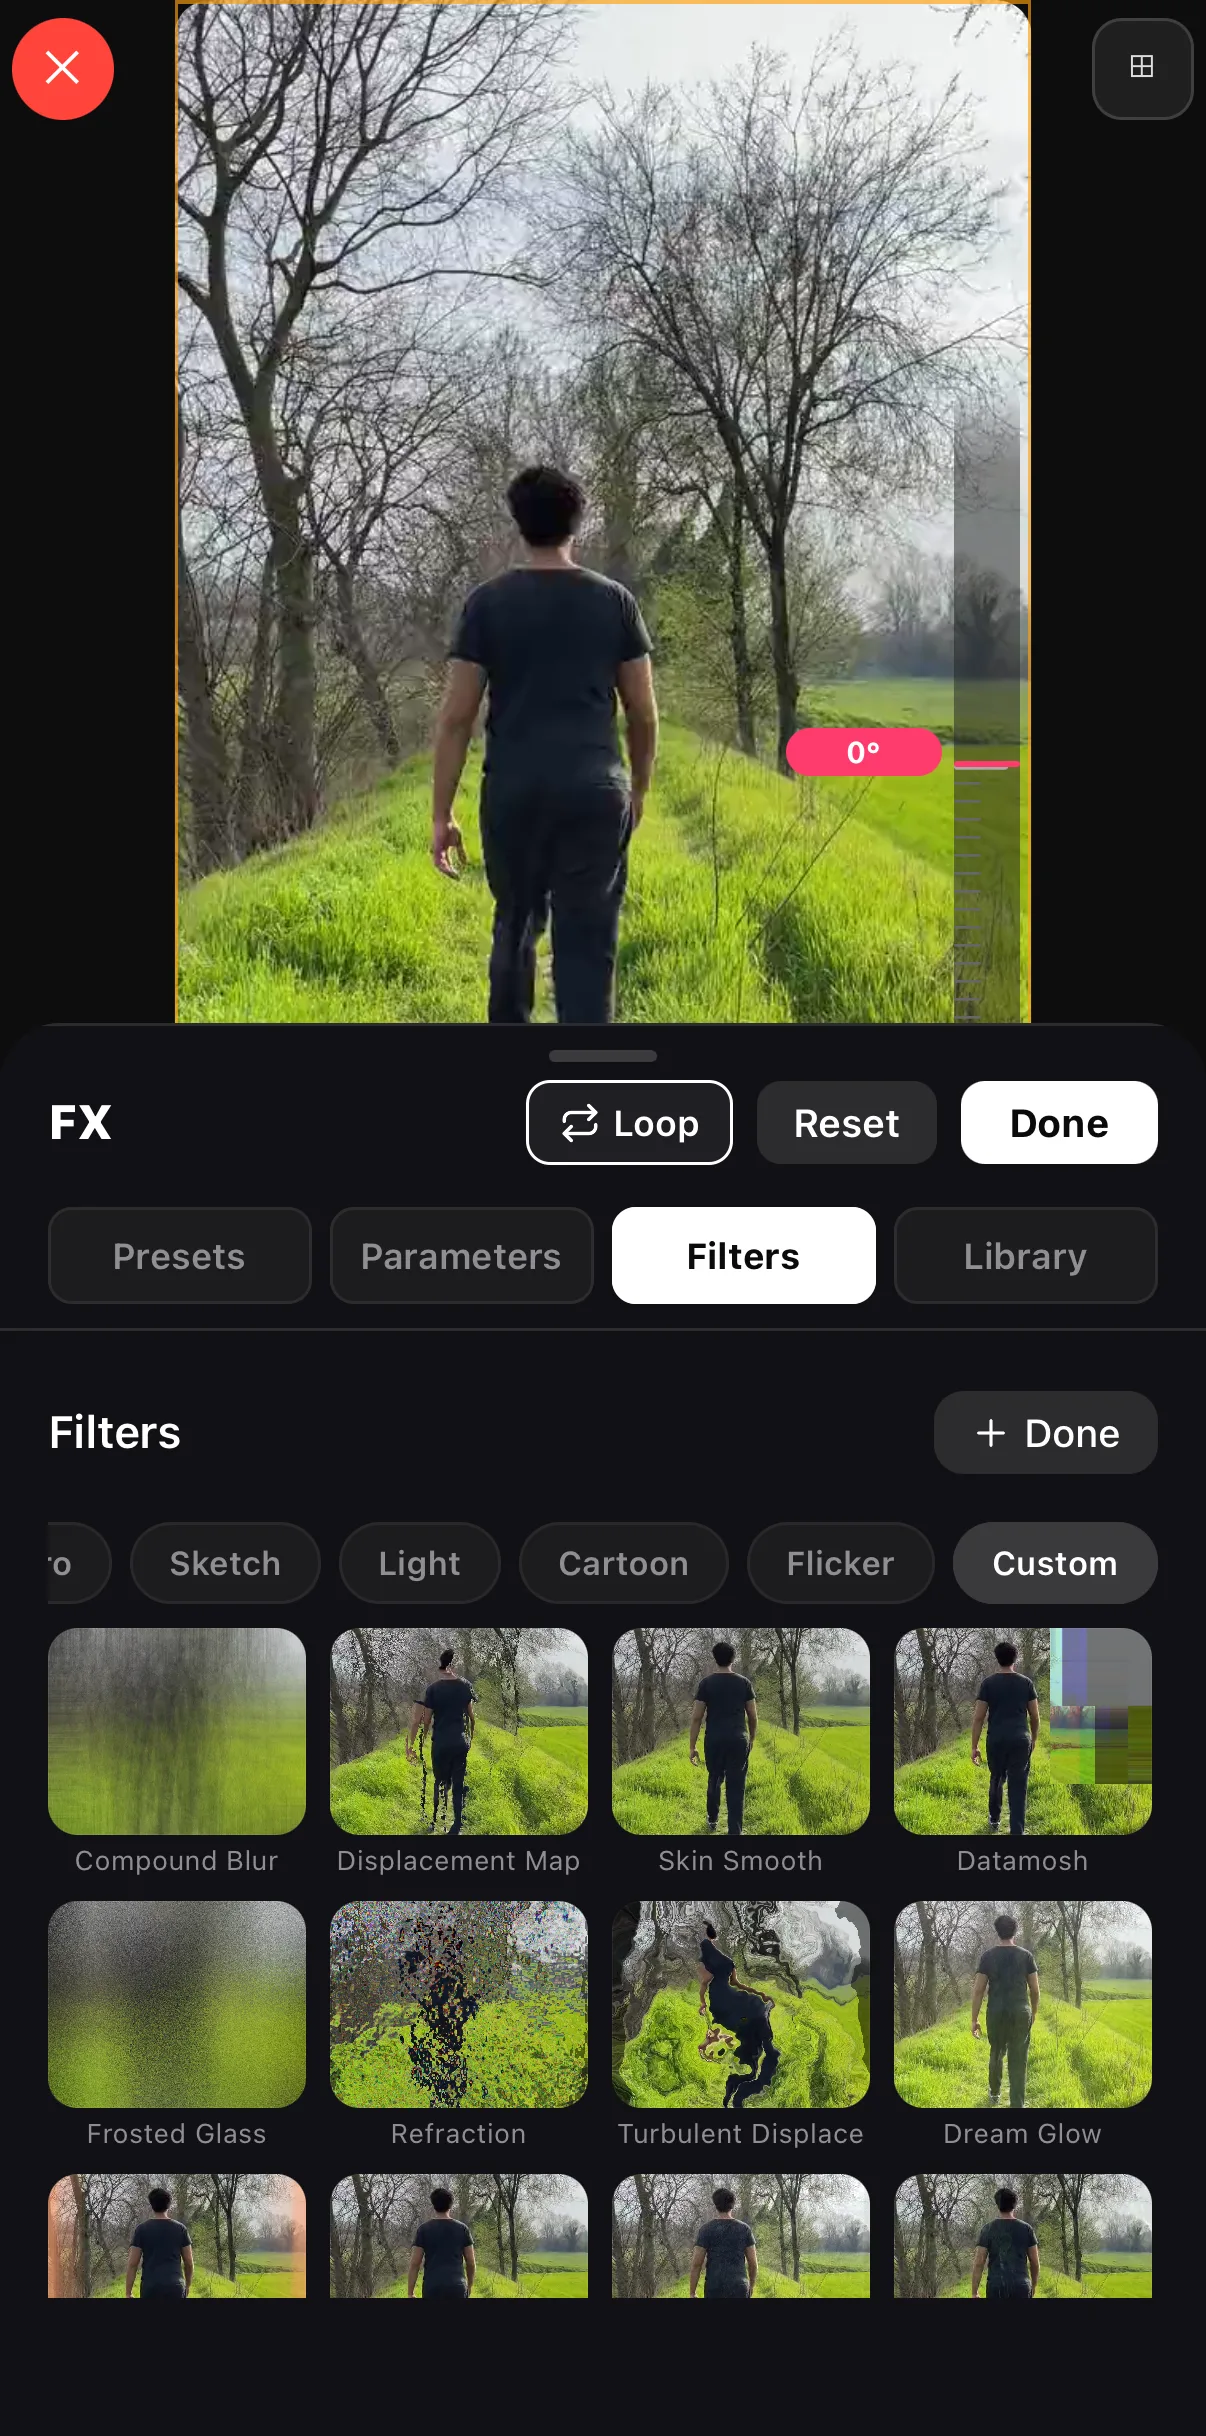 Presets · Parameters · Filters · Library
Custom = the full list
Every tile is your frame
Presets · Parameters · Filters · Library
Custom = the full list
Every tile is your frame
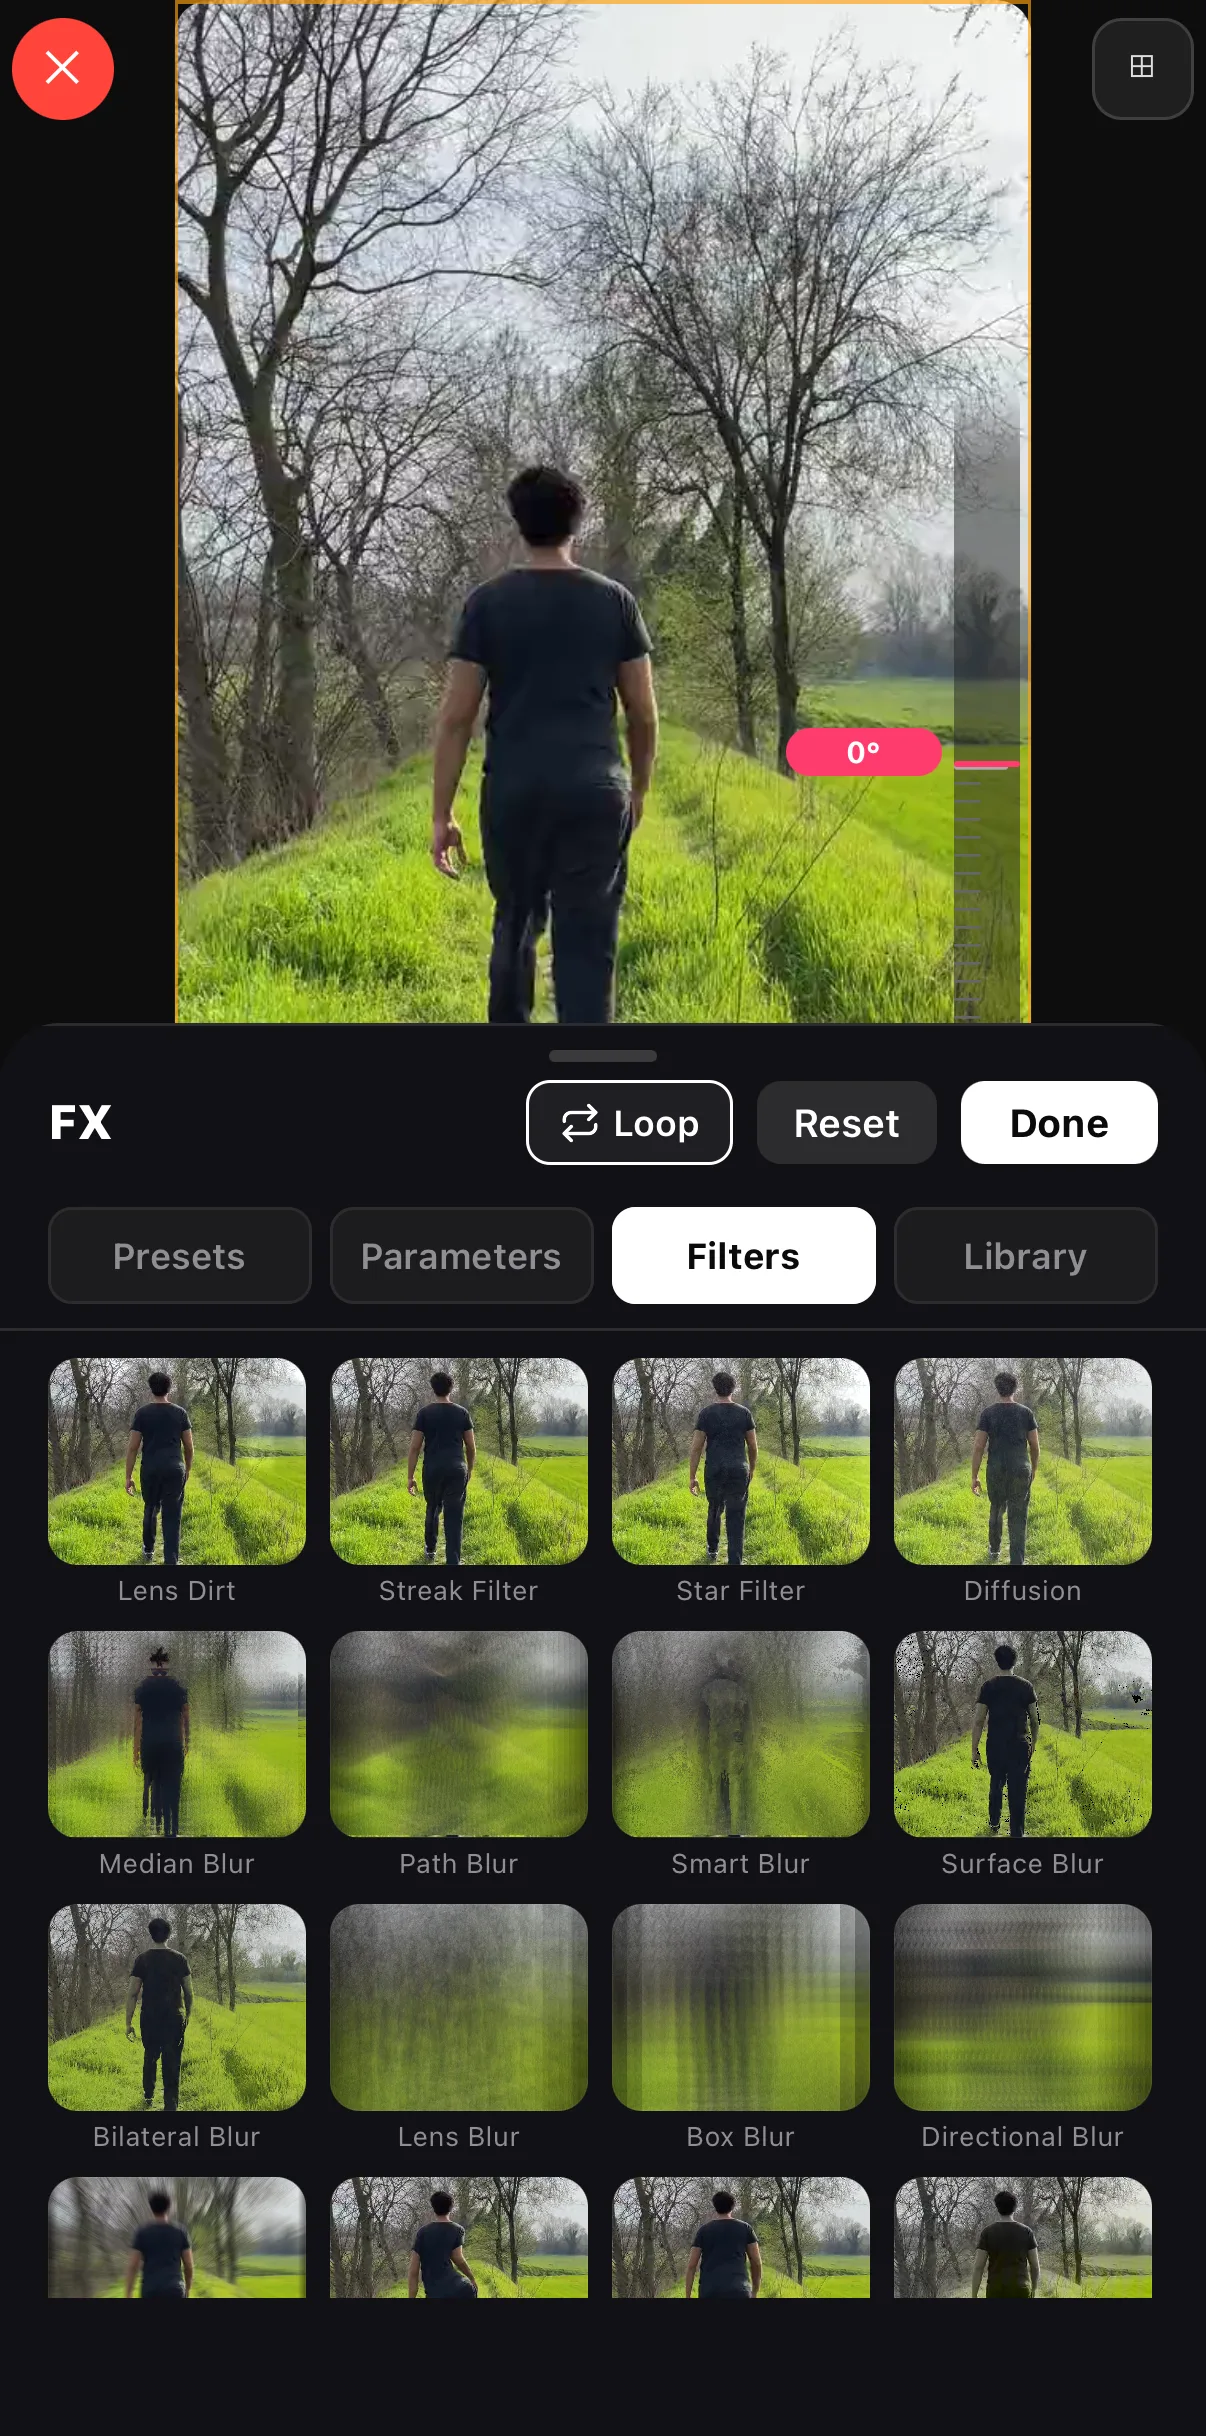 The blur & bokeh suite
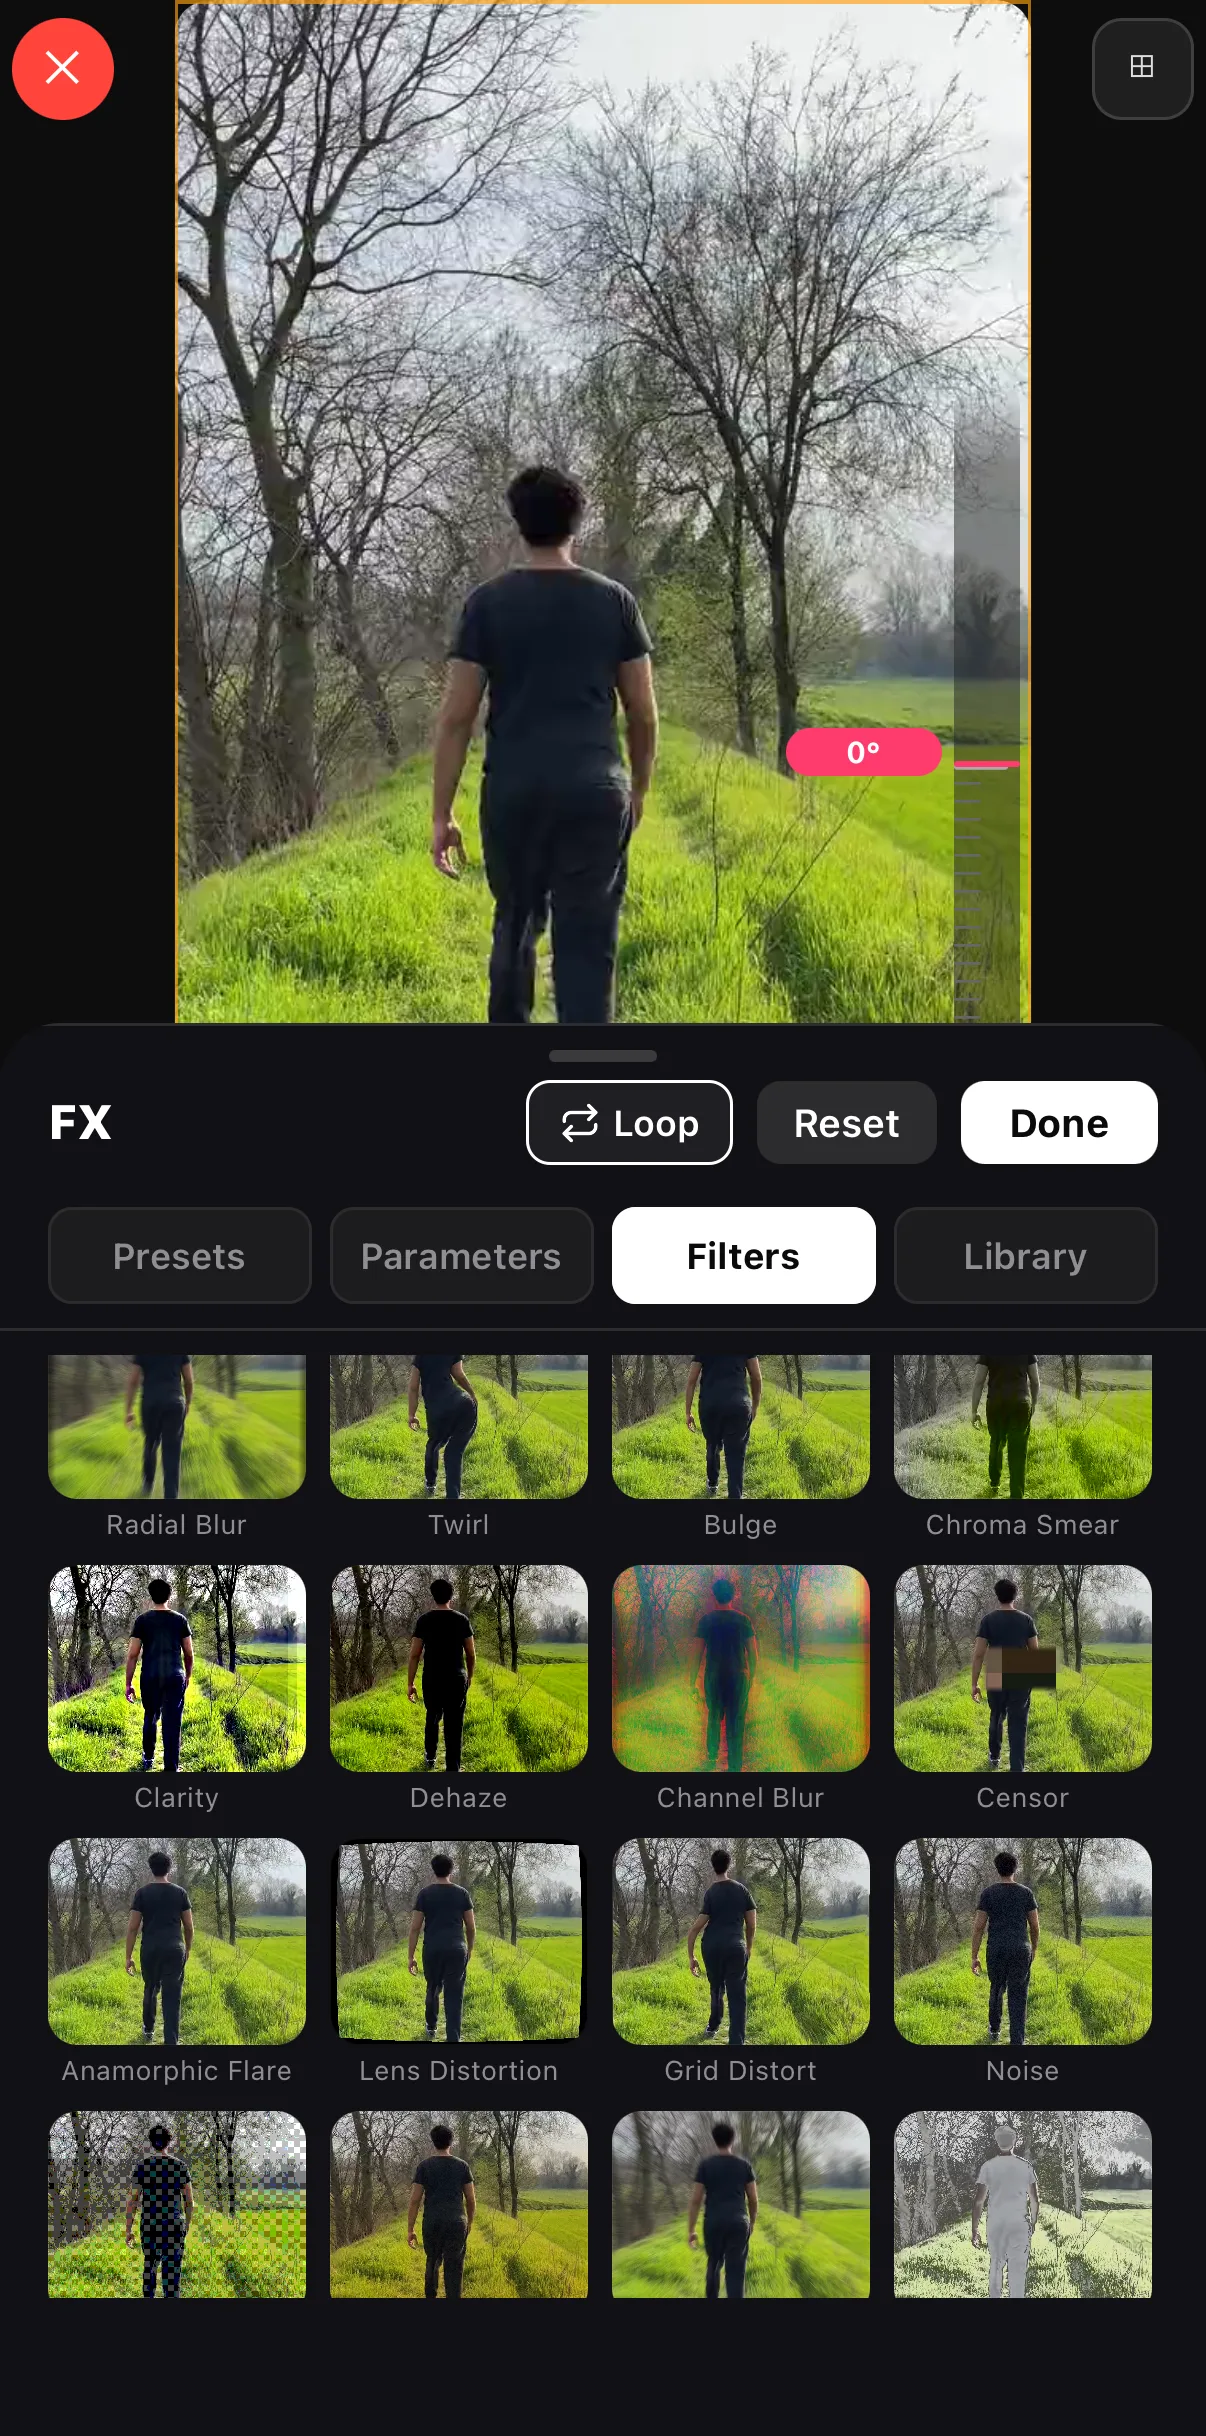 Censor
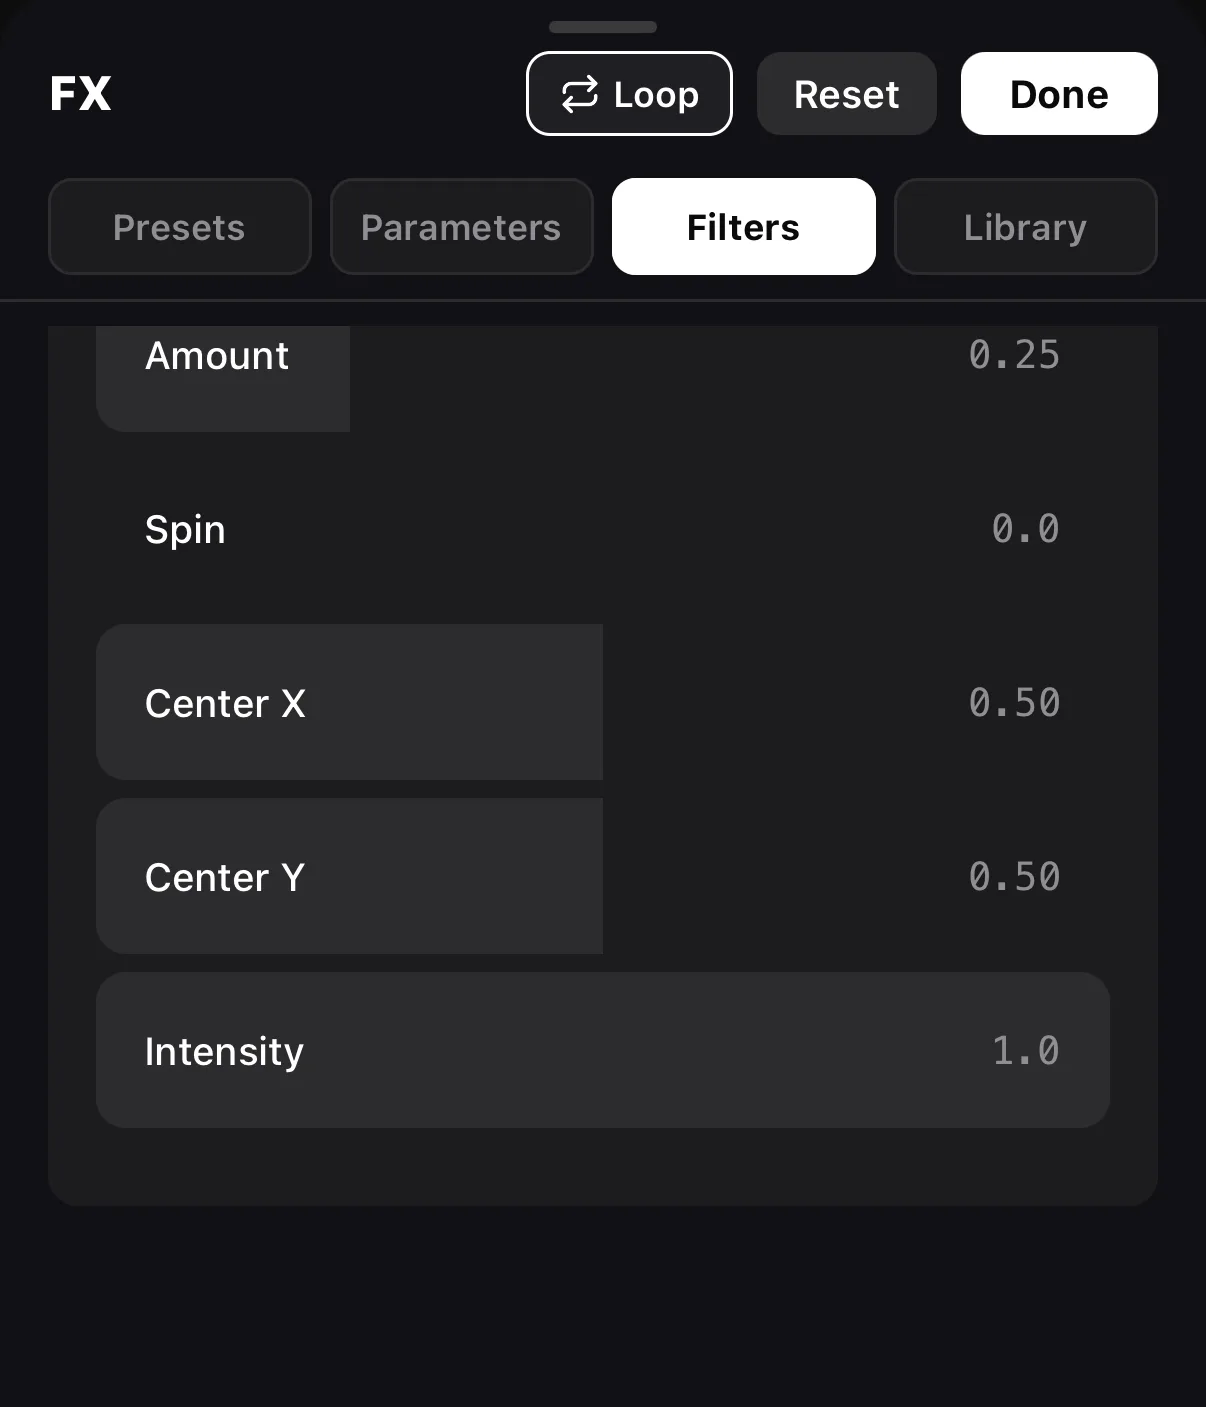 Drag a slider — the canvas updates live
Intensity blends it back
Drag a slider — the canvas updates live
Intensity blends it back
Blur generously for privacy. If you’re hiding an identity or a plate, make the region a little larger than the subject and strong enough that it can’t be reconstructed — a mosaic with a big Cell Size is safer than a soft blur.
Step 2 — Blur the background for depth
To fake a shallow-depth “real camera” look, tap Subject Blur on the clip toolbar. It builds a matte of the person (a one-time on-device model download) and blurs everything behind them — the same separation a fast lens gives you, in one tap, with a strength slider.
Doing it by hand works too:
- Remove the background from your subject (or duplicate the clip).
- Put a blurred copy of the scene behind (Edit ▸ FX ▸ Filters ▸ Add ▸ Box Blur).
- Keep the sharp subject on top.
Step 3 — Blur-fill the bars
Got a 16:9 clip in a 9:16 frame? Instead of black bars, use a blur fill: a blurred, zoomed copy of the clip fills the empty space, so the frame is full and the focus stays on the sharp centre. It’s the standard “reframe landscape for vertical” move.
Where to go next
- Mask the region precisely: shapes, masks & overlays.
- Track the blur to motion: keyframes & motion paths.
- Separate subject from background: remove the background.
- The whole FX toolkit: video effects guide.
Pick the region, blur it, track it — privacy when you need to hide something, depth when you want to show off.
Frequently asked questions
How do I blur a face in a video?
Select the clip, tap Edit, then FX ▸ Filters ▸ Add ▸ Custom and pick Censor — a pixelated or blurred rectangle you position with Center X / Y, size with Width / Height and soften with Feather. Keyframe the centre to follow the face as it moves. The blur stays on the face and the rest of the frame stays sharp.
How do I blur the background but keep the subject sharp?
Tap Subject Blur on the clip's toolbar (an Elite tool): it finds the person and blurs everything behind them, like a fast lens. Or do it by hand — remove the background from a copy of the clip, blur the copy underneath, and keep the sharp subject on top only.
How do I fill the black bars on a video?
Use a blur fill: a blurred, zoomed copy of your clip fills the empty space behind it, so a 16:9 clip in a 9:16 frame has a soft blurred backdrop instead of black bars.
Related guides
Blur exactly what you mean to
Hide a face or plate, blur a background for depth, or fill the bars — confine a blur to any region and keep the rest sharp.
Get ExpoCut Browse all guides