How to Add Captions & Subtitles to a Video (Automatically)
85% of social video is watched on mute. Captions aren’t optional anymore — they’re how most people read your video. Here’s how to add them automatically on your phone, on-device, in a couple of taps.
Most people watch your video without sound. Captions are how they read it — and on-screen text also boosts watch-time and accessibility. The good news: you don’t type a word. ExpoCut transcribes the speech on-device and drops in timed captions you can restyle in seconds.
Why captions matter (more than you think)
- The sound is off. Feeds autoplay muted; captions are the difference between a scroll and a watch.
- Retention. On-screen words give the eye something to track, which keeps viewers in the video longer.
- Accessibility & reach. Captions open your video to deaf and hard-of-hearing viewers and to anyone in a quiet room.
- Repurposing. A transcript is a free script you can reuse for a caption, a blog post, or a carousel.
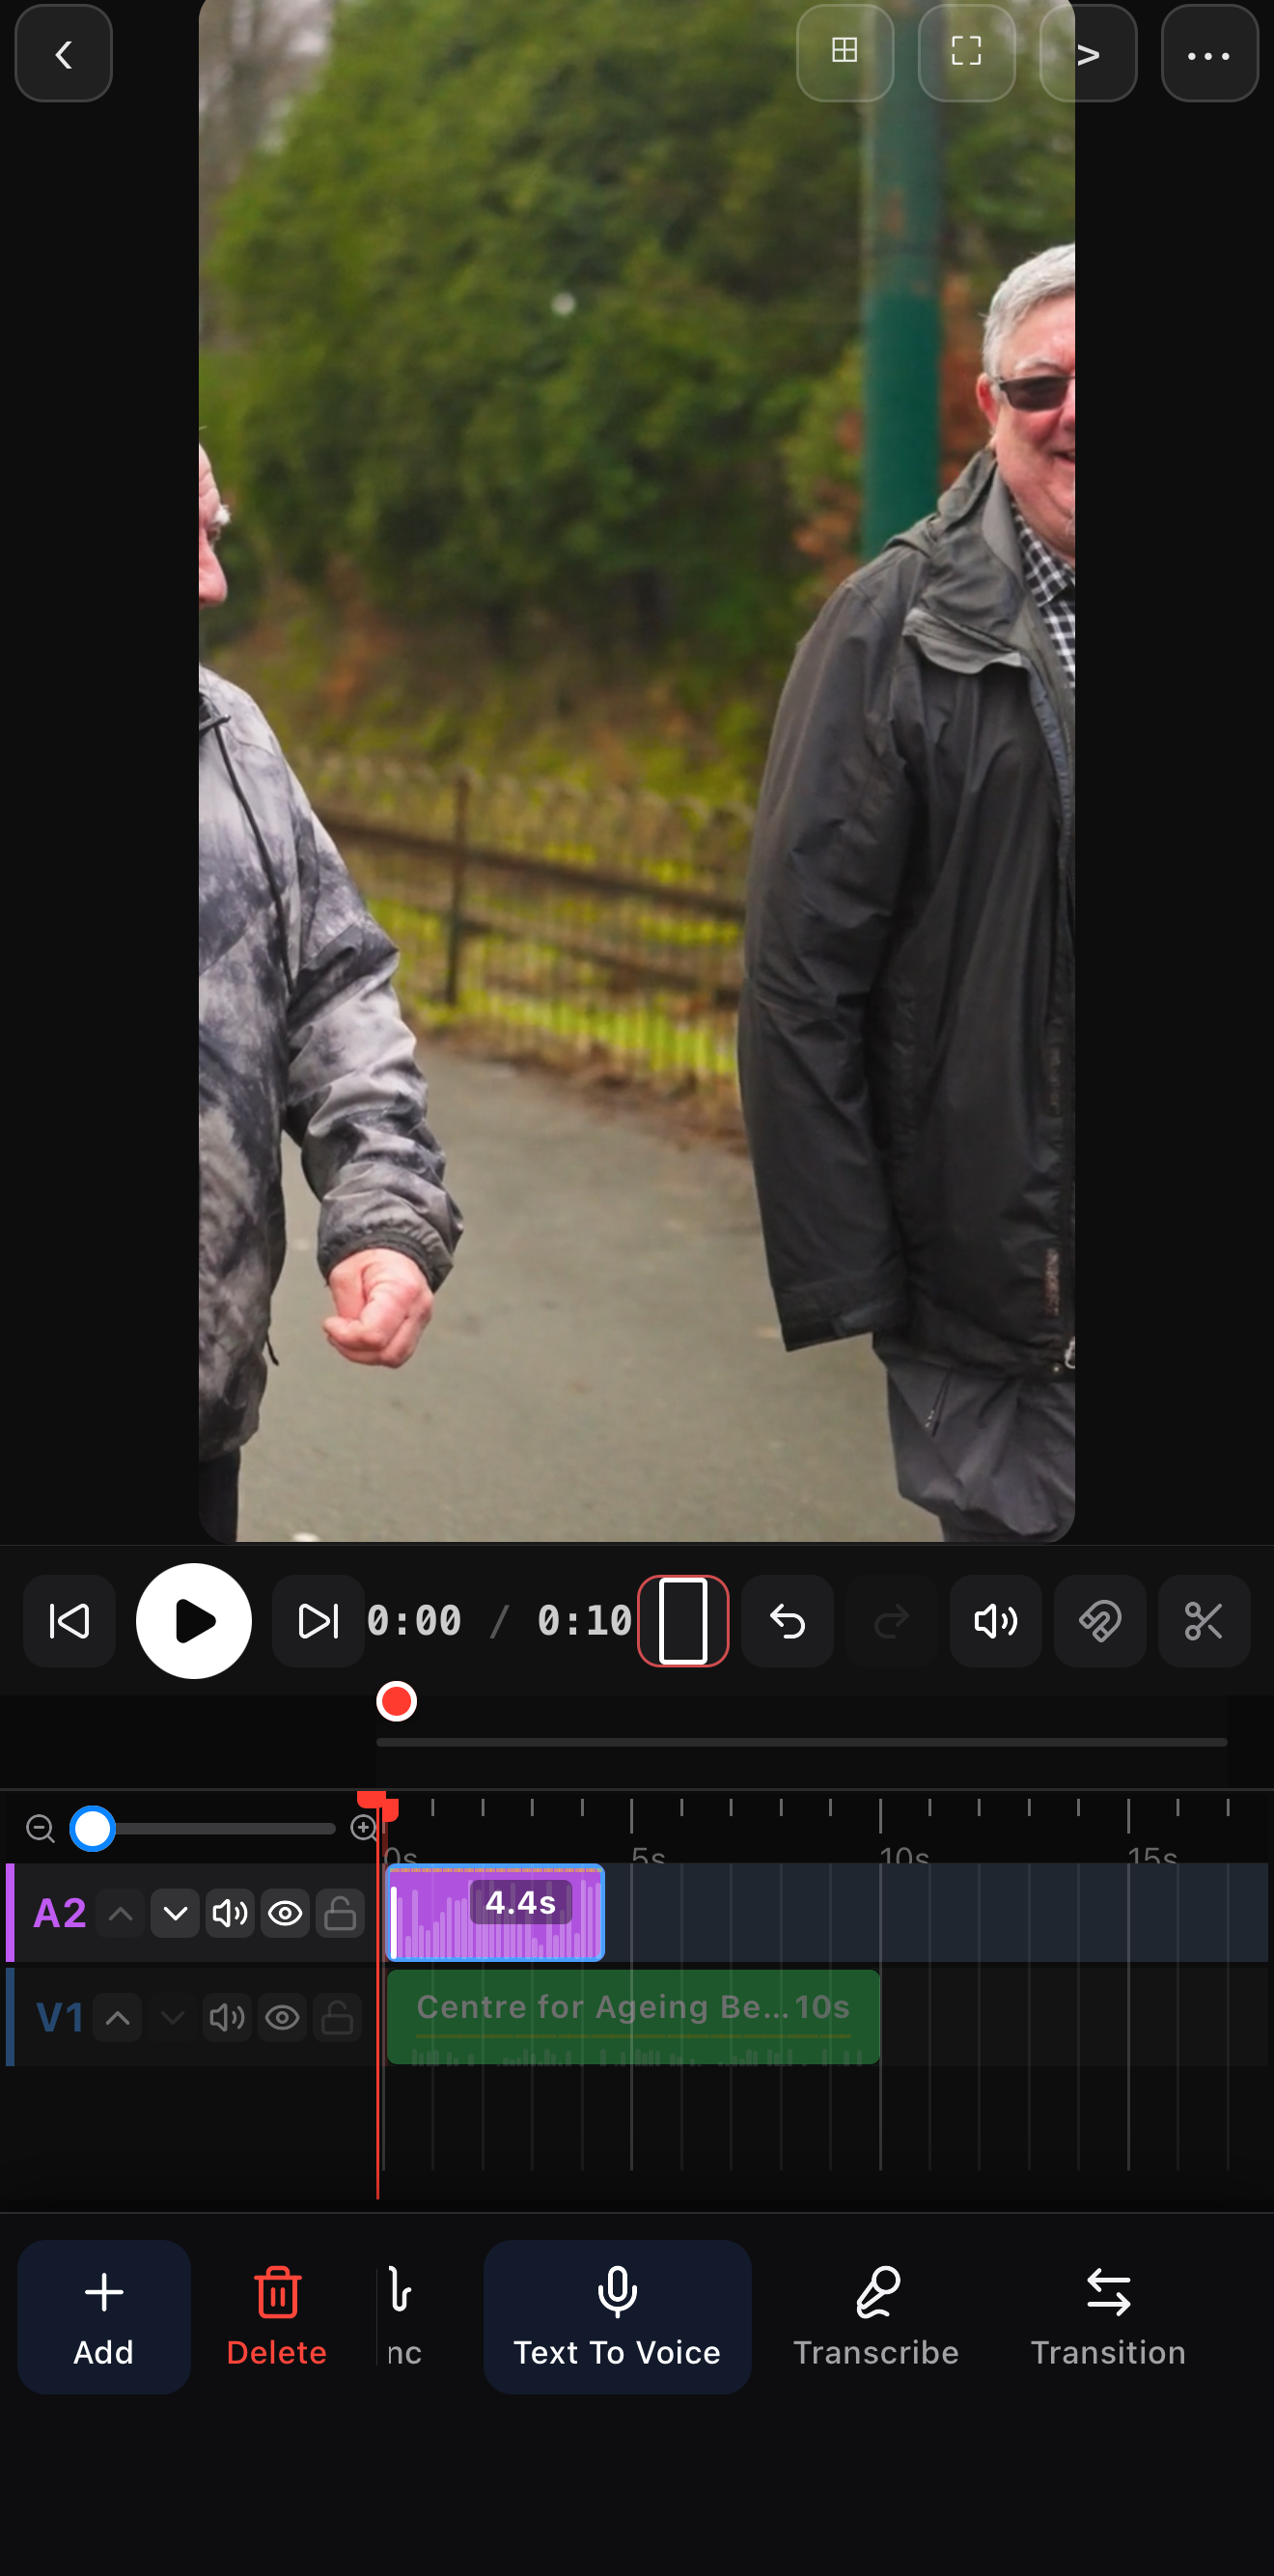
Step 1 — Add the clip with speech
Drop your video or voiceover on the timeline
Any clip with talking works — a talking-head, a vlog, or a voiceover track. Clear audio gives the best transcription.
Select the clip
Tap it on the timeline so its tools appear.
Tap Transcribe
ExpoCut listens to the audio and builds a timed caption layer — every line appears at the moment it’s spoken. It runs on the phone, so nothing uploads.
 Your speech clip
Transcribe
Your speech clip
Transcribe
It’s all on-device. Transcription happens locally — your audio never leaves the phone. That means it works offline, and private recordings stay private.
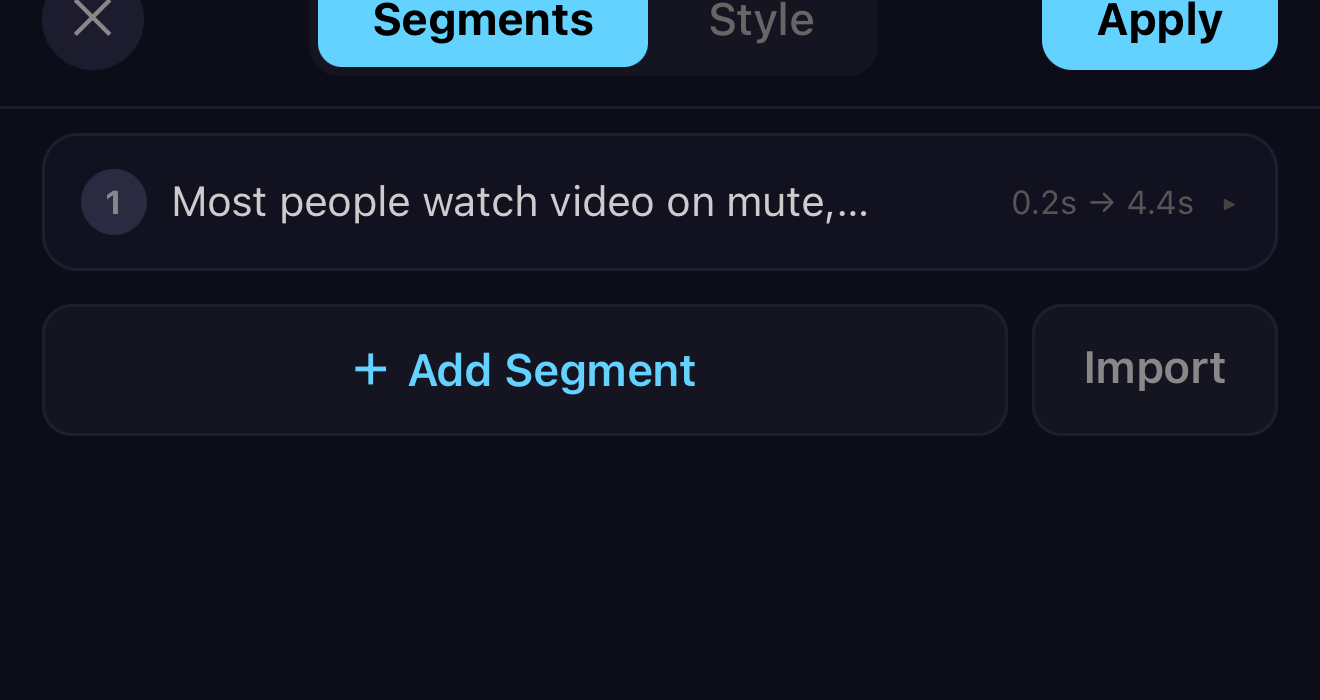
Step 2 — Fix the wording
Auto-transcription is fast but not perfect with names, slang, or noisy audio. Tap any caption to edit the text the same way you’d edit a title. Fix a misheard word, split a long line, or delete filler — the timing stays attached to the audio.
 Auto-transcribed line — tap to fix a word
Keep lines short. One short phrase on screen at a time reads far better than a paragraph. If a caption feels long, split it so each line lands with its beat of speech.
Step 3 — Style them for readability
Captions only work if they’re easy to read over moving footage. ExpoCut ships ready-made caption styles — word-highlight Karaoke, Marker, Box, Gradient and more — so one tap gets you a social-ready look you can then fine-tune.
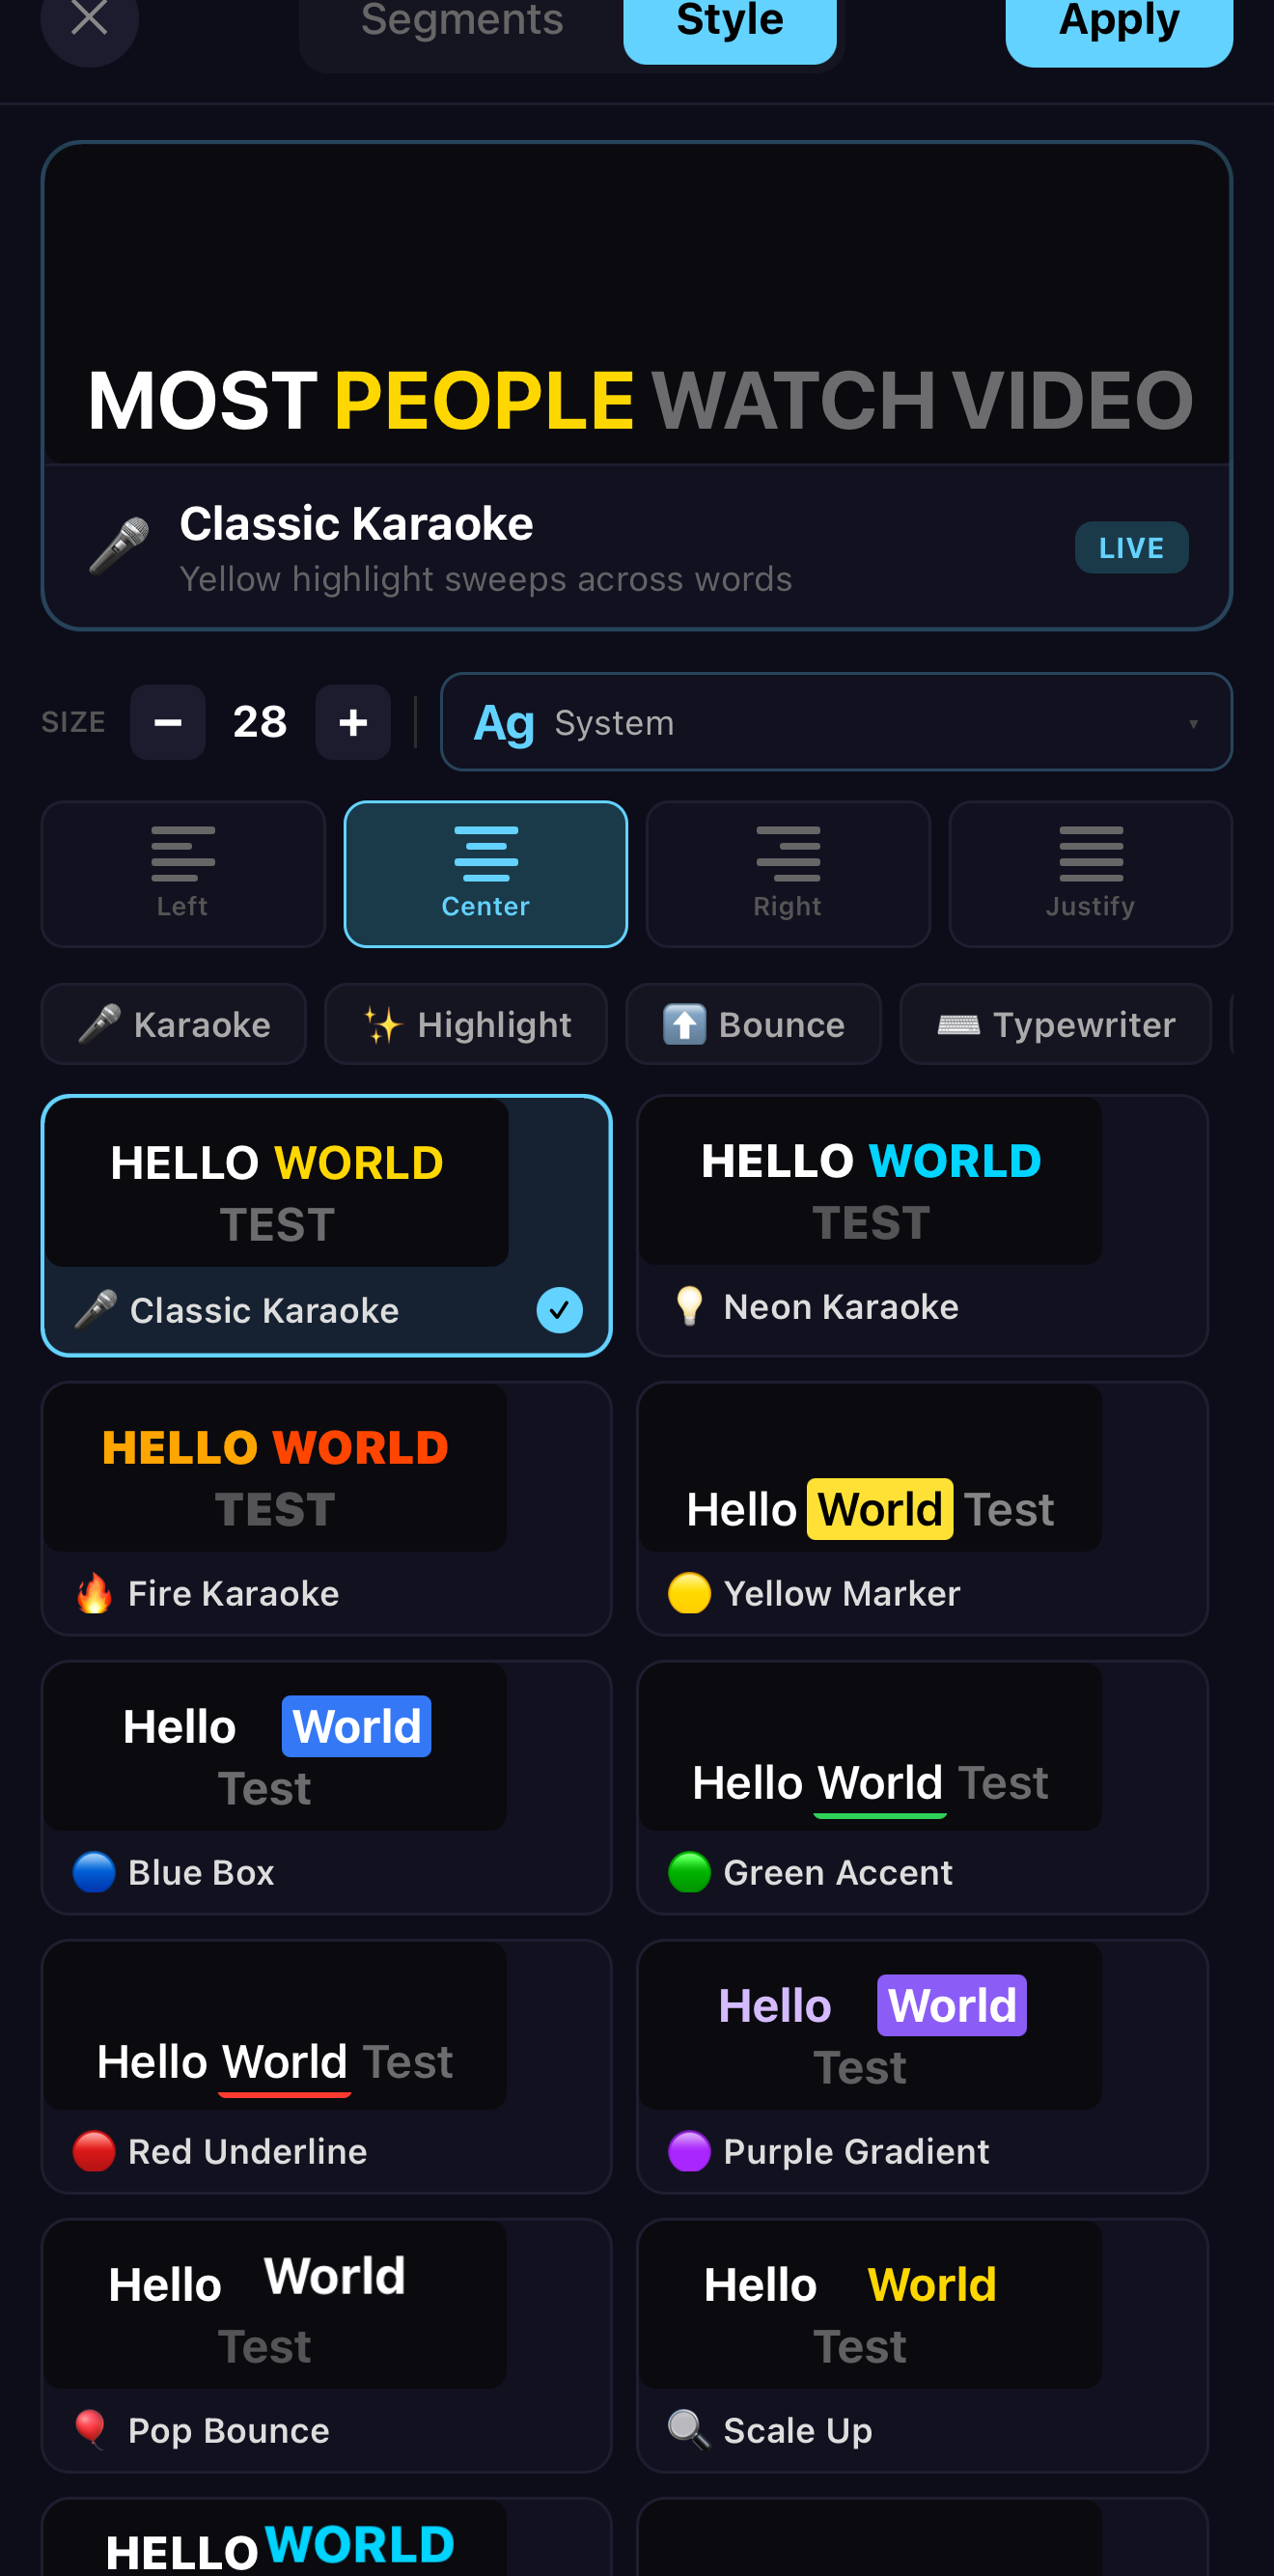 Your words, previewed live
Tap a style — Karaoke, Marker, Box, Gradient…
Your words, previewed live
Tap a style — Karaoke, Marker, Box, Gradient…
The caption layer uses the same text controls as any title, so you can:
| Control | Recommendation |
|---|---|
| Font & size | A clean bold sans, ≥ 18pt. Big enough to read on a small phone. |
| Color & shade | White text on a subtle dark shade/box so it survives bright frames. |
| Position | Lower third, inside the safe area — clear of the platform’s UI buttons. |
| Highlight | Punch up keywords with a color run for that “social caption” pop. |
Step 4 — Export with the captions baked in
Captions render as a real layer, so when you export they’re burned into the video — they show on every platform, even ones that ignore separate subtitle files. Preview equals export, so what you see on the canvas is exactly what ships.
A faster workflow for social
- Cut the talking parts tight first.
- Transcribe — get the whole caption track in one tap.
- Restyle once (font, shade, position); the style applies to the run.
- Punch keywords with a color highlight.
- Export 1080×1920 for Reels / TikTok / Shorts.
Where to go next
- Style the words like a pro: add text & titles.
- Add a narration track first: music & audio.
- Ship it right: best export settings.
Captions are the highest-leverage thing you can add to a talking video — and with on-device auto-transcription, they cost you two taps instead of ten minutes of typing.
Frequently asked questions
How do I add captions to a video automatically?
Add your clip, select it, and tap Transcribe. ExpoCut listens to the speech and generates a timed caption layer on-device — no typing. Then you can fix any words, restyle the text, and reposition it before exporting. The whole transcription runs on the phone, so your audio never leaves the device.
Are the captions burned into the video?
Yes — captions render as a real text layer, so they're baked into the exported file and show everywhere, even on platforms that don't support separate subtitle tracks. If you'd rather have selectable subtitles, you can still use the on-screen text as your script.
Do auto-captions work offline?
Yes. Transcription is on-device, so it works with no signal and keeps your audio private. Accuracy is best with clear speech and minimal background noise — if a word is wrong, just tap the caption and fix it.
Caption your video in two taps
On-device auto-transcription turns speech into styled, timed captions — no typing, no upload. Add your clip and tap Transcribe.
Get ExpoCut Browse all guides